

White and gold nails exude elegance and sophistication, making them a timeless choice for any occasion. Whether you’re aiming for a subtle touch of luxury or a bold statement, this color combination offers endless versatility. Here are some of the best white and gold nail designs to try yourself, along with tips on how to achieve these looks:
1. Classic White with Gold Tips
- How to Achieve: Apply a solid white base coat and let it dry. Use gold nail polish or a gold nail pen to carefully paint the tips, creating a luxurious twist on the classic French manicure.
2. Marble Elegance
- How to Achieve: Start with a white base. While still wet, add a few drops of gold polish and use a fine nail art brush or toothpick to swirl the gold into a marble design. Seal with a top coat for a glossy finish.
3. Gold Glitter Gradient
- How to Achieve: Paint your nails with a white base coat. Once dry, apply gold glitter polish to the tips, using a makeup sponge for a gradient effect. Gently dab the glitter down towards the middle of the nail, fading as you go.
4. Geometric Gold Lines
- How to Achieve: After your white base coat has dried, use gold striping tape or a thin brush with gold polish to create geometric patterns such as triangles, lines, or chevrons. Finish with a clear top coat.
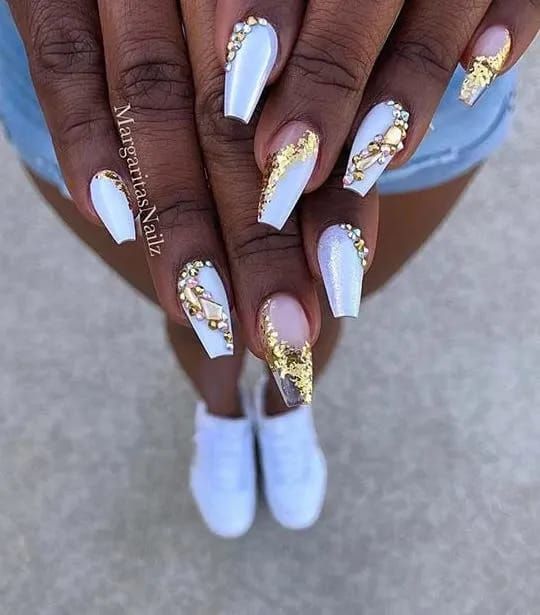
5. Gold Foil Flakes
- How to Achieve: Apply a white base coat and let it dry. Then, take small pieces of gold foil and use tweezers to place them randomly or in a specific pattern on the nails. Seal the design with a top coat to smooth out the texture.
6. Polka Dots and Gold Accents
- How to Achieve: Start with a white base, then use a dotting tool or the rounded end of a bobby pin to create gold polka dots. For an extra pop, add a few gold studs or rhinestones while the polish is still tacky.
7. Negative Space with Gold Stripes
- How to Achieve: Use tape to block off sections of the nail you want to keep polish-free for a negative space effect. Paint the exposed areas white, and once dry, remove the tape and add thin gold stripes using a striping brush or tape.
8. Half Moon Gold
- How to Achieve: Paint your nails white and let them dry completely. Then, use a round sticker or a hole punch reinforcement sticker at the base of the nail to create a half-moon shape. Paint the exposed half-moon with gold polish. Once dry, remove the sticker and finish with a top coat.
9. Gold Speckled
- How to Achieve: Apply a white base coat and let it dry. Then, using a fan brush dipped in gold polish, lightly brush over the nails to create a speckled effect. You can also splatter the gold polish by flicking the bristles of the brush for a more randomized look.
10. Luxurious Gold Swirls
- How to Achieve: With a white base coat dry, use a fine brush to paint intricate gold swirls or abstract patterns. This can be as detailed or as simple as you like. Seal with a glossy top coat to enhance the detail.
These white and gold nail designs range from simple and elegant to detailed and artistic, suitable for DIY enthusiasts at every skill level. With a little patience and practice, you can achieve a stunning manicure that adds a touch of glamour to your style.