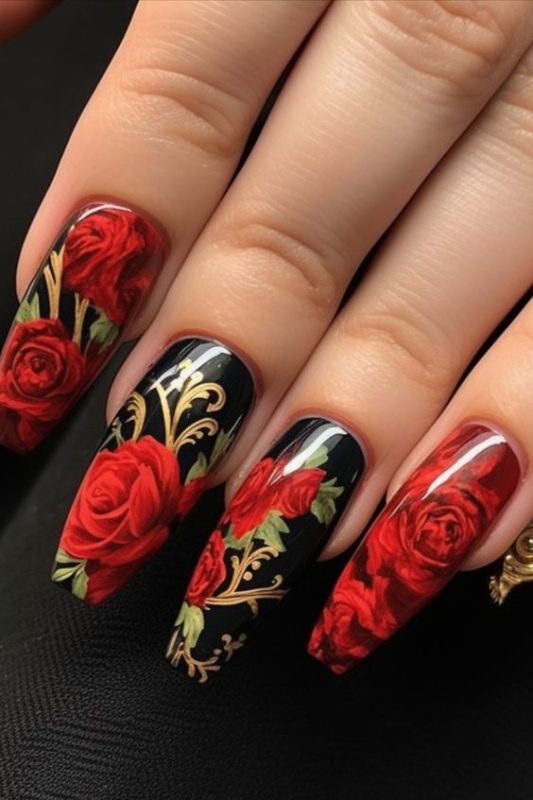
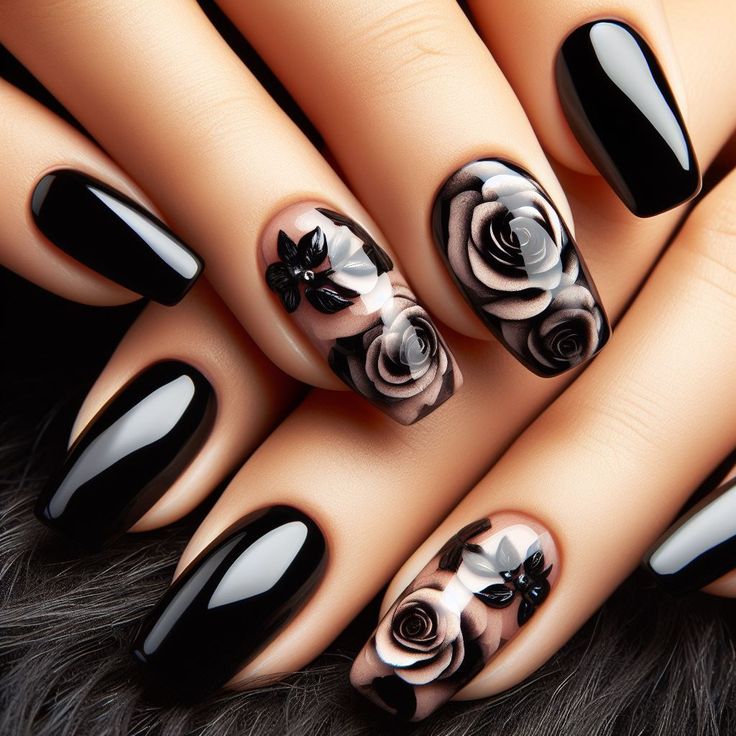
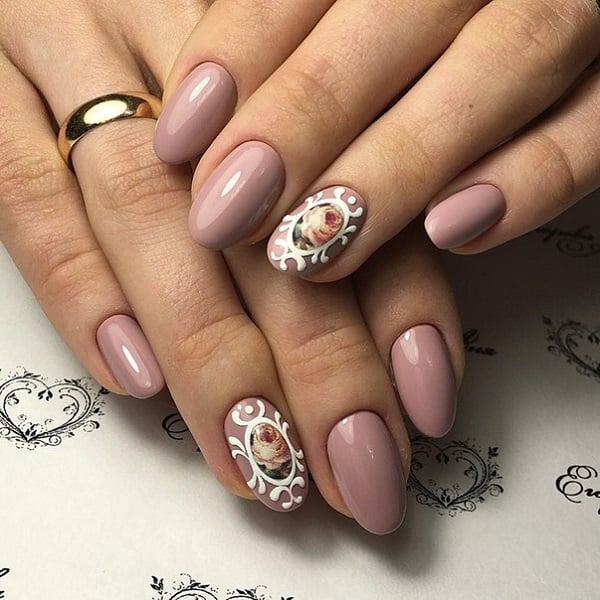
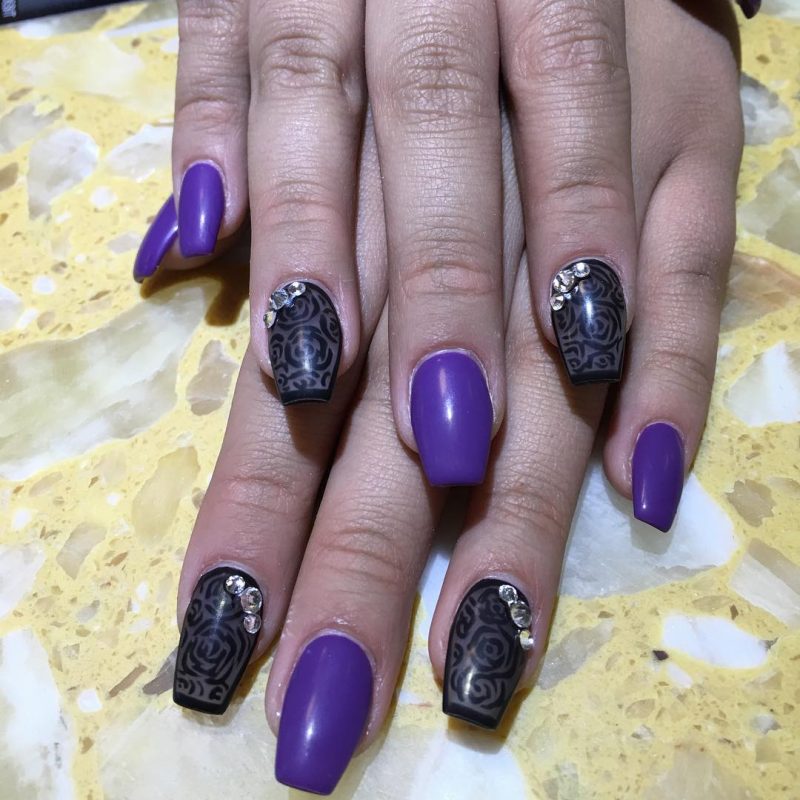
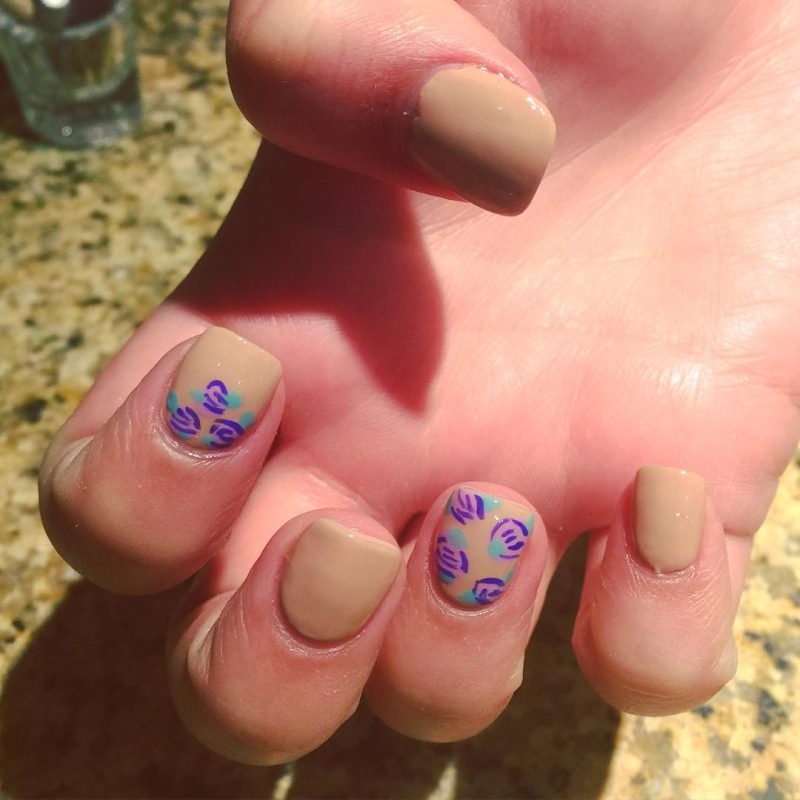
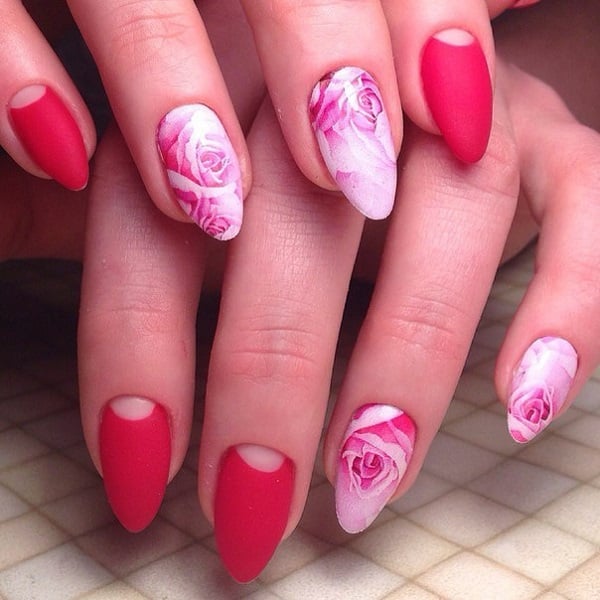
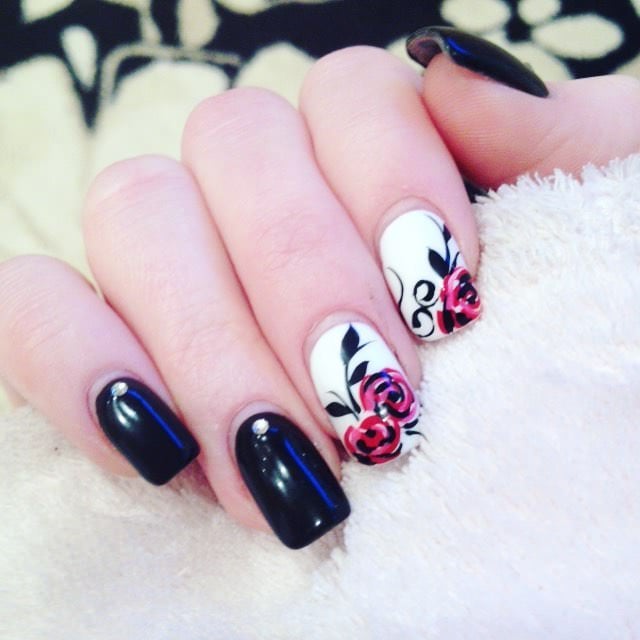
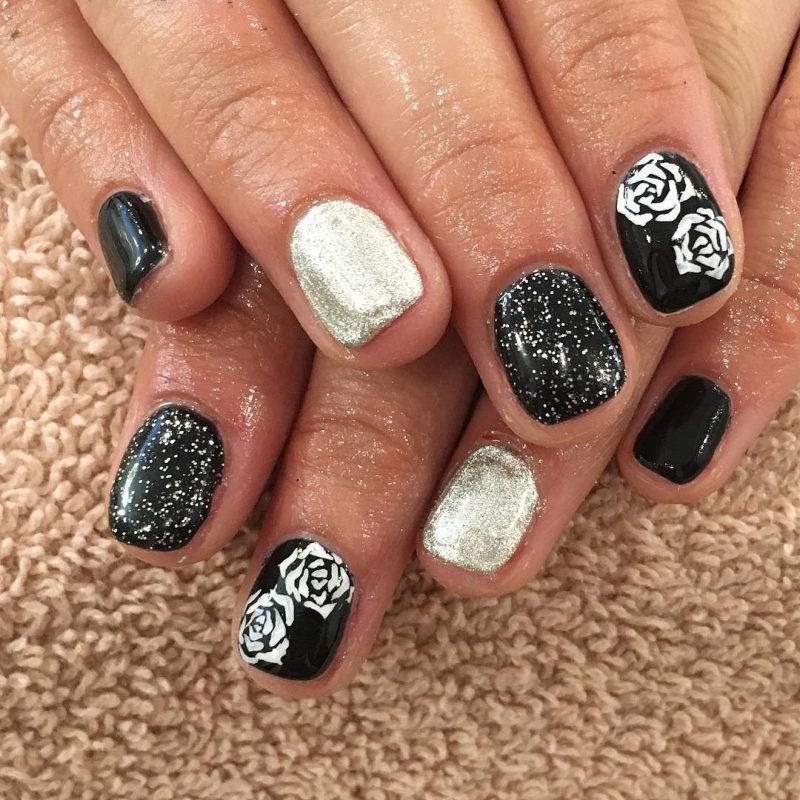
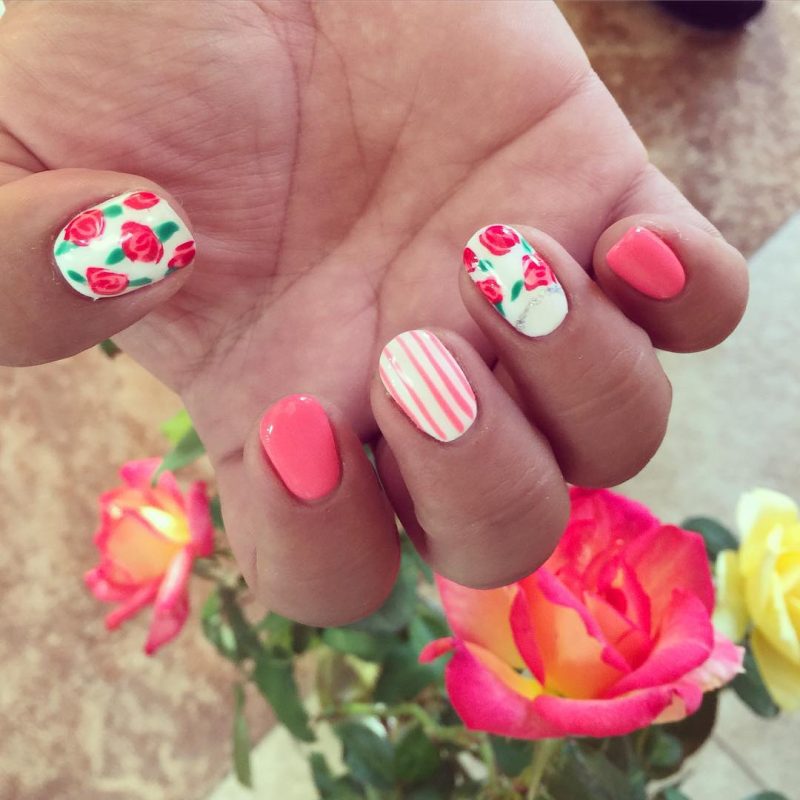
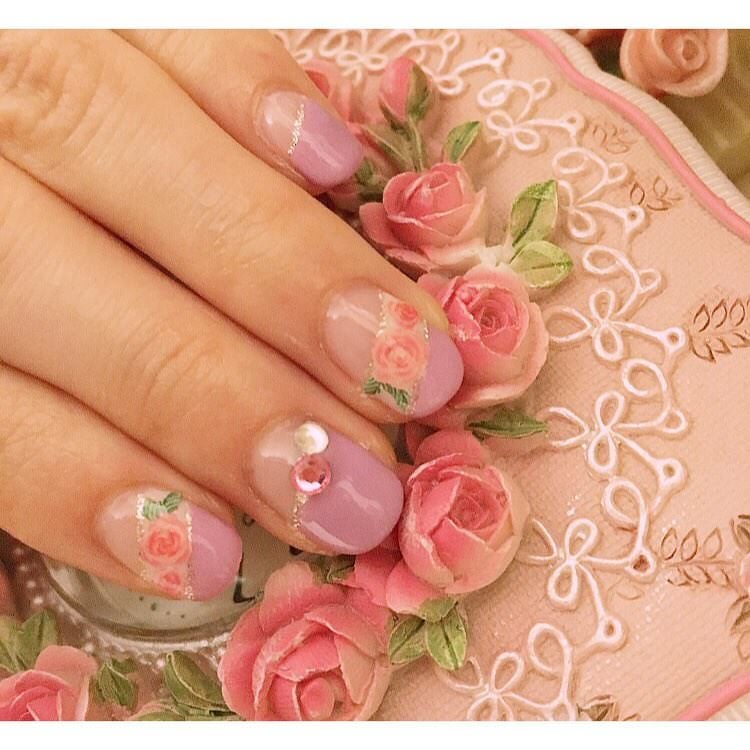
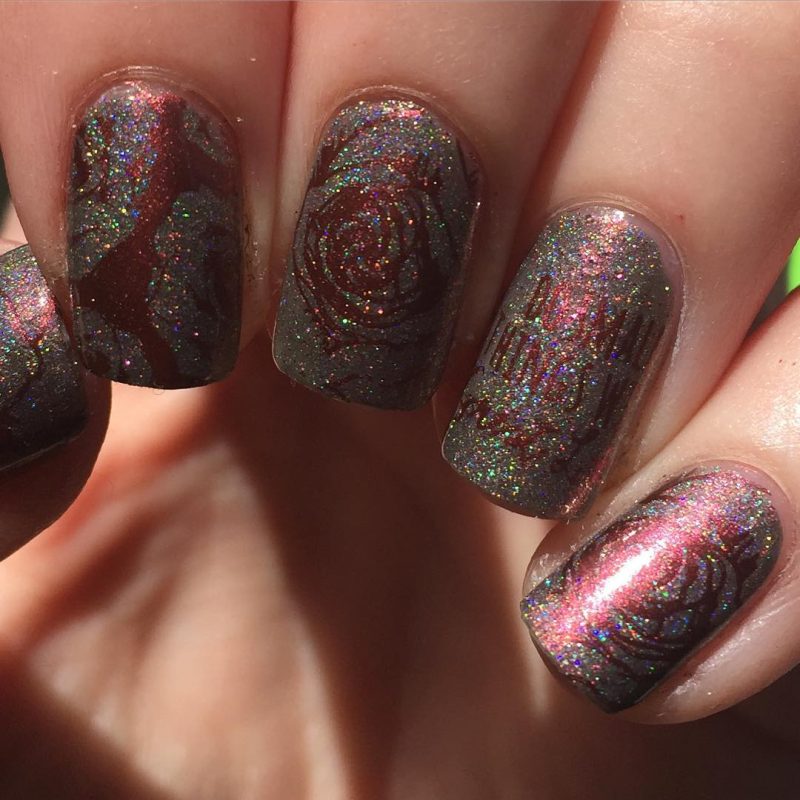
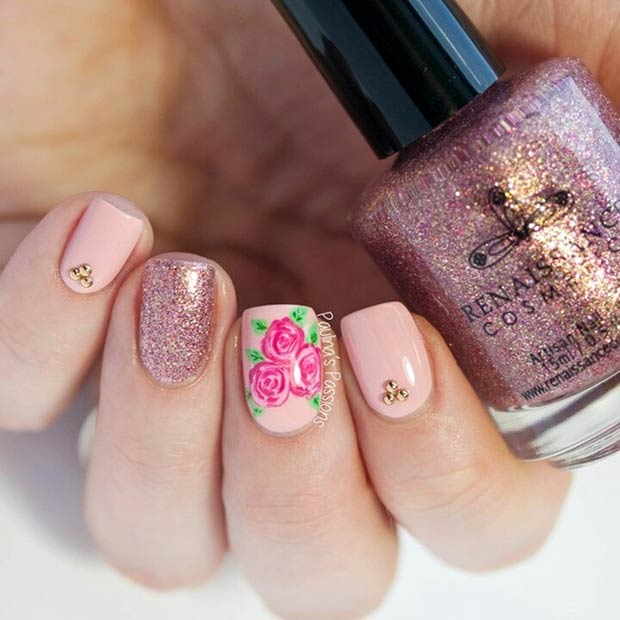
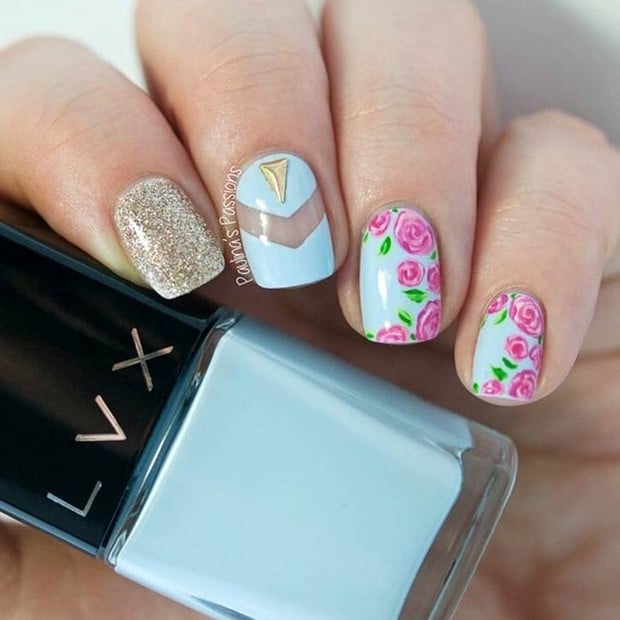
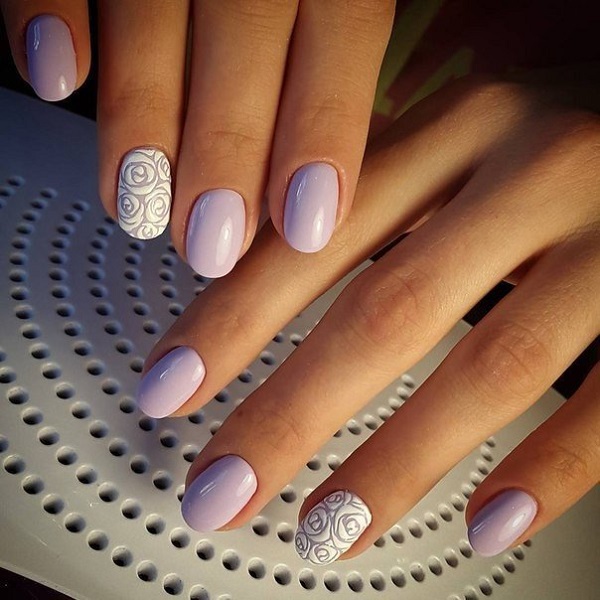
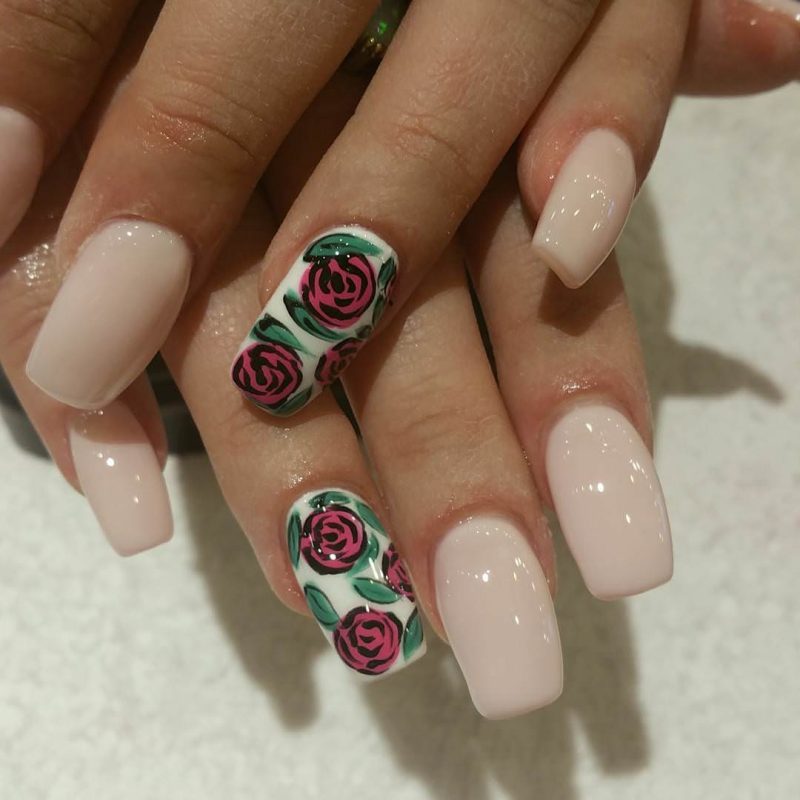
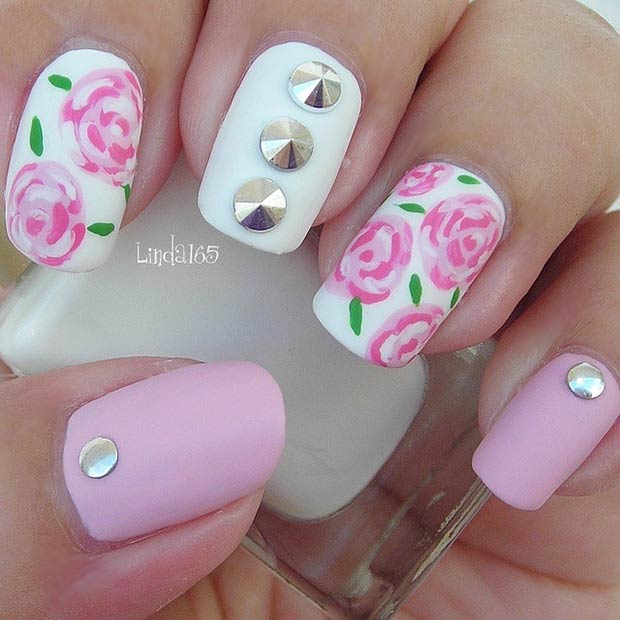
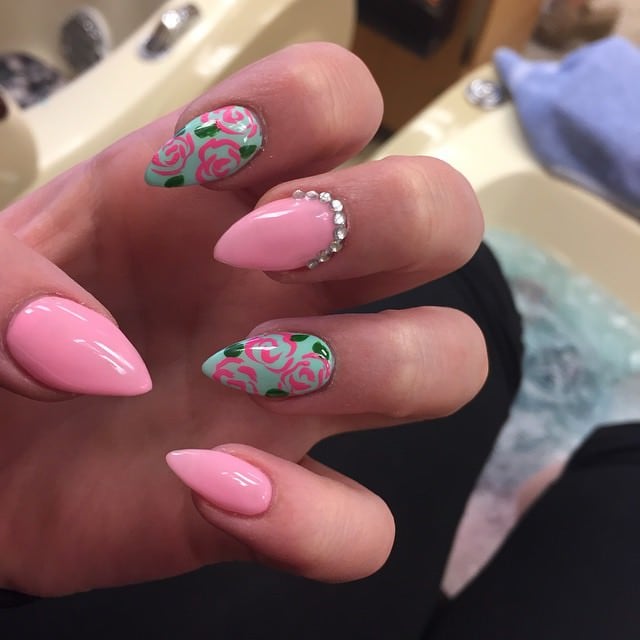
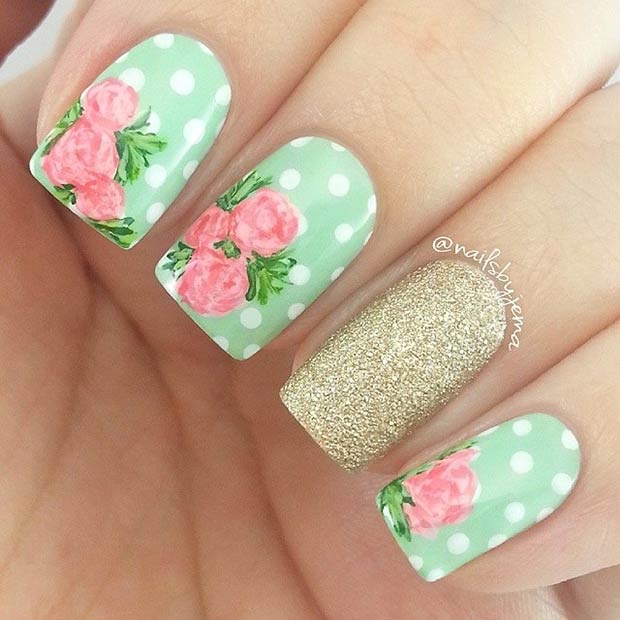
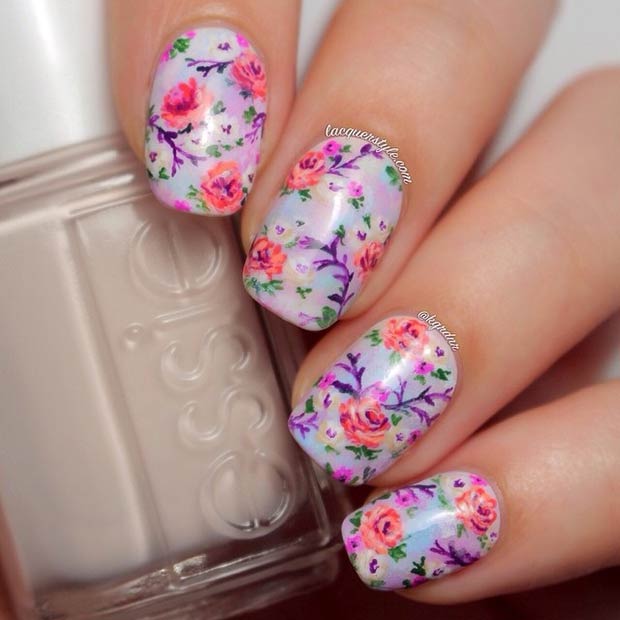
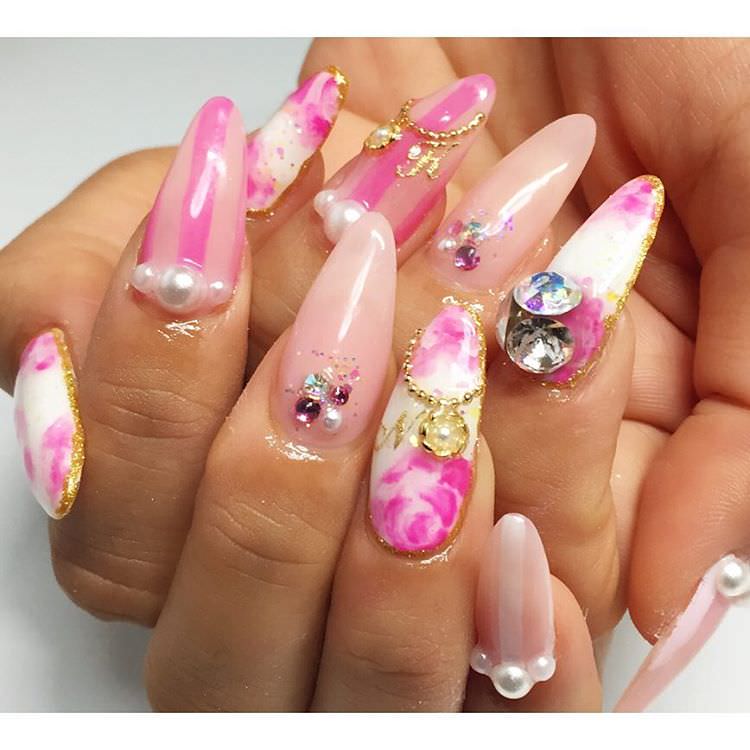
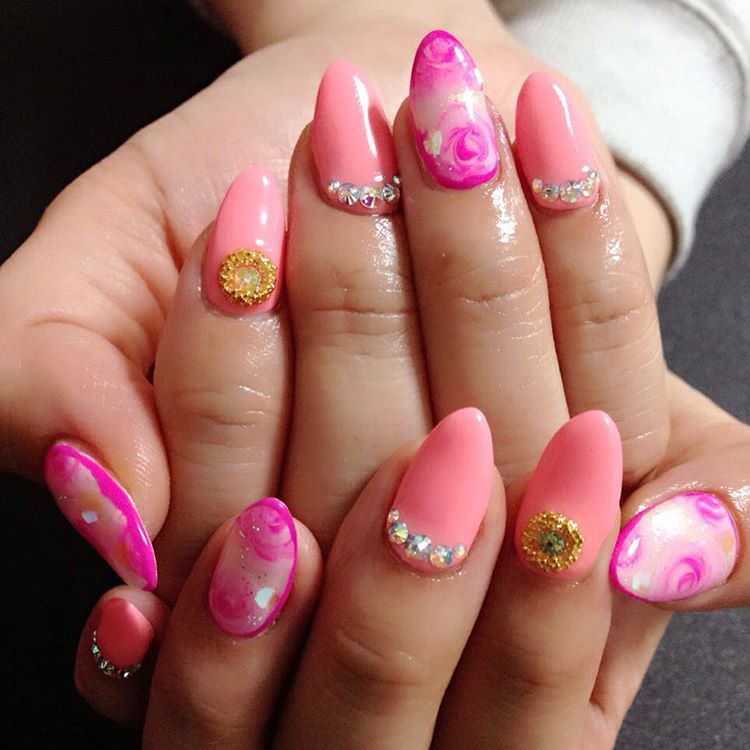
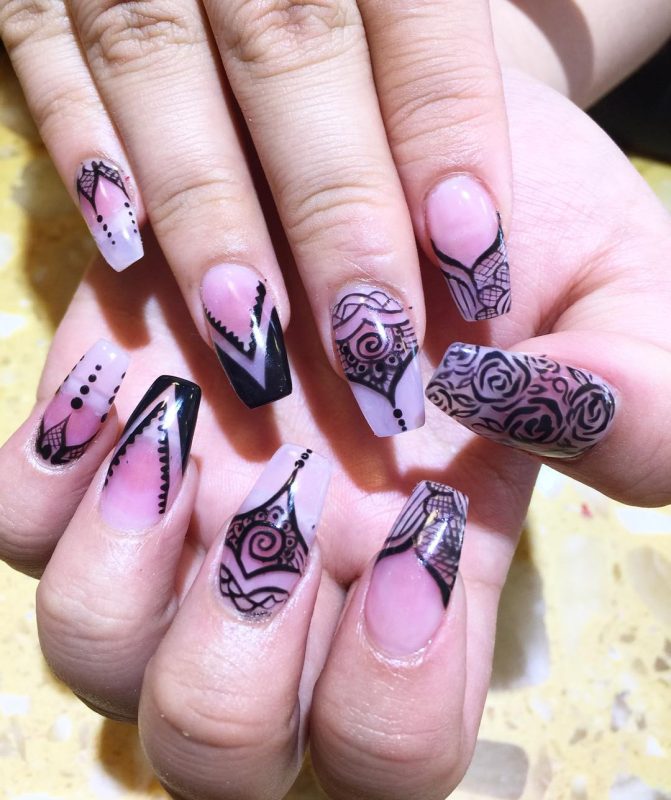
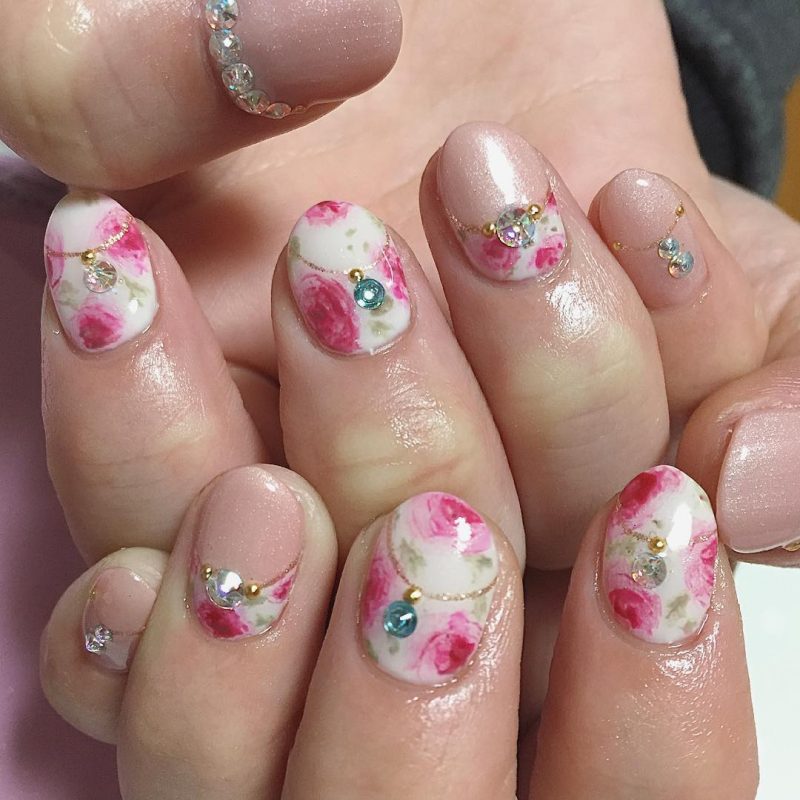
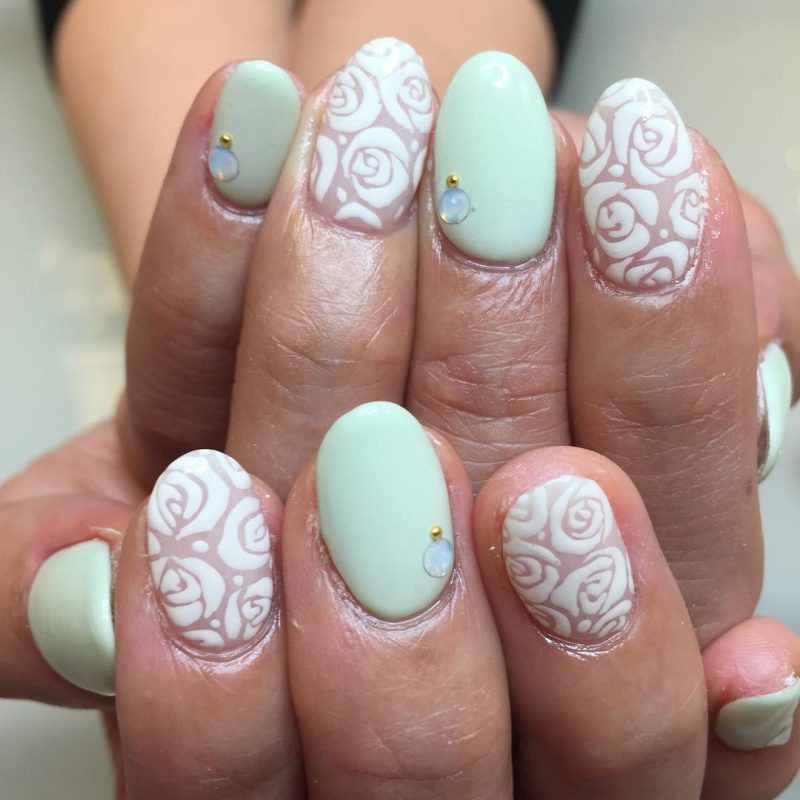
Rose nail art designs offer a timeless and romantic appeal, perfect for enhancing any look with a touch of elegance. Whether you’re preparing for a special event or just want to add some beauty to your daily appearance, mastering the art of painting roses on your nails can be both fun and rewarding. This guide provides you with essential tips and techniques to help you create gorgeous rose nail art designs.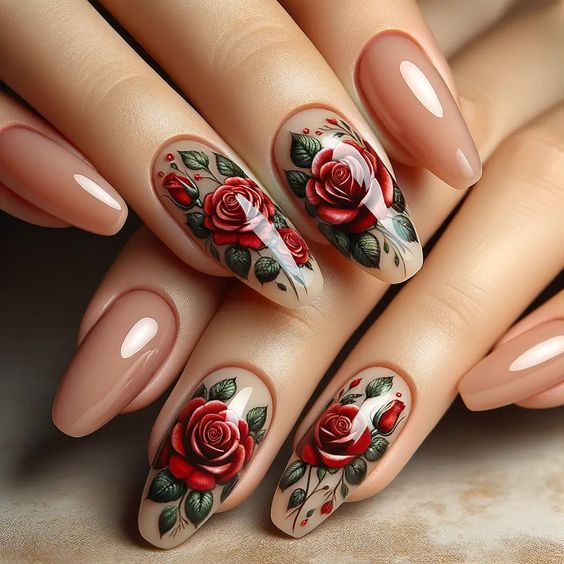
Why Choose Rose Nail Art?
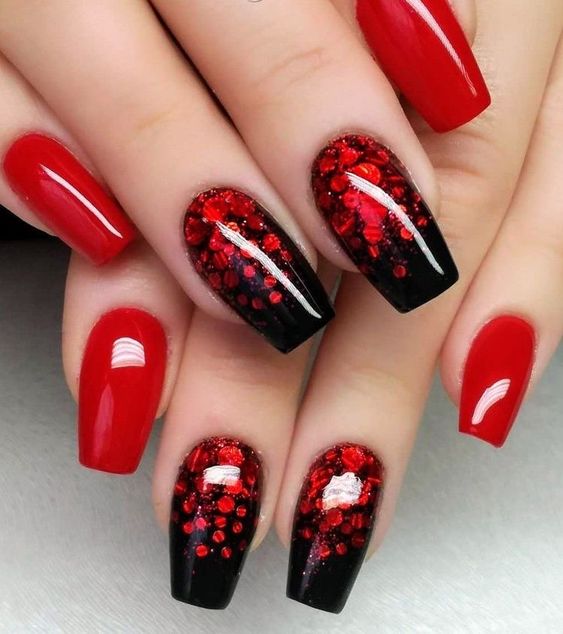
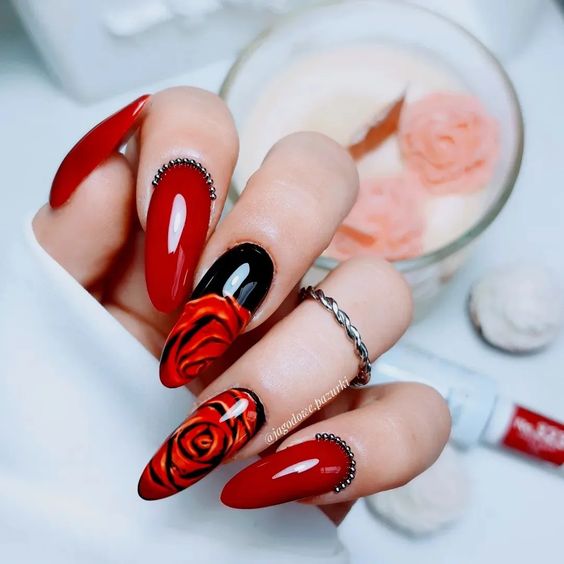
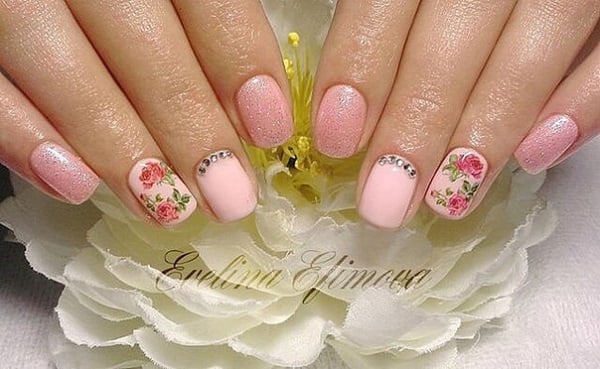
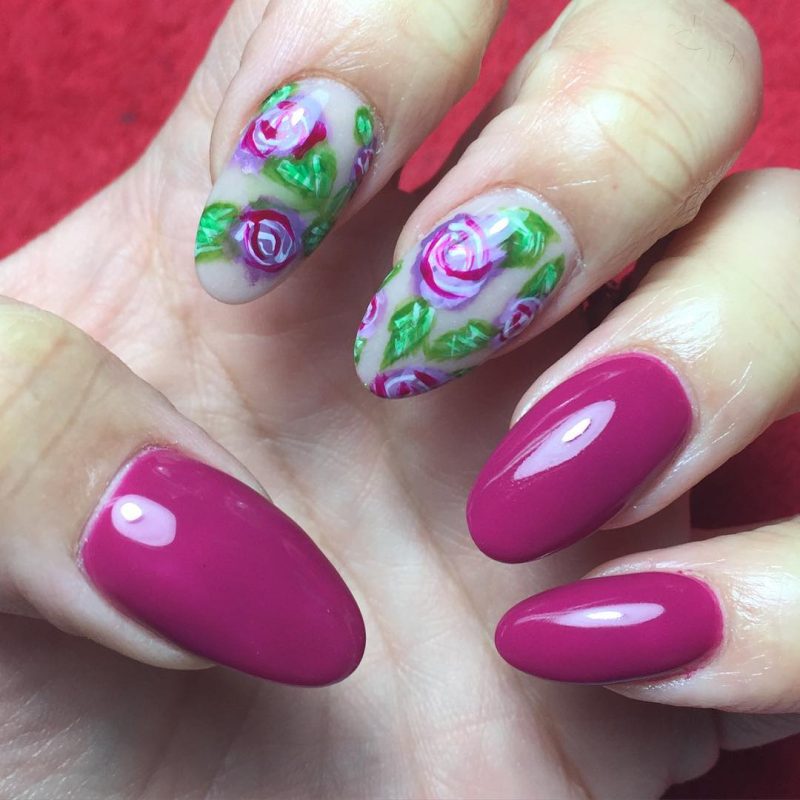
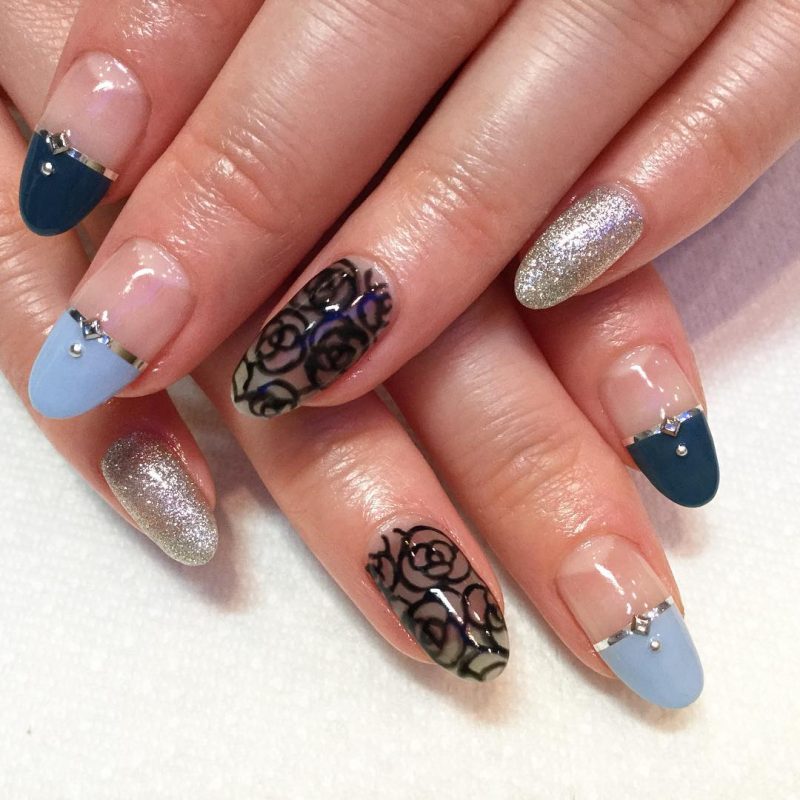
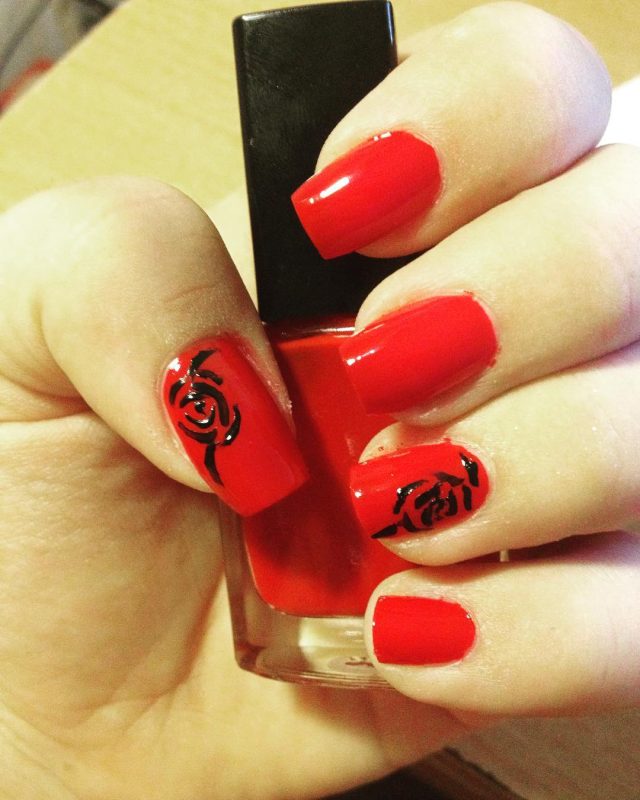
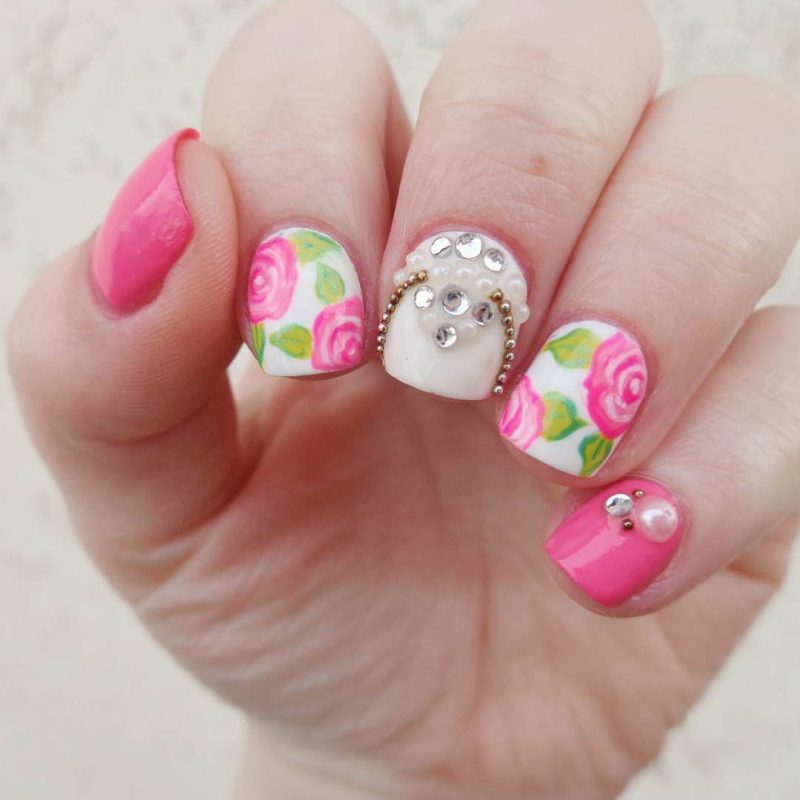
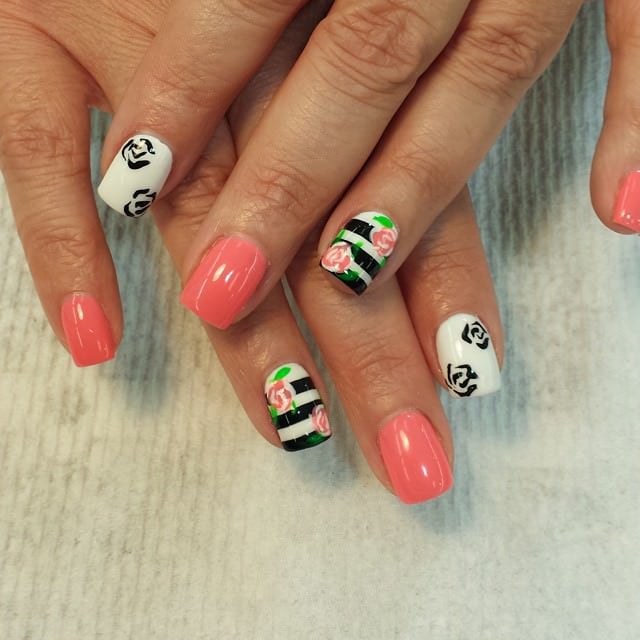
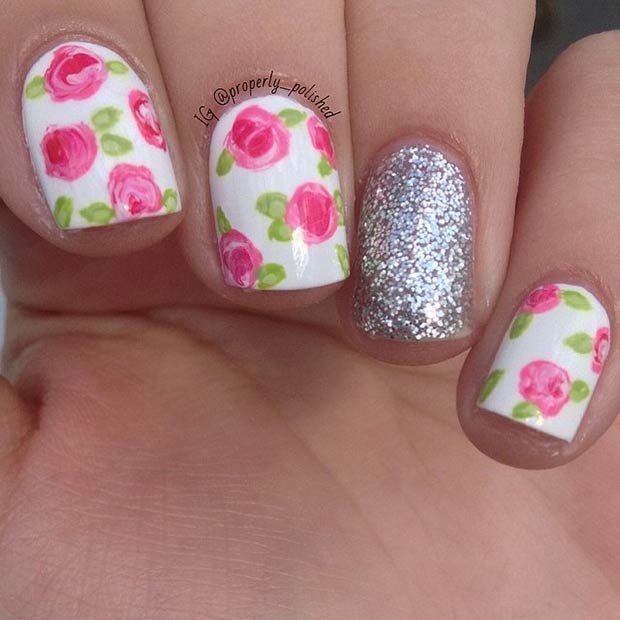
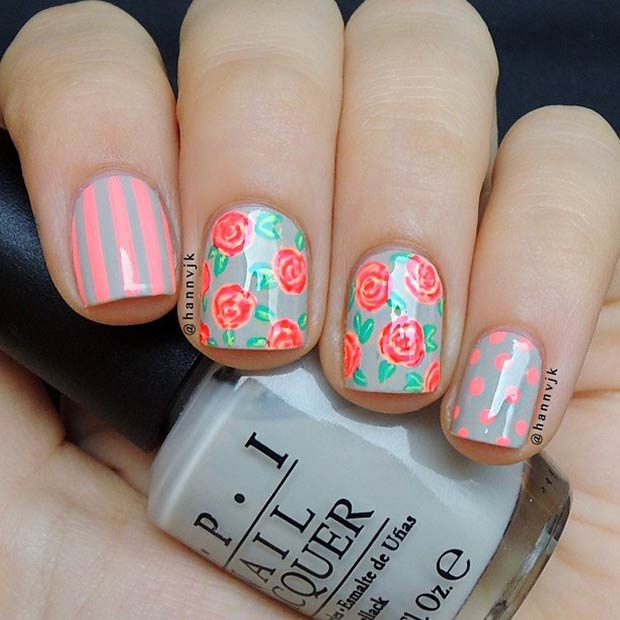
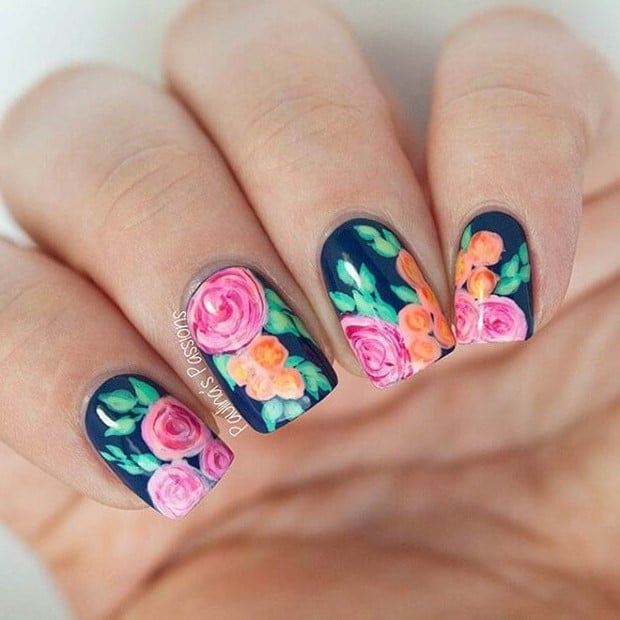
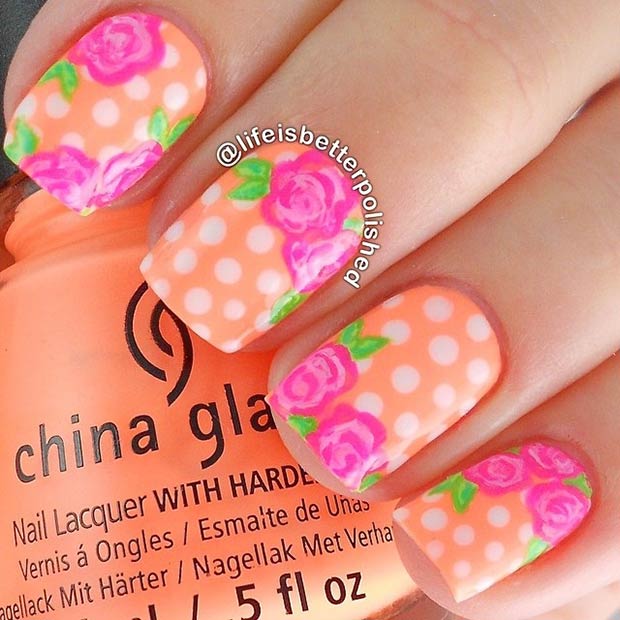
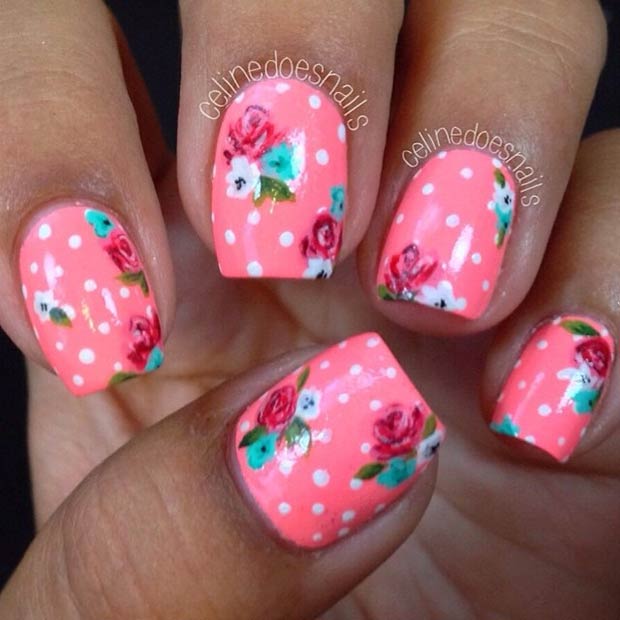
Roses are symbols of love and beauty, making them a popular choice for nail art. They can vary from simple designs for everyday wear to elaborate creations for special occasions. Additionally, rose nail art can be adapted to suit any nail shape and length, making it versatile and universally appealing.
Essential Tools for Rose Nail Art
Before you begin, make sure you have the following tools:
- Fine Detail Brush: For intricate petal details.
- Dotting Tools: To outline and fill the center of the roses.
- Nail Polish Shades: A variety of colors to create depth (typically reds, pinks, whites, and greens for leaves).
- Top Coat: To seal in your design and give it a glossy finish.
Step-by-Step Guide to Perfect Rose Nail Art
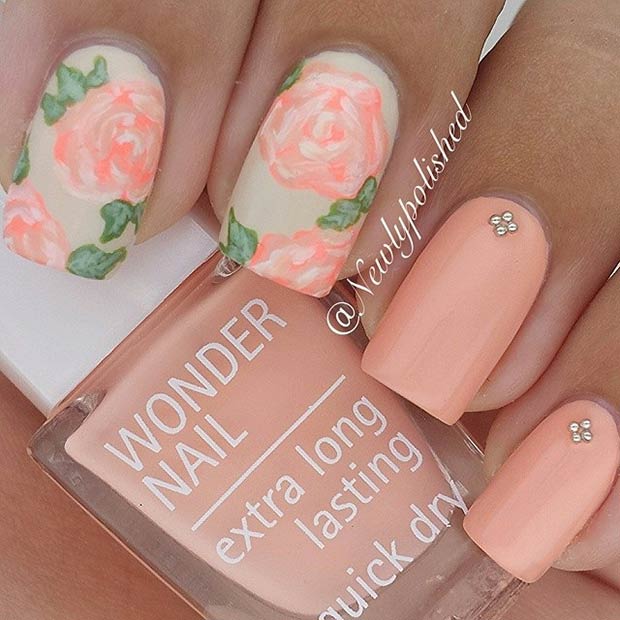
1. Prep Your Nails: Start with clean, shaped nails coated with a base color. Light pastel or neutral shades work well as backgrounds for rose designs.
2. Paint the Base of the Rose: Use a dotting tool to place a small blob of your chosen rose color on the nail. This will form the base of your rose.
3. Create Petal Shapes: Dip your fine detail brush in a slightly darker shade of the base color. Draw small arcs around the initial blob, overlapping slightly to create a petal effect. Continue adding petals, increasing their size as you move outward.
4. Add Highlights and Shadows: Use a lighter shade of your petal color to add highlights on the edge of the petals. You can add a tiny bit of white to your base color for this. To add depth, use a darker shade or a touch of black to outline the petal edges subtly.
5. Paint the Leaves: Using a fine brush and green polish, add small leaves to the sides of the roses. You can detail the leaves with lighter or darker green to mimic veins.
6. Finish with a Top Coat: Once your design is dry, apply a clear top coat to protect your artwork and add a beautiful shine.
Tips for Crafting Gorgeous Roses
- Practice on Paper: Before starting on your nails, practice drawing roses on paper to get comfortable with the brush and the strokes.
- Keep Proportions in Mind: Make sure your roses and leaves are proportionate to your nail size. Smaller nails may require simpler, smaller designs.
- Use Quality Products: High-quality nail polishes and tools make a significant difference in the ease of application and the final outcome.
Conclusion
Rose nail art designs can transform your nails into a canvas of romantic floral artistry. With the right tools and some practice, you can create stunning rose patterns that will draw admiring looks. Remember, the key to perfect rose nail art lies in patience and creativity. So, take your time to perfect your technique and enjoy the process of bringing floral beauty to your fingertips.