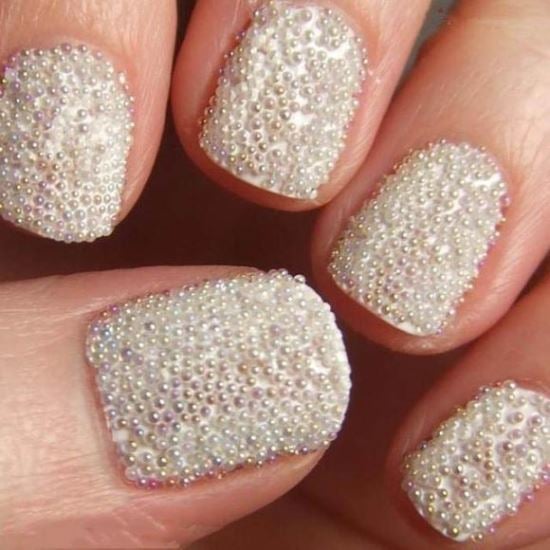
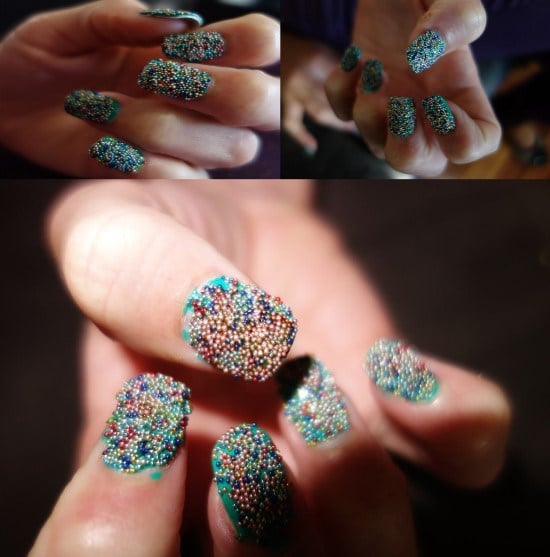
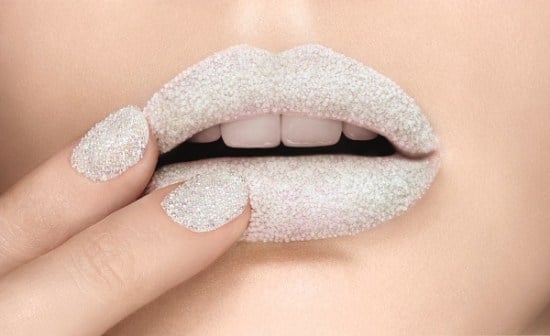
Caviar nail art is a unique and glamorous way to add an extra touch of luxury to your manicure. Named after the exquisite delicacy, caviar nails involve applying tiny microbeads to the nail, giving it a textured, three-dimensional look that’s both visually striking and tactile. Whether you’re preparing for a special event or just want to add a little sparkle to your daily look, caviar nails are a fantastic choice. Here’s how you can create and rock this embellished nail trend.
Getting Started with Caviar Nail Art
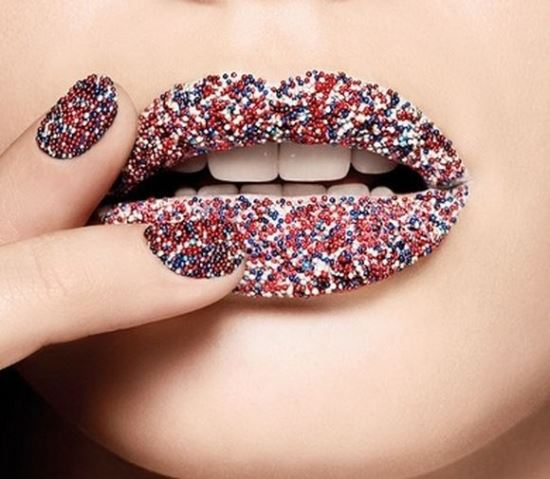
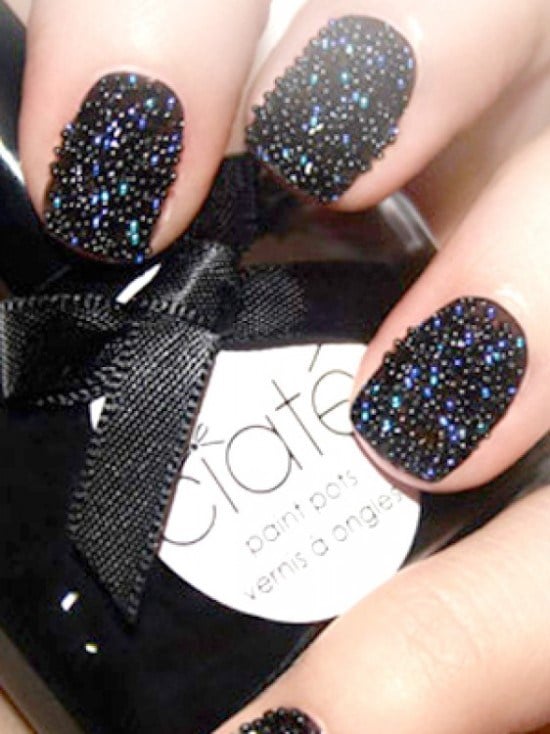
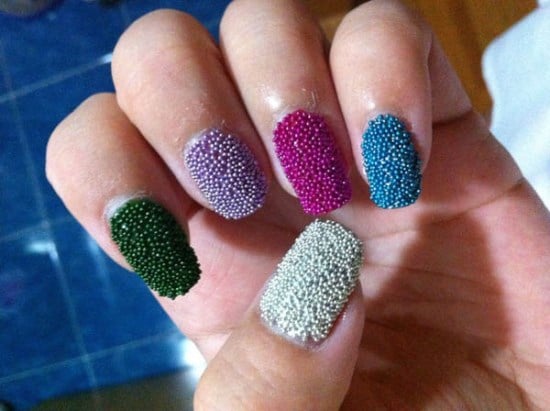
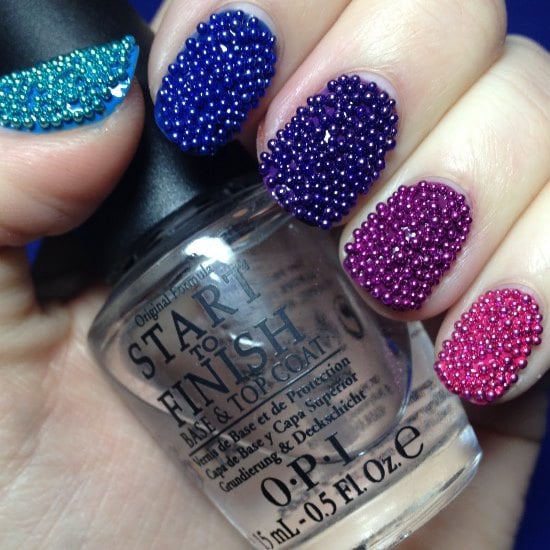
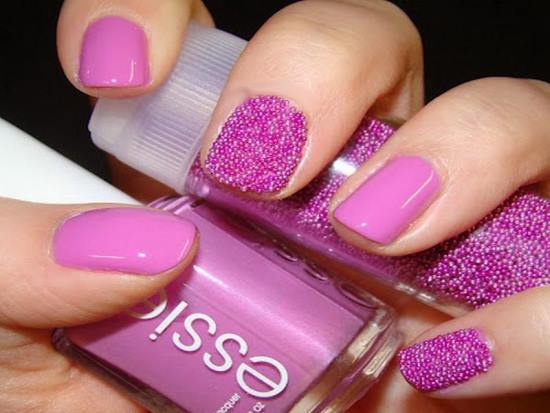
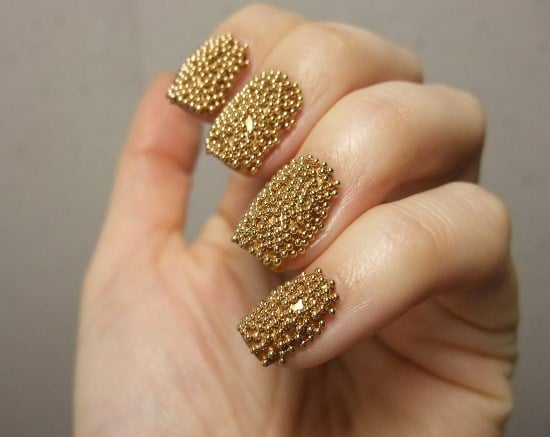
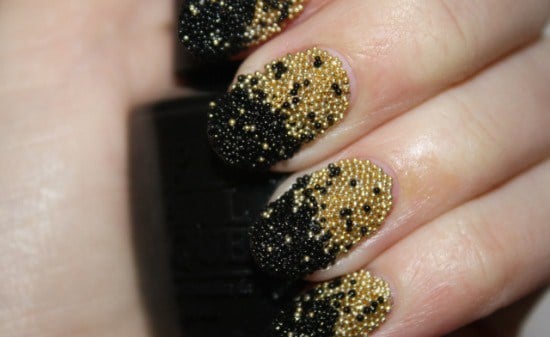
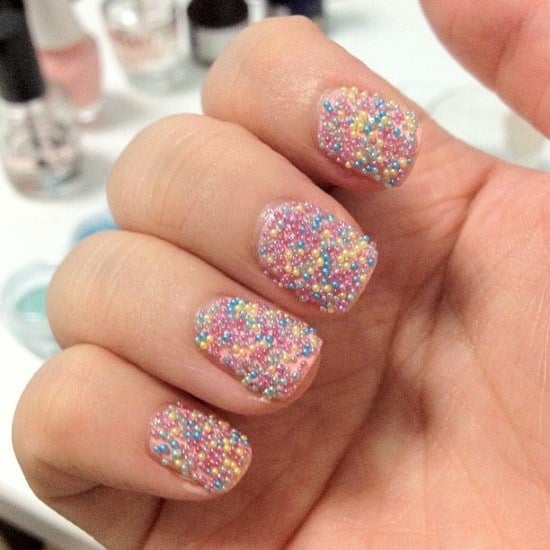
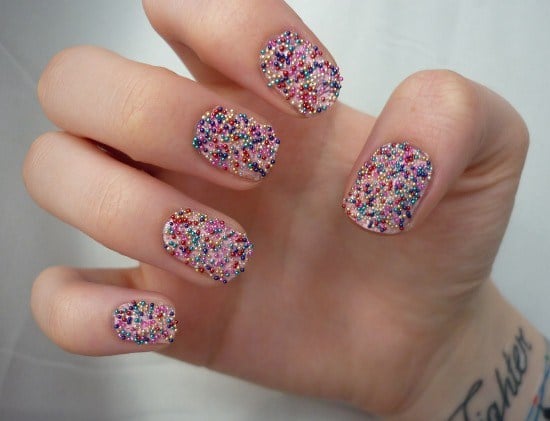
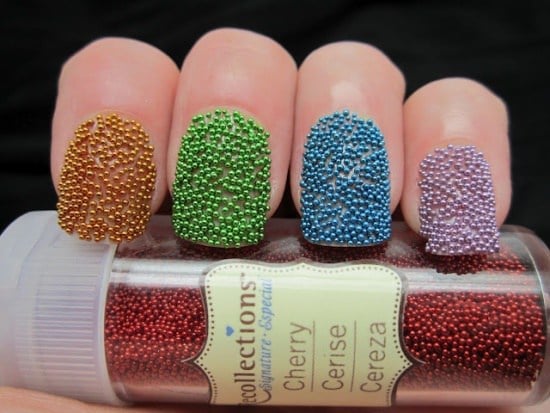
1. Choose Your Colors: Caviar beads come in various colors, allowing you to mix and match with your nail polish. Common choices include classic black, vibrant colors, or metallics like gold and silver. Choose a bead color that contrasts with your polish for a bold look, or match the beads to the polish for a subtle yet sophisticated style.
2. Prep Your Nails: As with any manicure, start by cleaning, shaping, and buffing your nails. Apply a base coat to protect your nails and help the polish adhere better.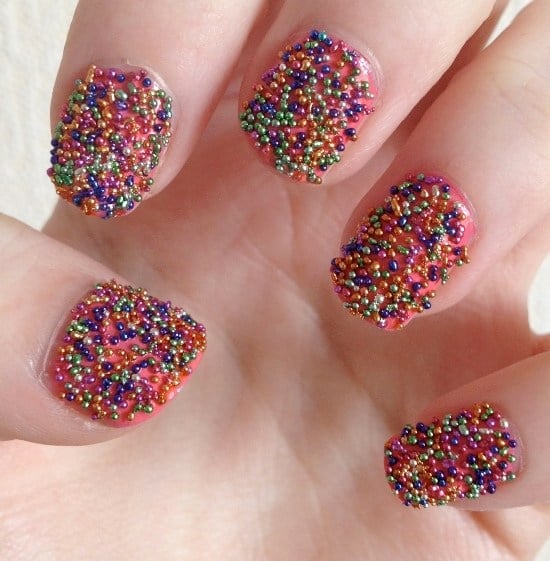
Step-by-Step Caviar Nail Art
1. Apply Your Base Color: Choose a nail polish color that complements your chosen caviar beads. Apply two coats of polish, allowing it to dry slightly but remain tacky to the touch; this will help the beads stick.
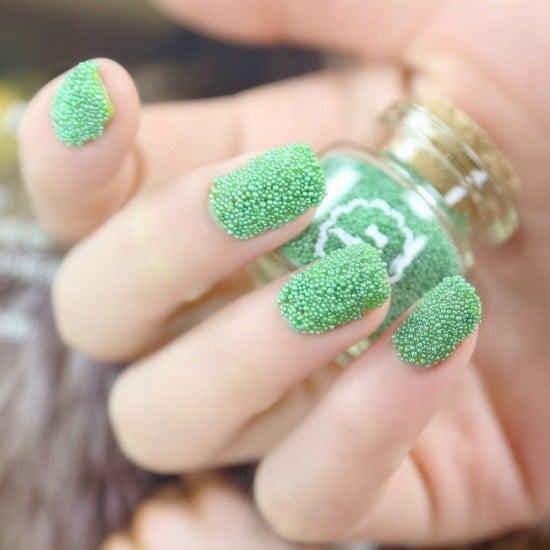
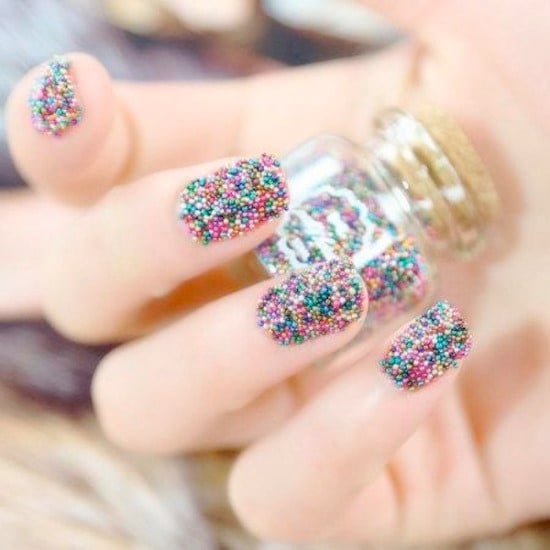
2. Add the Caviar Beads: Pour the beads over your nails while the polish is still tacky. You can do this by sprinkling them directly onto the nail or dipping your nail into a bowl of beads. Gently press down to fix them into place.
3. Clean Up and Seal: Shake off any excess beads. Use a toothpick or a clean nail brush to gently push stray beads into place. Once you’re satisfied with the coverage, seal the design with a top coat. Avoid brushing directly over the beads, as this might displace them. Instead, dab the top coat on gently to fix everything in place.
4. Let It Dry: Allow ample time for your nails to dry completely. Caviar nails may take longer to set than regular nail polish due to the added texture.
Design Ideas for Caviar Nail Art
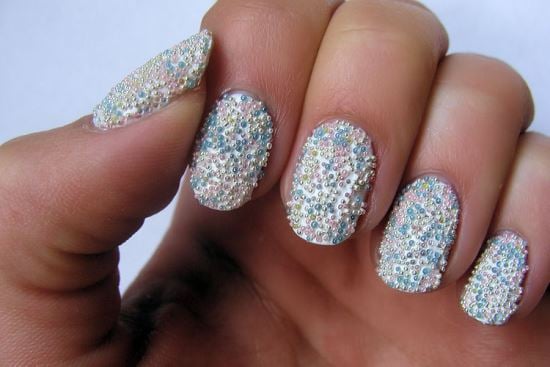
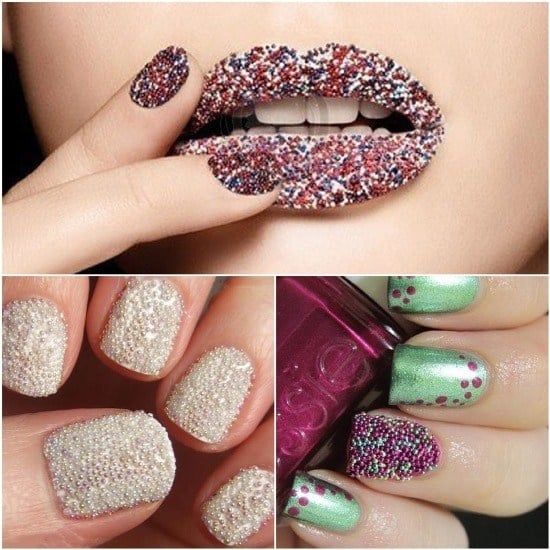
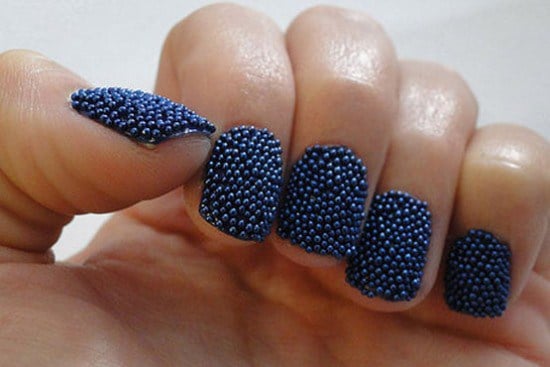
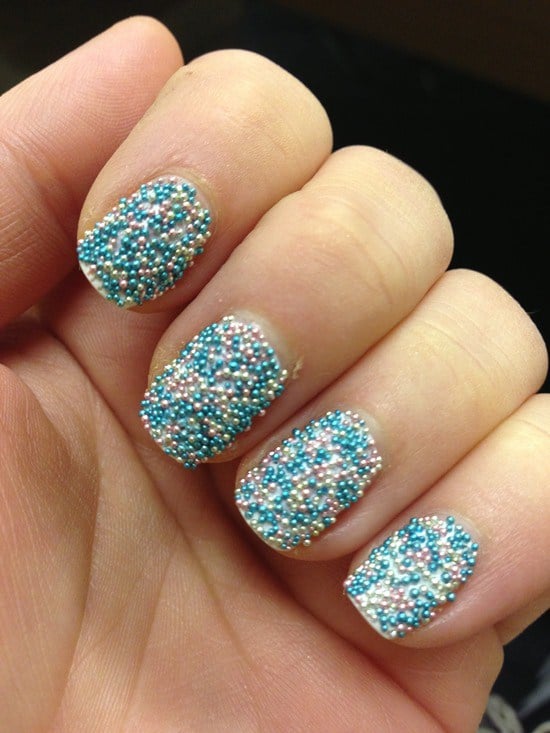
1. Full Caviar Nails: Cover all your nails with caviar beads for a bold and glamorous look. This is perfect for a night out or a festive party.
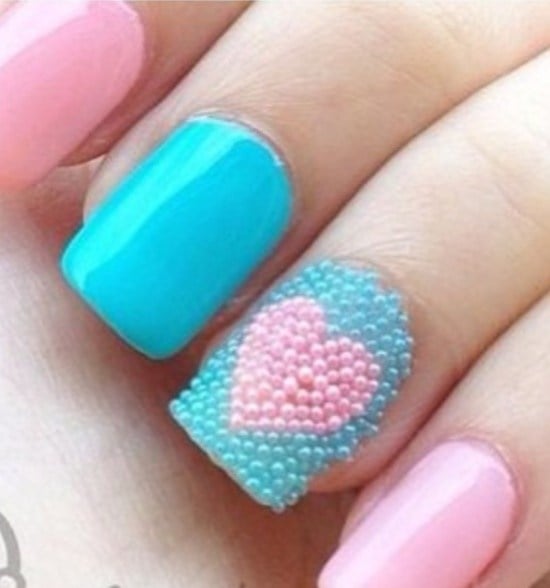
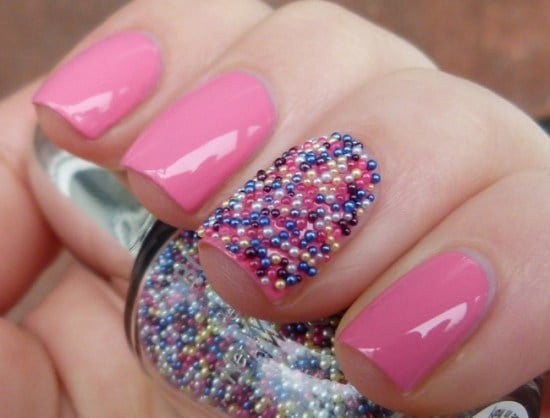
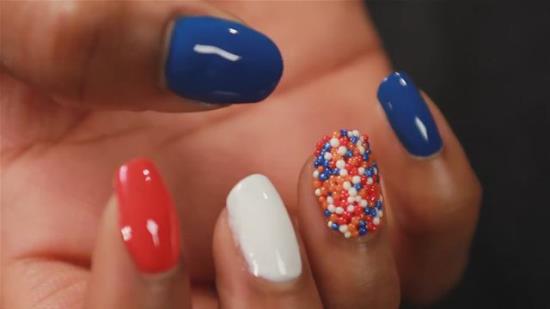
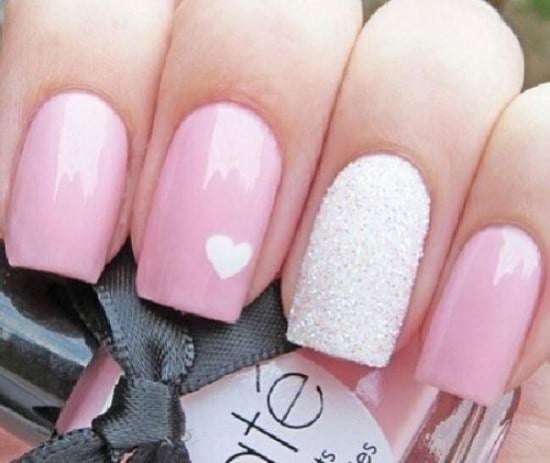
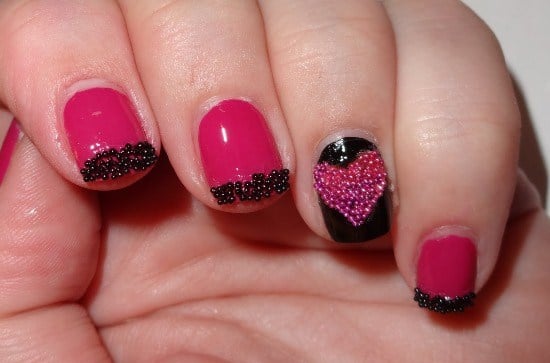
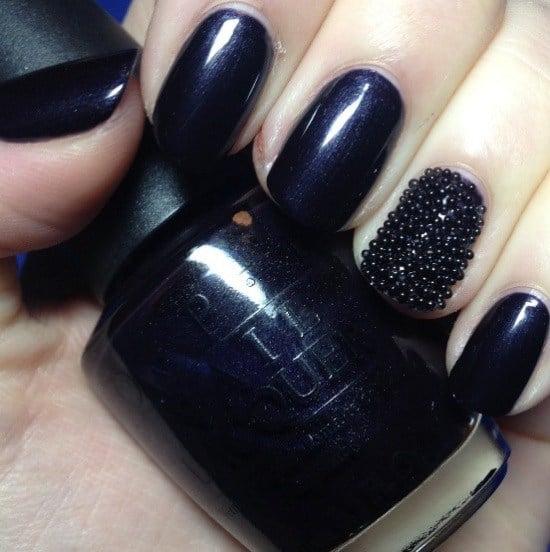
2. Caviar Accent Nails: If you prefer a more understated look, apply caviar beads to just one or two accent nails, keeping the rest in a matching or contrasting polish.
3. Caviar Tips: Instead of a full bead cover, decorate only the tips of your nails with caviar beads to create a textured French tip manicure.
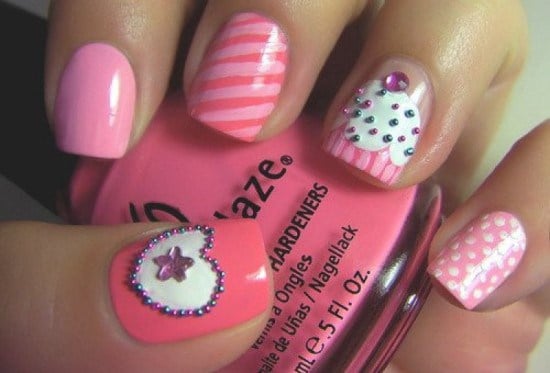
4. Patterns with Caviar Beads: Use beads to create patterns like hearts, stripes, or floral designs on your nails. This requires a bit more precision but results in a truly custom nail art design.
Conclusion
Caviar nail art is a fun and fancy way to add a bit of luxury to your manicure routine. Whether you opt for full coverage or delicate accents, caviar beads provide a unique finish that’s sure to catch the eye and sparkle brilliantly. With these tips and ideas, you’re well on your way to creating a dazzling caviar nail look that shines with every gesture!