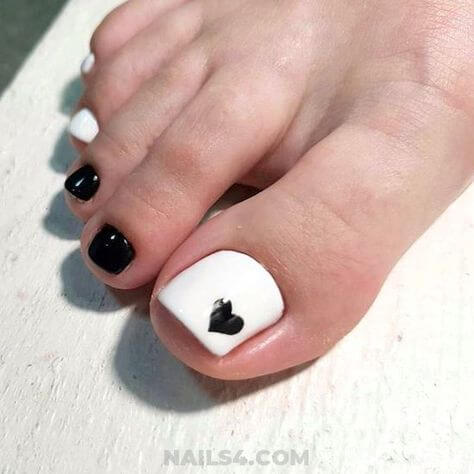
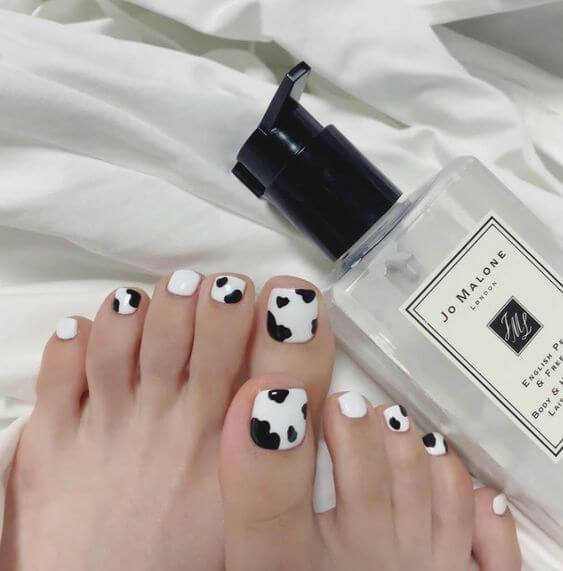
Emphasizing personal style and expressing oneself visually are always delightful. For those looking to subtly alter their appearance, concentrating on the aesthetics of toe nails can be particularly transformative. This article explores several easy DIY toe nail designs that can bring charm and personality to your feet, making them look as stylish as they are lovely.
Choosing the Right Colors
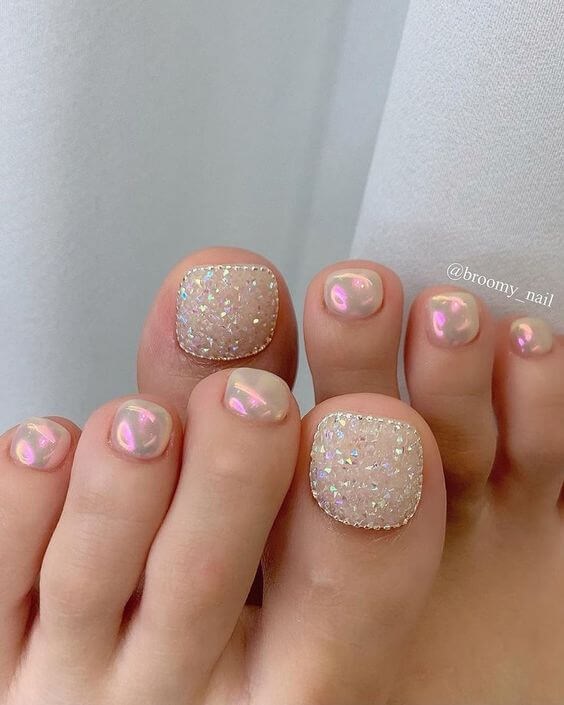
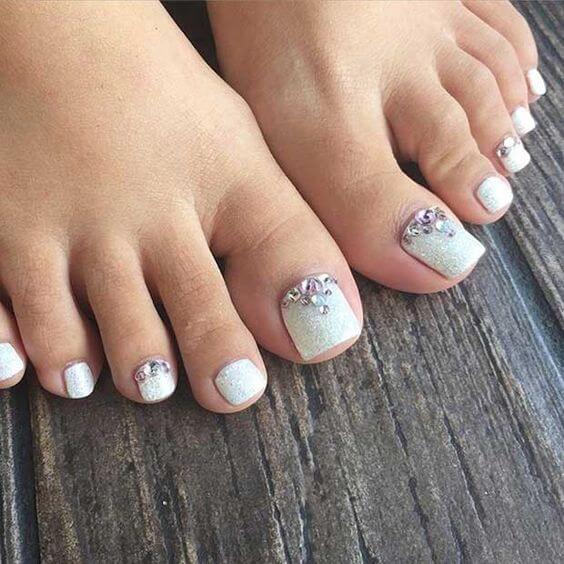
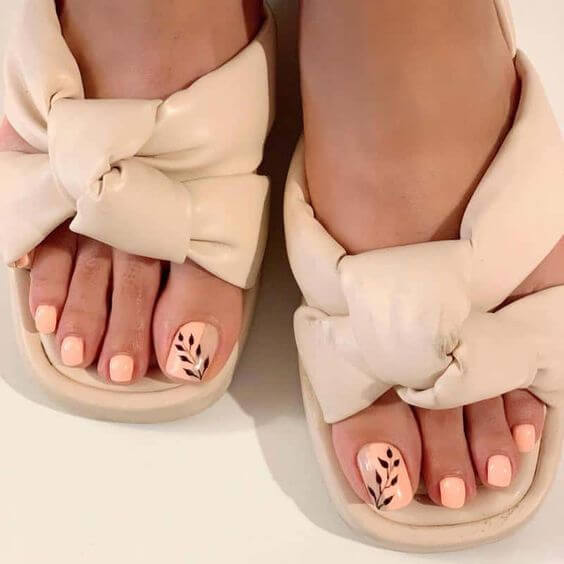
When considering a toe nail makeover, selecting the appropriate colors is crucial. For spring and summer, think about light or pastel shades that reflect the season’s joy. Cooler months call for richer, deeper tones that mirror the environment. Additionally, choosing colors that complement your skin tone enhances the overall appearance, making your feet stand out in sandals or barefoot on the beach.
Simple Designs to Try
For those starting their journey in nail art, here are a few simple yet appealing designs:
- Polka Dots: They’re fun and easy to apply. Use a toothpick or a dotting tool to make small, even dots over a base color.
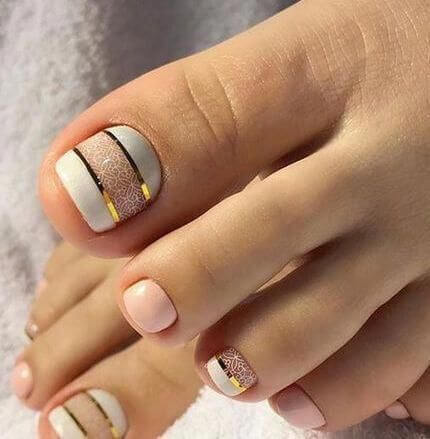
- Stripes: Vertical or horizontal, stripes can be created with tape as a guide for a neat and tidy line.
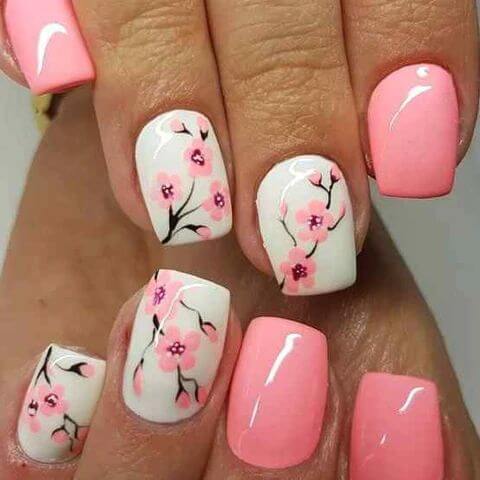
- Floral Patterns: While slightly more complex, simple flowers can be created using a thin brush or the tip of a toothpick.
Tools You Will Need
To embark on your nail design journey, a few essential tools will make the process smoother:
- A set of nail polishes
- A clear base coat and top coat
- Dotting tools or toothpicks
- Nail tape for stripes
- A fine brush for detailed work
Using these tools effectively can make a significant difference in the precision and appeal of your designs.
Step-by-Step Guide to Applying Simple Toe Nail Designs
Follow these steps to achieve beautiful toe nails:
- Preparation: Start with clean, trimmed nails. Buffing them gently ensures an even surface.
- Base Coat: Apply a clear base coat to protect your nails.
- Design Application: Paint the base color and let it dry before you start with designs. Use your tools to carefully apply your chosen patterns.
- Sealing the Design: A top coat will seal your design and add a glossy finish.
Maintenance Tips
Ensuring your toe nail design lasts involves simple upkeep:
- Apply a top coat every few days to prevent chipping.
- Keep your nails moisturized and avoid harsh chemicals.
Conclusion
DIY nail art is not just about beauty; it’s a form of self-expression that adds a unique touch to your style. With the simple designs discussed, you can start experimenting today to see what works best for you. Remember, each design reflects a part of your personality, so have fun with it!