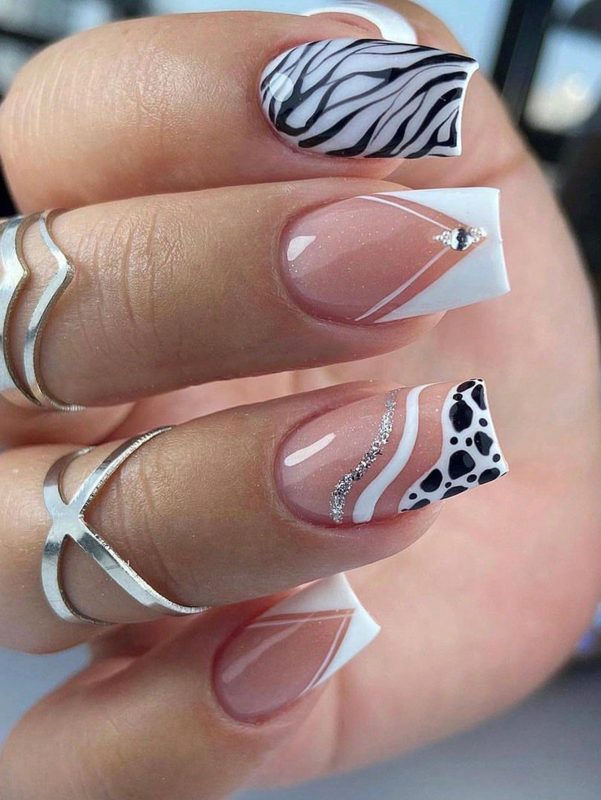
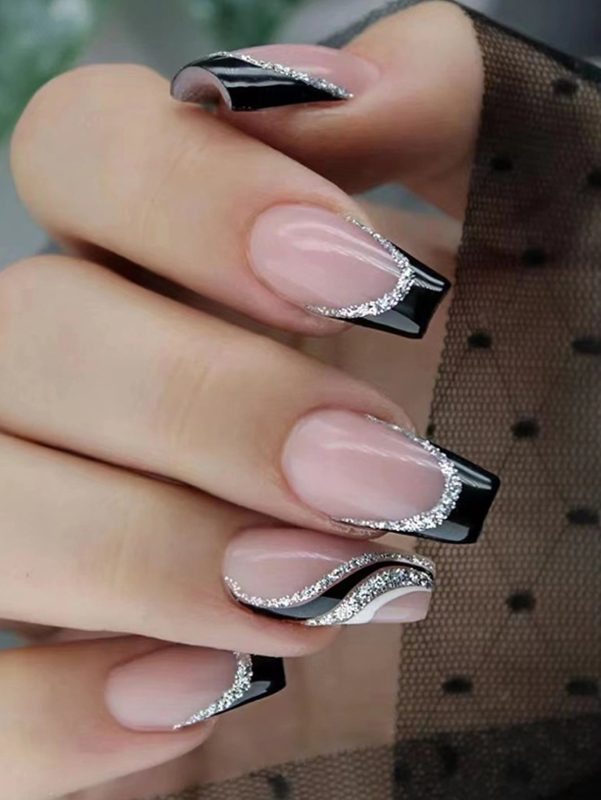
Doing gel nails at home can seem daunting at first, but with the right tools and a bit of practice, you can achieve a salon-quality manicure from the comfort of your own home. Here’s a comprehensive guide to help you get started:
1. Gather Your Supplies
To create gel nails at home, you’ll need a few key supplies:
- Gel nail polish (base coat, color coat, and top coat)
- Nail file and buffer
- Cuticle pusher and nipper
- Nail cleanser or rubbing alcohol
- Lint-free wipes
- UV or LED nail lamp
- Cuticle oil (optional but recommended)
2. Prep Your Nails
Proper nail preparation is crucial for a long-lasting gel manicure:
- Cleanse your nails with nail cleanser or rubbing alcohol to remove any oils or residue.
- Shape your nails using a nail file. Choose a shape that complements your hands and fingers.
- Gently push back your cuticles with a cuticle pusher. If necessary, carefully trim any excess cuticle skin with a cuticle nipper. Be cautious not to cut too close to the skin to avoid injury.
- Buff the surface of your nails lightly. This helps the gel polish adhere better.
- Wipe your nails again with a nail cleanser or rubbing alcohol to remove any dust or debris.
3. Apply the Gel Polish
Now, you’re ready to apply the gel polish. Each layer will need to be cured (hardened) under a UV or LED lamp.
- Apply a thin layer of base coat to each nail, capping the free edge to avoid lifting. Cure under the UV or LED lamp according to the lamp and polish instructions (usually 30 seconds to 2 minutes).
- Apply the gel color polish in a thin layer. Be careful to avoid the cuticles and skin around your nails. Cure under the lamp. For a more opaque finish, apply a second thin layer and cure again.
- Apply a top coat to seal in the color and add a glossy finish. Cure under the lamp.
4. Cleanse and Hydrate
After curing the top coat, there might be a sticky residue on your nails.
- Wipe your nails with a lint-free wipe soaked in nail cleanser or rubbing alcohol to remove any residue.
- Apply cuticle oil around the base of each nail to rehydrate your skin and cuticles after the drying effects of the gel application.
Tips for Success
- Thin Layers: Applying the gel polish in thin layers is key. Thick layers may not cure properly, leading to wrinkles or bubbles.
- Cap the Free Edge: Running the brush along the tip of your nail can prevent chipping and lifting.
- UV vs. LED Lamp: LED lamps cure gel polish faster than UV lamps. Make sure your gel polish is compatible with your lamp.
- Safety First: Wear sunscreen on your hands or use anti-UV gloves with the fingertips cut off to protect your skin from the UV exposure if using a UV lamp.
Removal
When you’re ready to remove your gel polish, soak your nails in acetone for about 10–15 minutes until the polish softens and can be gently removed with a wooden stick or pusher. Never peel or scrape off the polish forcefully, as this can damage your nail bed.
With patience and practice, doing your gel nails at home can be a rewarding and creative way to maintain beautiful nails.