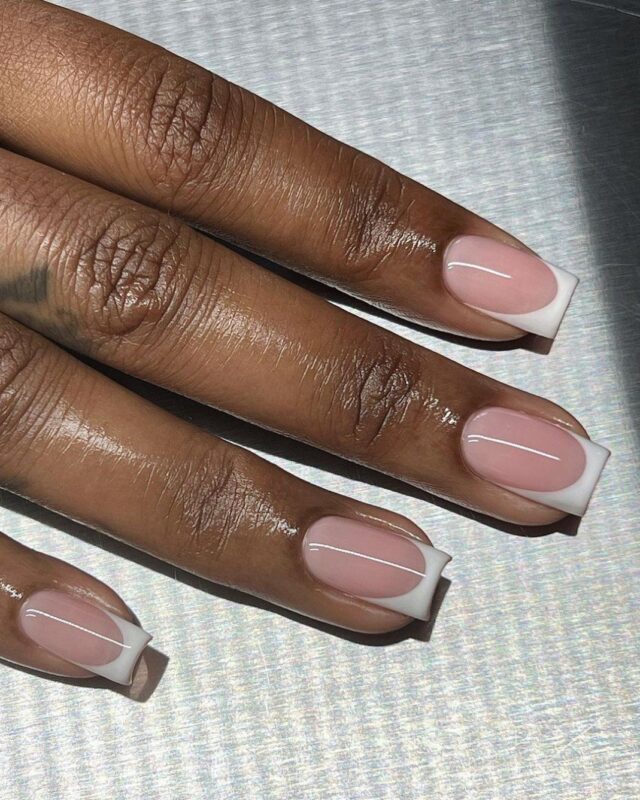
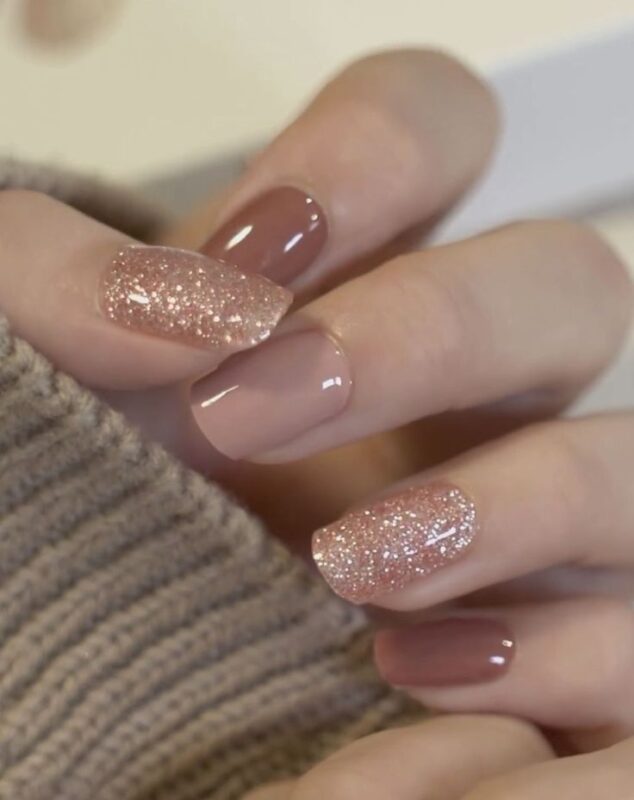
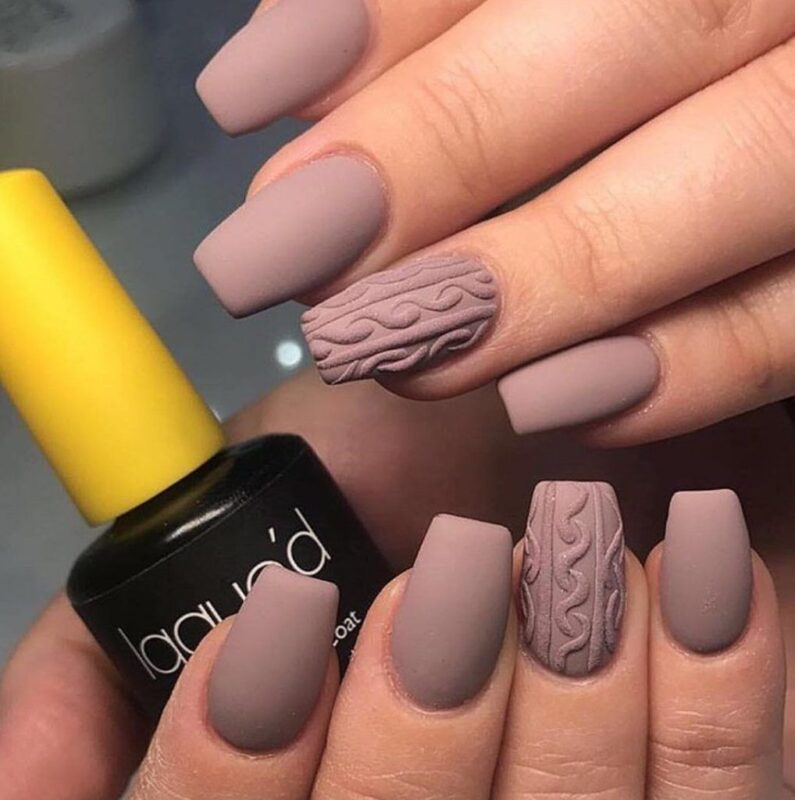
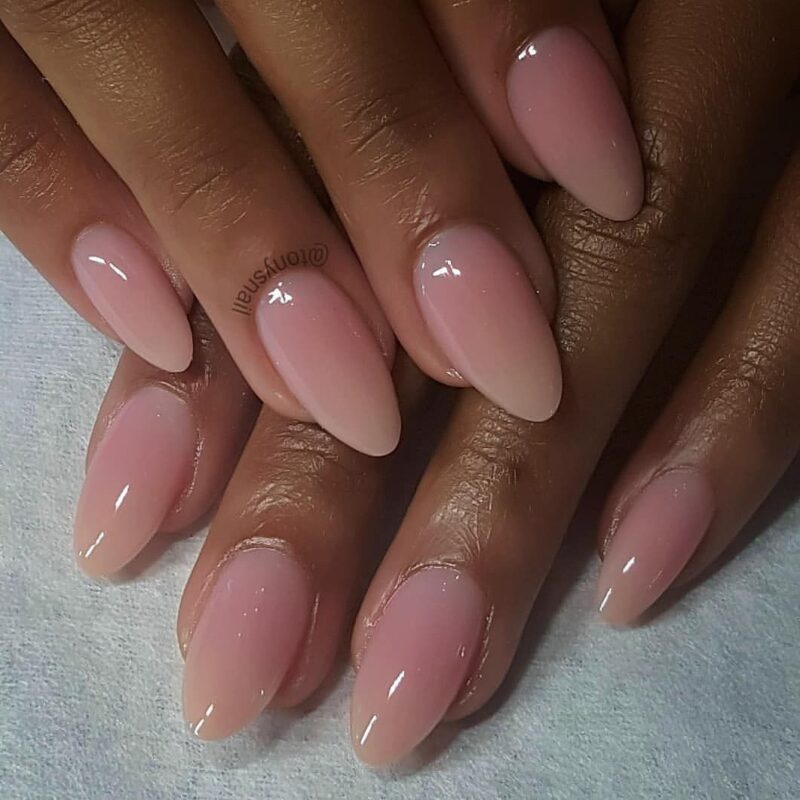
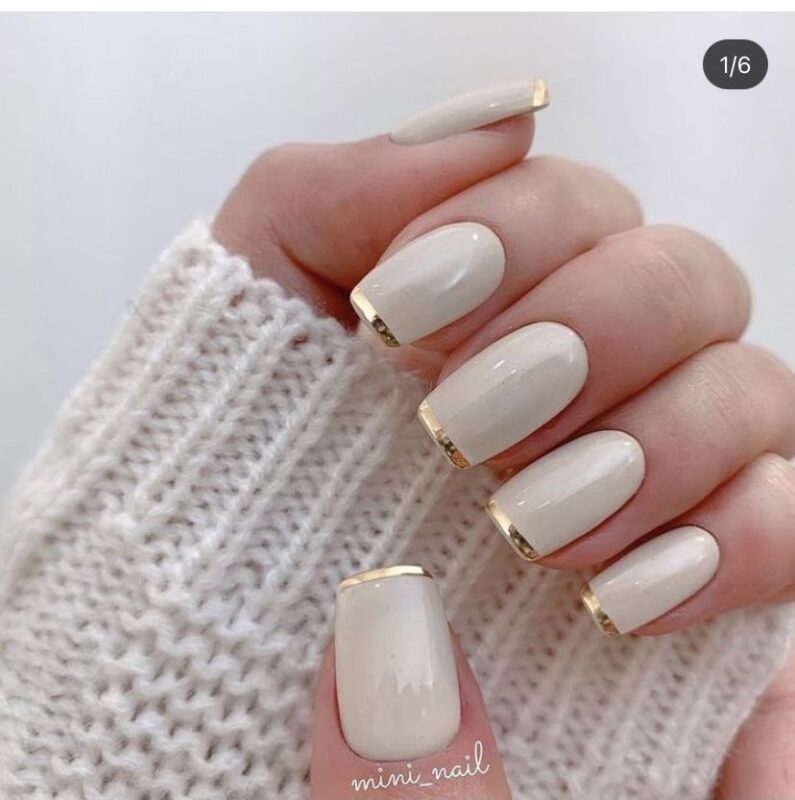
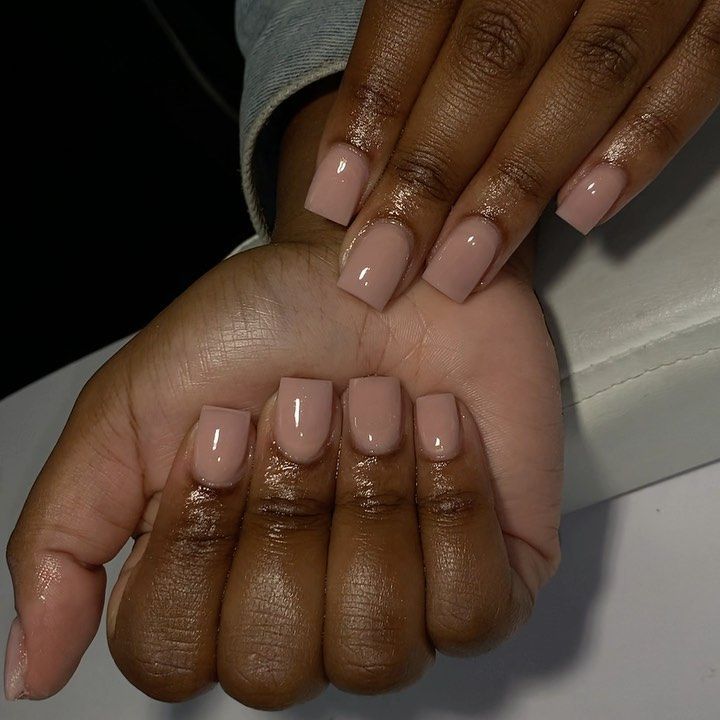
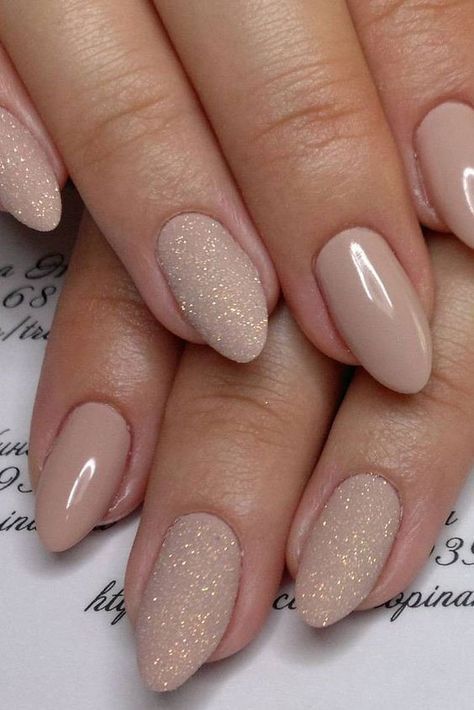
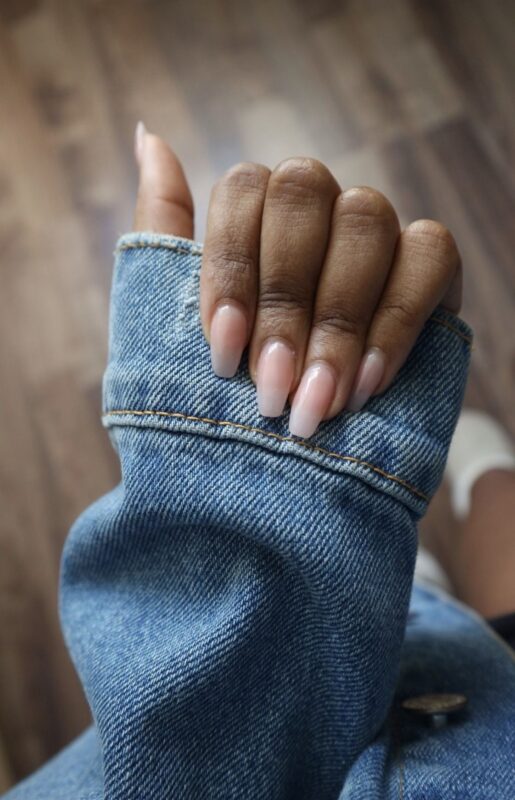
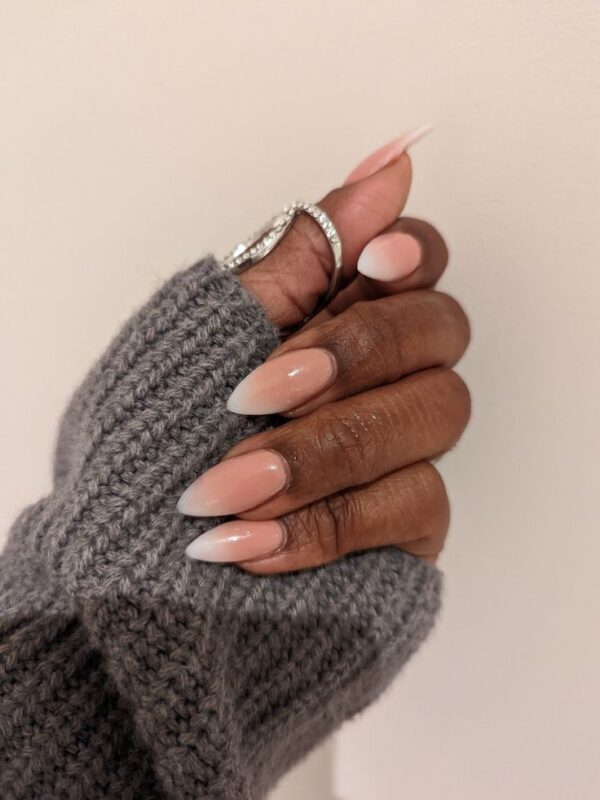
Dip nails, known for their durability and the ease of application compared to traditional acrylics, are a popular choice for long-lasting manicures. This method involves applying a base coat, then dipping your nails into colored powder, followed by a sealant. It creates a robust, layered effect that can last for weeks without chipping. Here’s a comprehensive guide to doing dip nails:
Materials Needed:
- Nail file and buffer
- Cuticle pusher
- Nail clippers (if necessary)
- Dip powder kit (usually includes base coat, activator, top coat, and colored powder)
- Brush for removing excess powder
- Cuticle oil (optional)
Preparation:
- Clean Your Nails: Make sure your nails are clean, dry, and free of any old polish.
- Shape Your Nails: Clip and file your nails to the desired shape.
- Buff the Nail Surface: Gently buff the surface of your nails to create a slightly rough texture. This helps the product adhere better.
- Push Back Cuticles: Use a cuticle pusher to push back your cuticles gently.
Application Process:
- Apply the Base Coat: Apply a thin layer of the base coat to one nail. It’s important to do this one nail at a time to prevent the base coat from drying before you dip.
- Dip Into Powder: Immediately dip your finger into the powder at a 45-degree angle. Tap off any excess powder.
- Repeat the Process: Apply the base coat and dip each nail. Some prefer to do this process twice on each nail for added thickness and durability.
- Brush Off Excess Powder: Use a soft brush to remove any loose powder from your nails and surrounding skin.
- Apply Activator: Apply a generous amount of activator to each nail. This hardens the powder and makes it easier to file and shape.
- Shape and Buff Nails: Once the activator is dry, shape your nails with a file and smooth the surface with a buffer.
- Apply the Top Coat: Apply a thin layer of the top coat for a glossy finish. You might need to apply two layers, depending on the product instructions.
- Apply Cuticle Oil (Optional): Once the top coat is dry, you can apply cuticle oil to rehydrate your cuticles.
Tips for Success:
- Work in a Well-Ventilated Area: The chemicals can be strong, so ensure good ventilation.
- Avoid Skin Contact: Try not to get the base coat or powder on your skin or cuticles. If this happens, it can cause lifting or irritation.
- Thin Layers: Use thin layers of the base coat to avoid clumpy or uneven nails.
- Seal the Edges: When applying the top coat, brush it over the tips of your nails to seal the edges for a longer-lasting manicure.
- Practice Patience: Allow enough time for each layer to dry to achieve the best results.
Aftercare:
- Rehydrate Your Nails: Use cuticle oil daily to keep your nails and cuticles hydrated.
- Protect Your Nails: Wear gloves when doing tasks that can be harsh on your nails, like cleaning with chemicals or gardening.
Removal:
When you’re ready to remove your dip nails, it’s important to do so carefully to avoid damaging your natural nails. You’ll generally need to file down the top layer and then soak your nails in acetone before gently scraping off the remaining product.
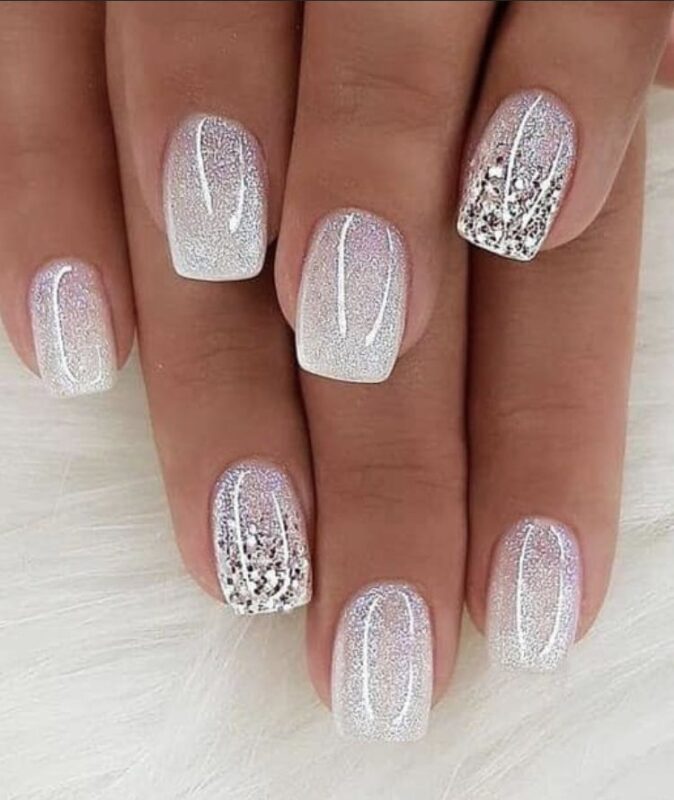
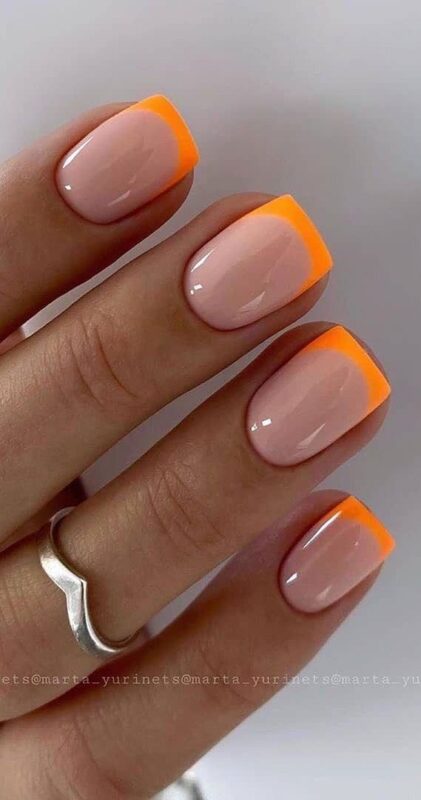
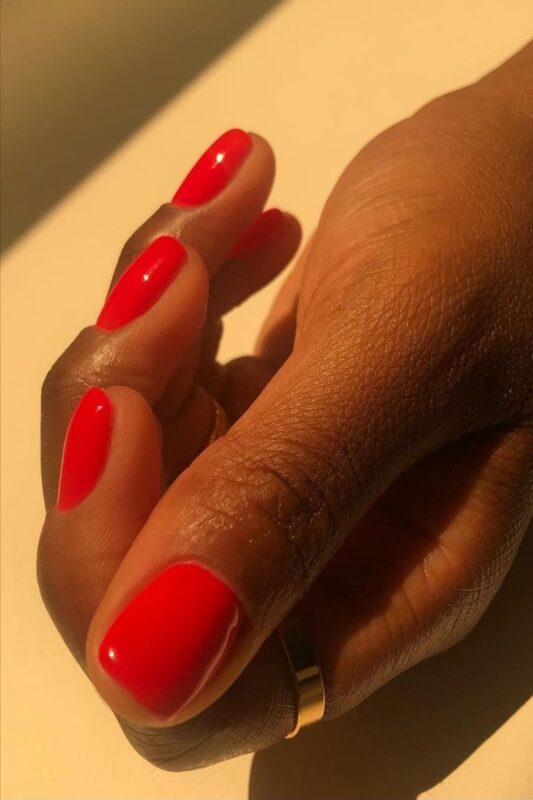
Dip powder nails can be a fun DIY project or a quick salon visit, and with a variety of colors and finishes available, the creative possibilities are endless! Remember, practice makes perfect, so don’t be discouraged if your first few attempts aren’t salon-perfect.