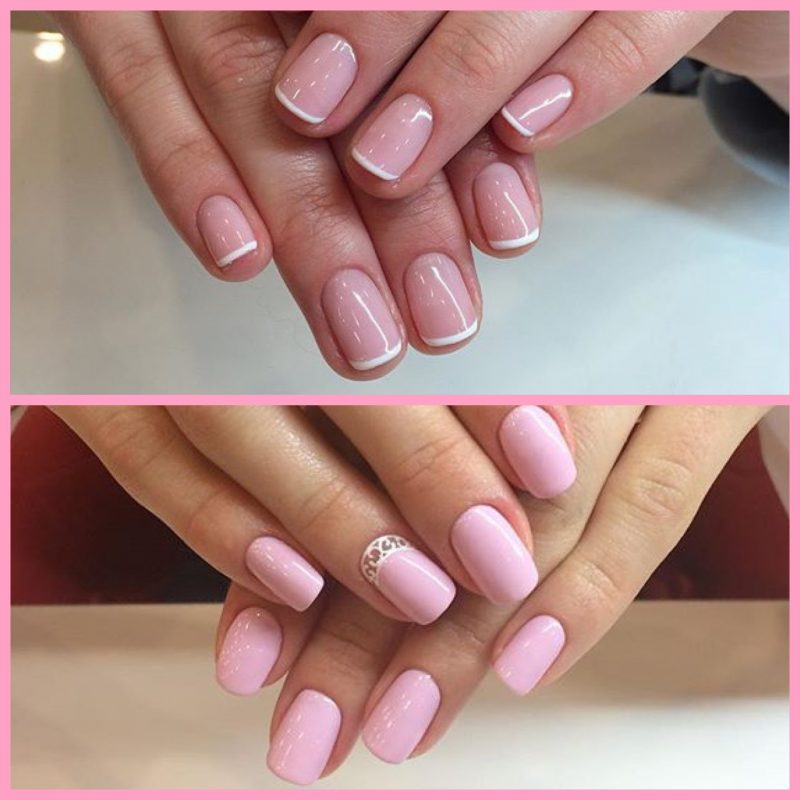
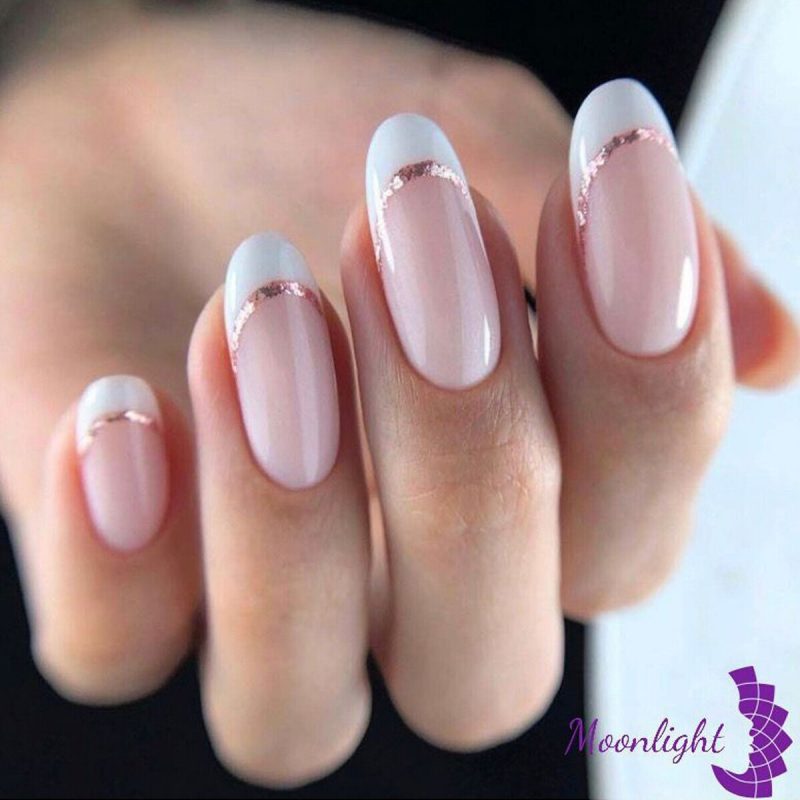
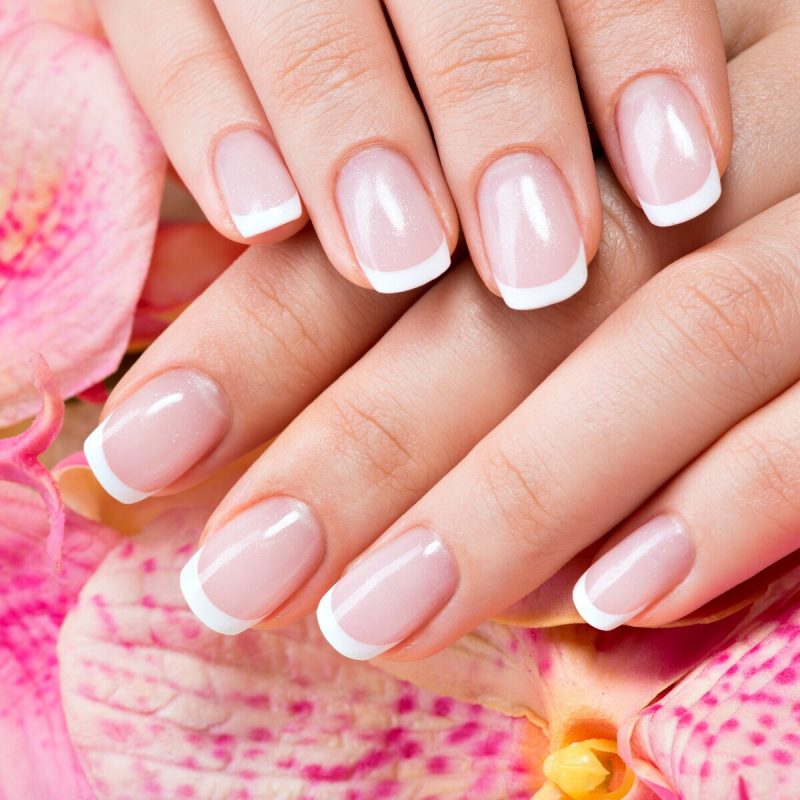
No matter how amazing the fact is, but not only eyes, face, gestures and pace, but almost any detail of the appearance, even nails, can define nature and mood of almost every representative of the gentle sex. By the way, the latter expresses a feminine essence no worse than a dress, a hairstyle or makeup. For example, classic French nails is nothing but restraint and refinement, moon nails is playfulness and flirtatiousness, Japanese designs are gentleness and femininity, gradient nails art is originality and courage. Intricate name “gradient” was given to nails for good reason. The reason for this is quite a complicated technique and an uncommon look.
Glitter Gradient Nails 2022
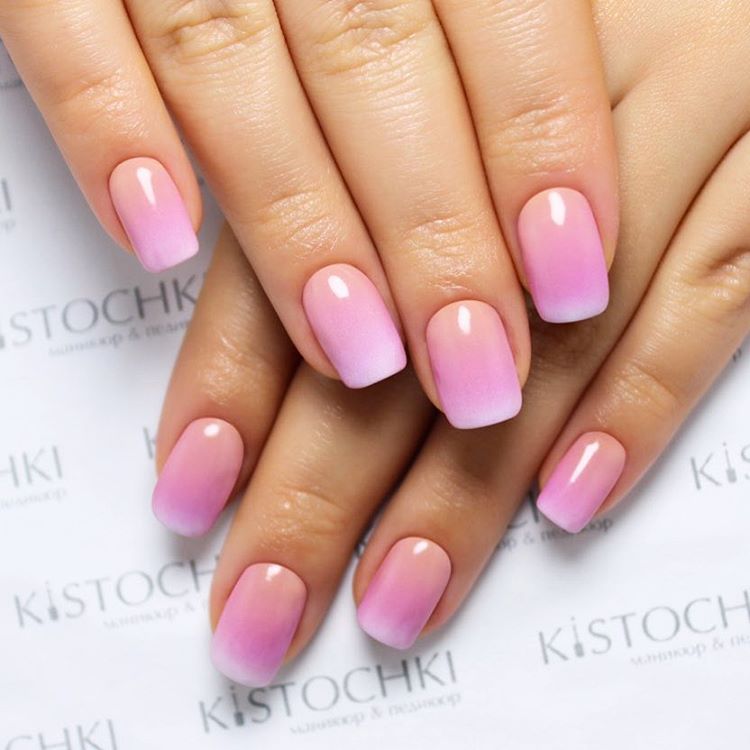
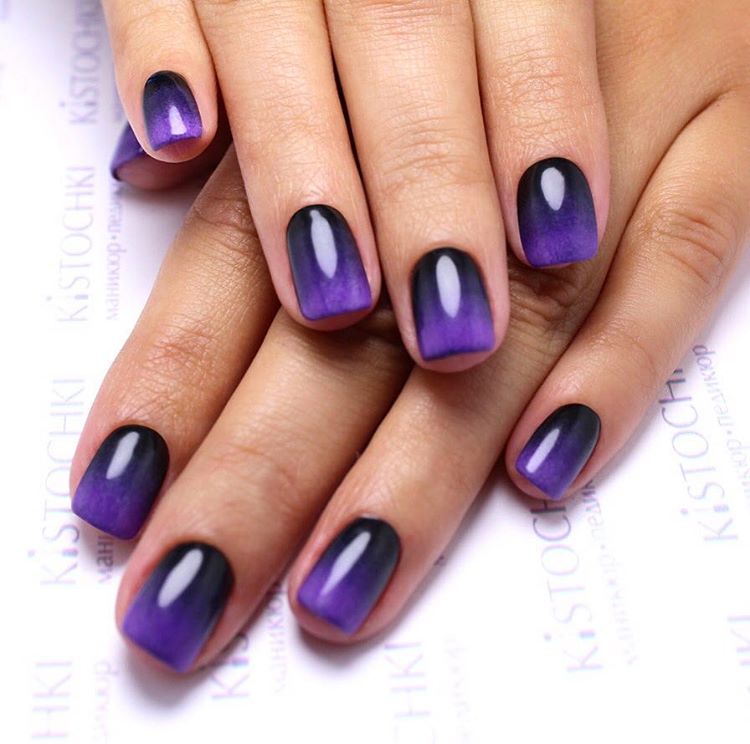
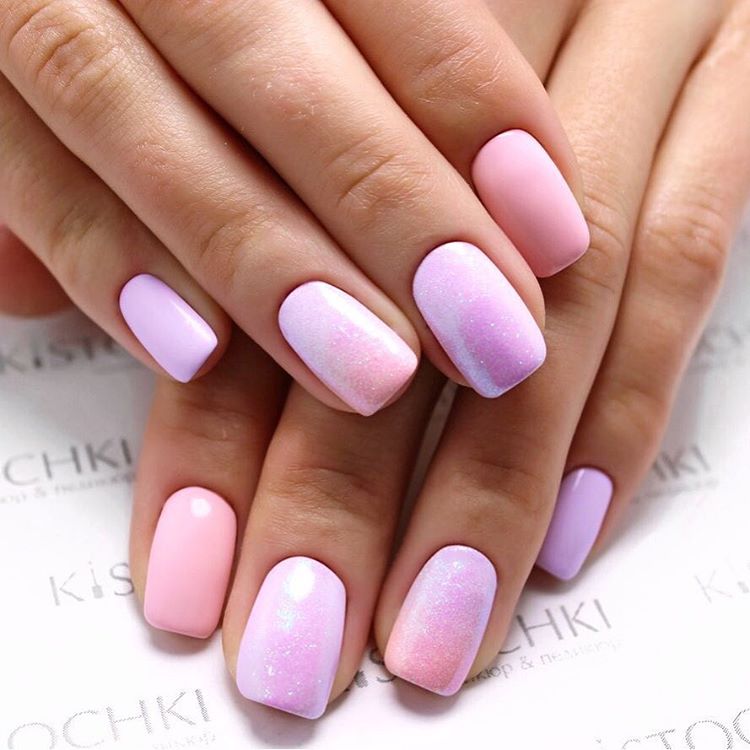
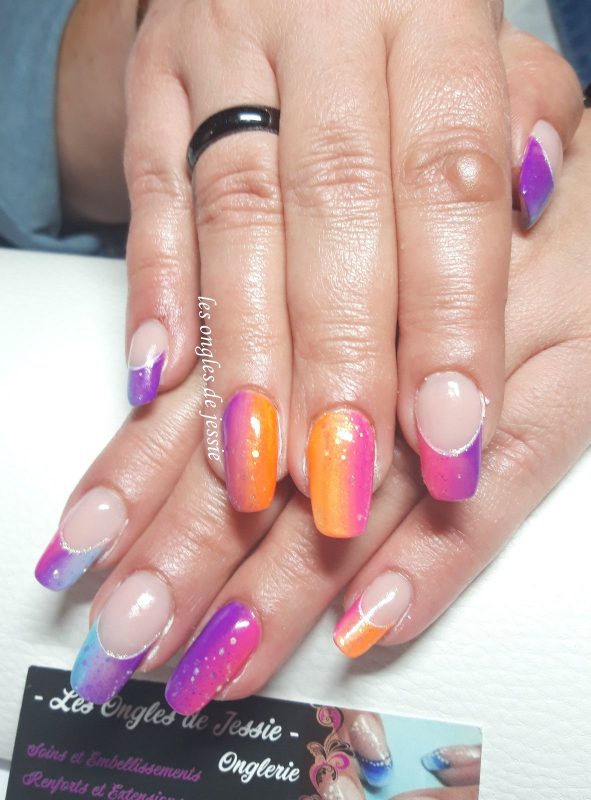
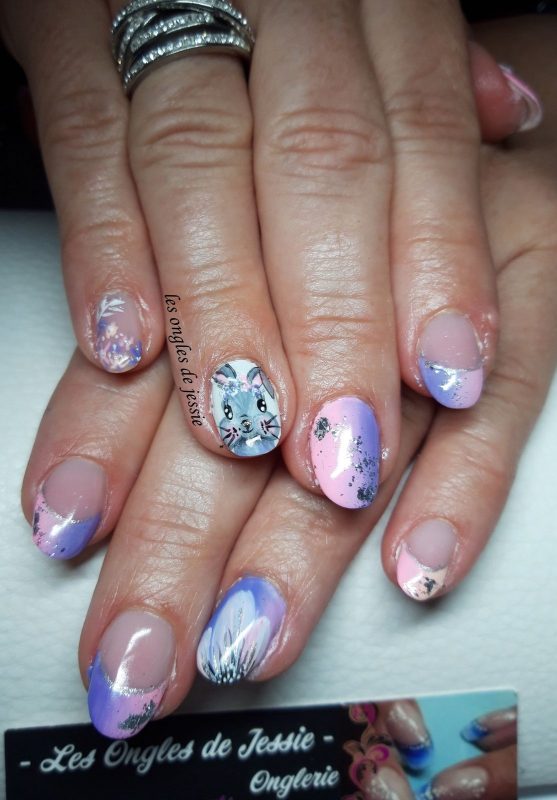
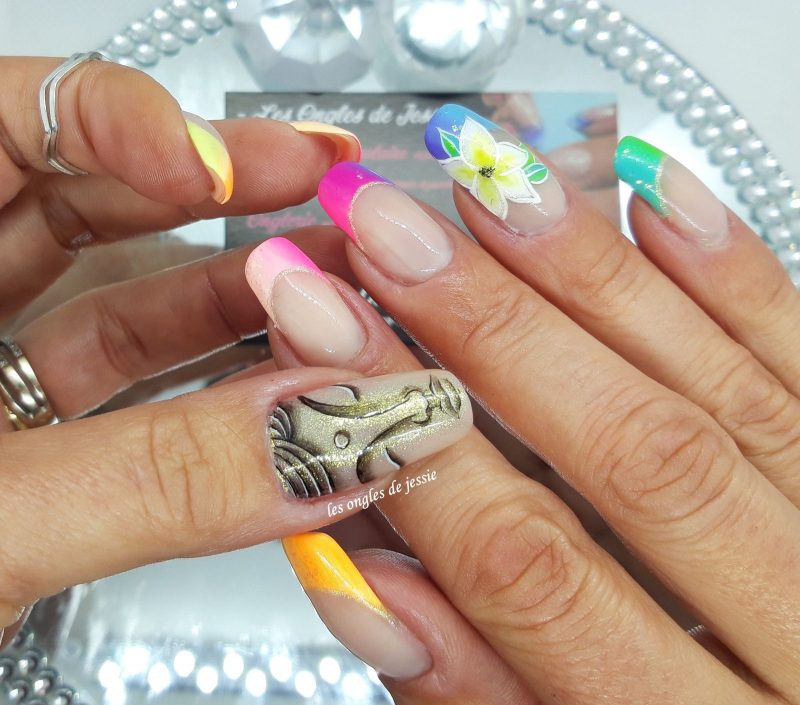
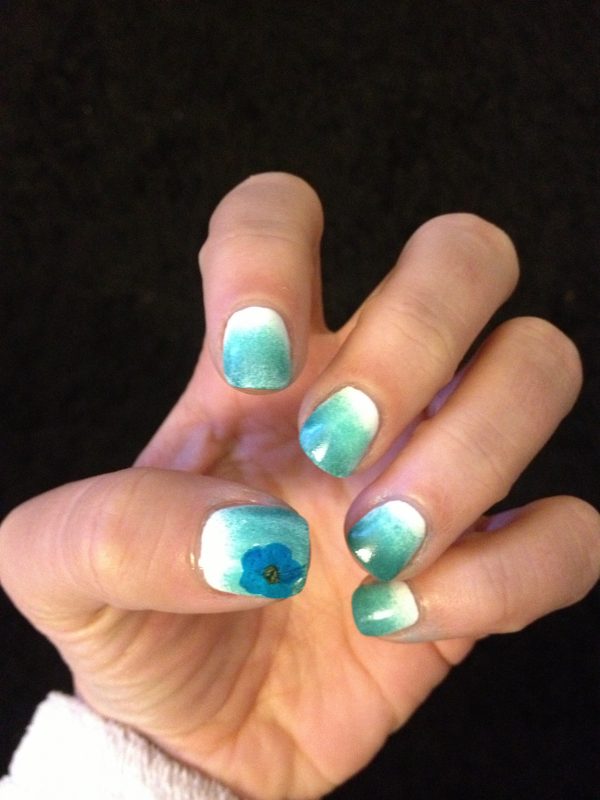
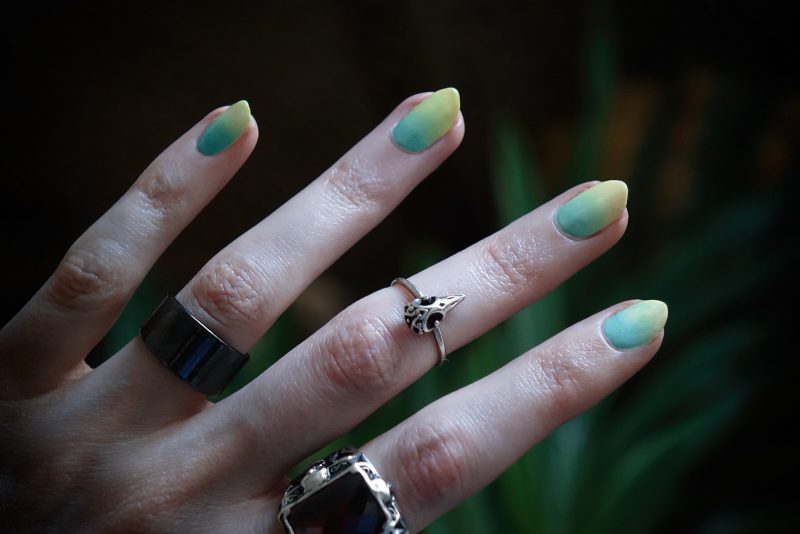
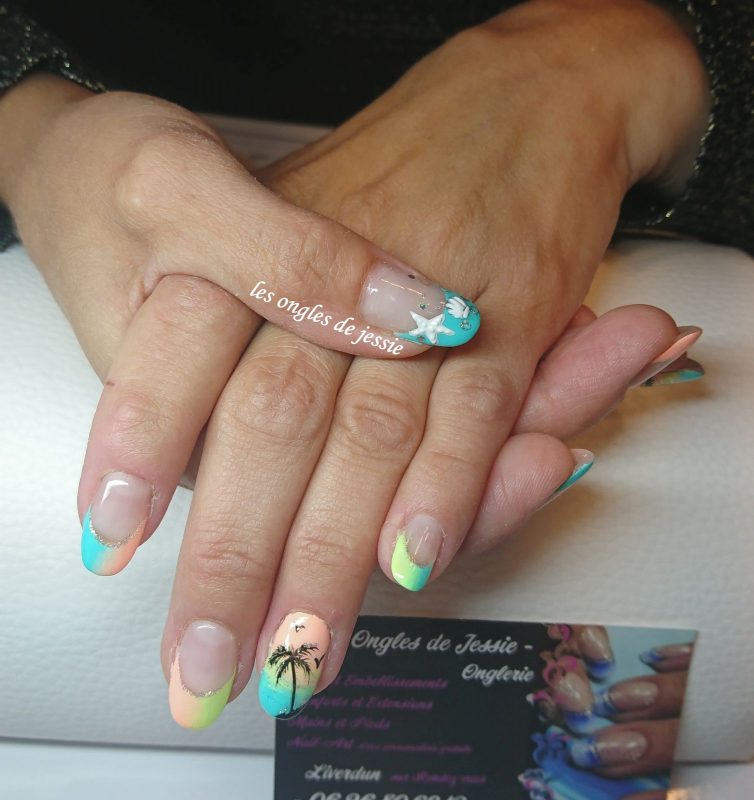
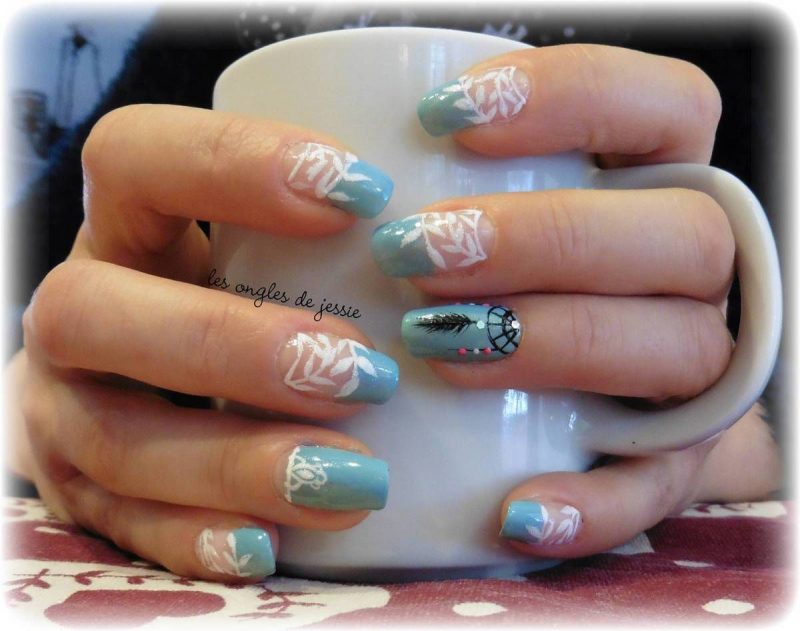
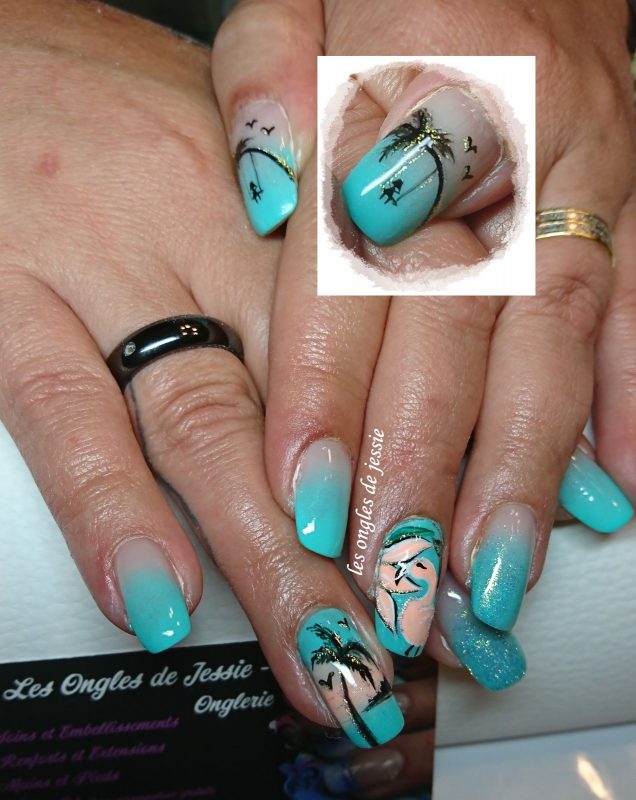
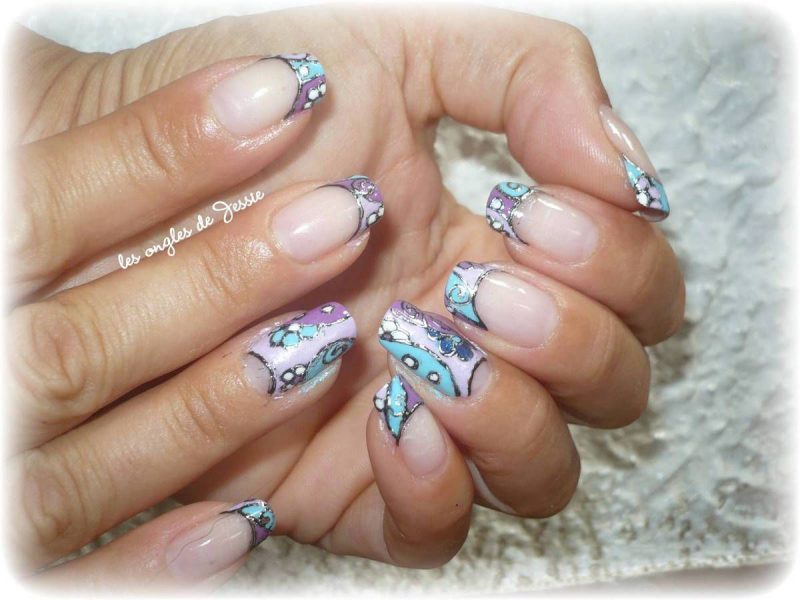
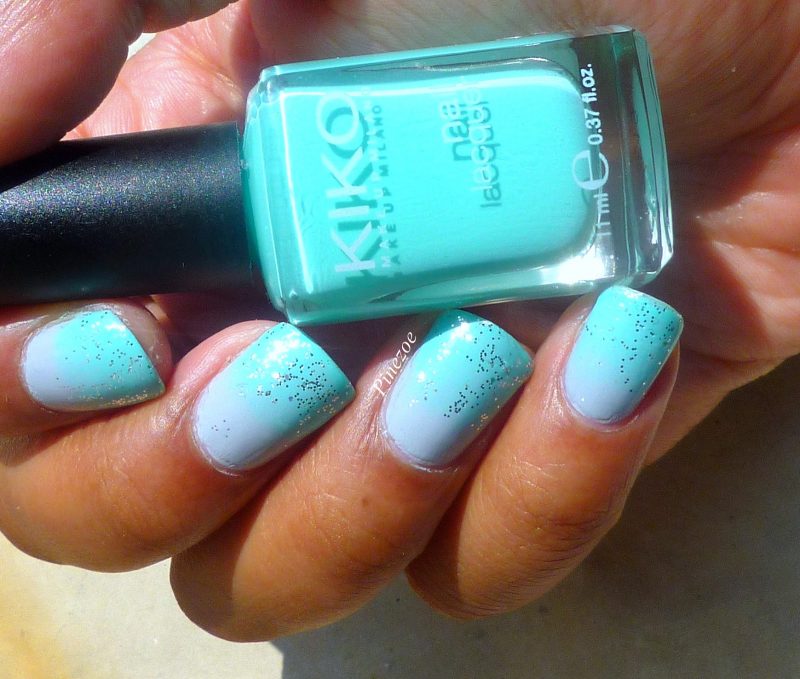
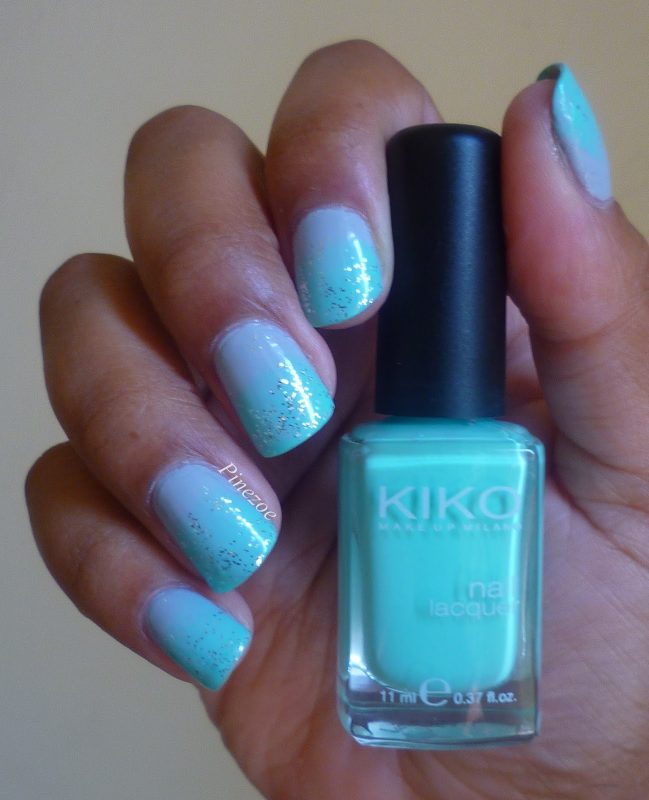
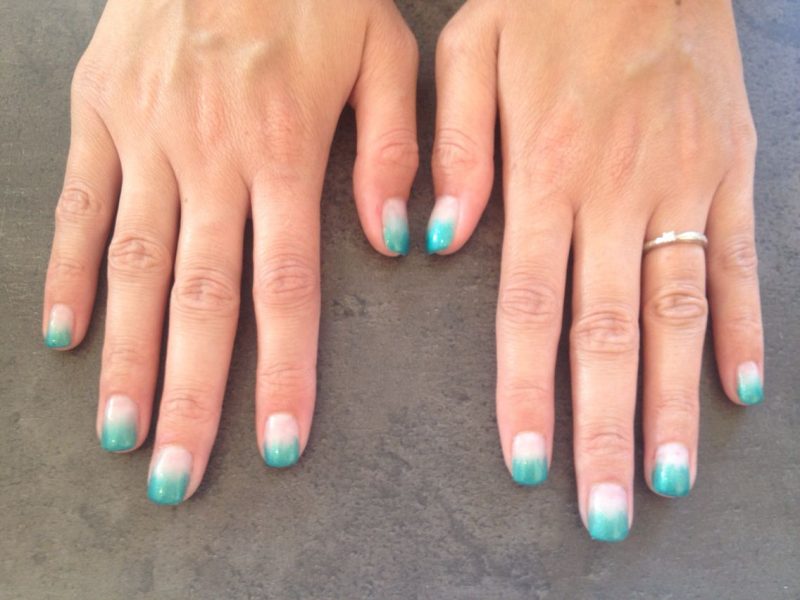
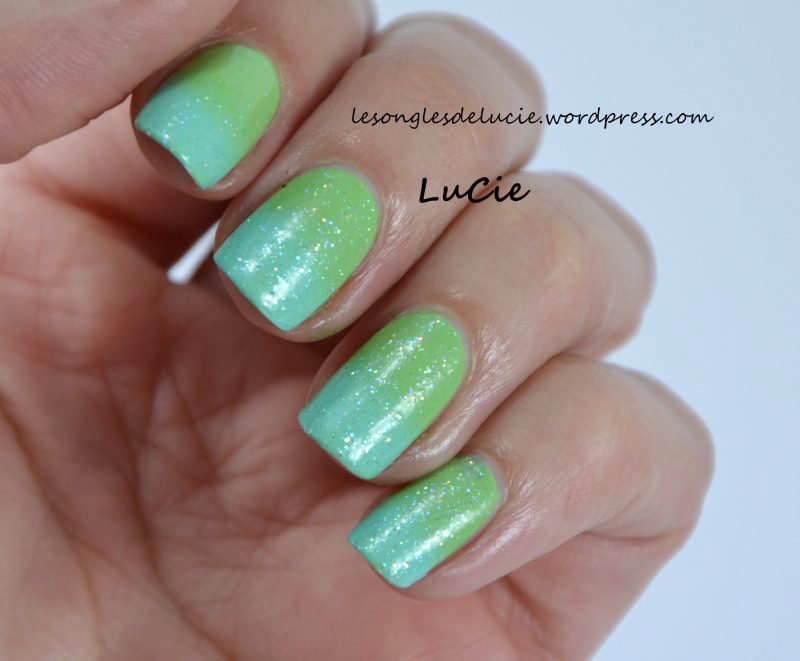
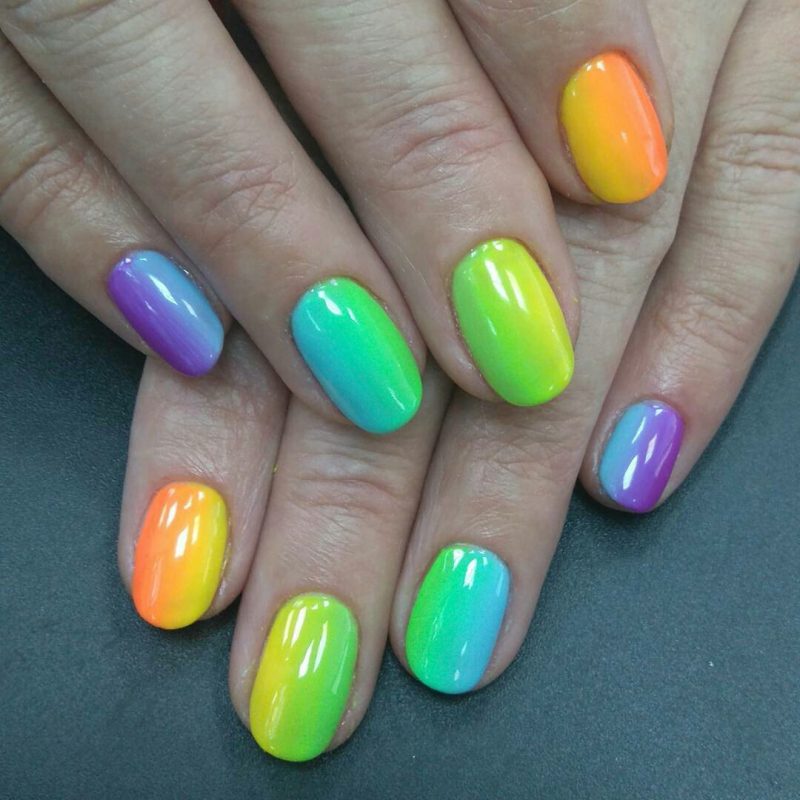
The glitter gradient nails design is based on smooth transitions of different shades of polish on one nail plate. As a result, there is a pattern resembling a rainbow on each nail, which, depending on taste preferences, can be very bright, cheerful or more calm and muffled. The rainbow style in nails is possible on the nails of various length and shape.
Although it looks more interesting on the long nails, but with some effort, the short nails with gradient design will be very attentive. To create beautiful color transitions you need certain skills supported by scrupulousness and the desire of achieving an excellent result.
Every girl can master the technique of glitter gradient nails at home if she has a desire. The main thing is to find a full-fledged source for learning and practice your skills. Learn all the necessary information about the purple gradient nails design from our article, and you nails can serve as your “canvas” for creative experiments. So, let’s talk about the advantages of glitter gradient nails, its technique and the arsenal of tools that’s necessary for this.
Advantages of Gradient nails
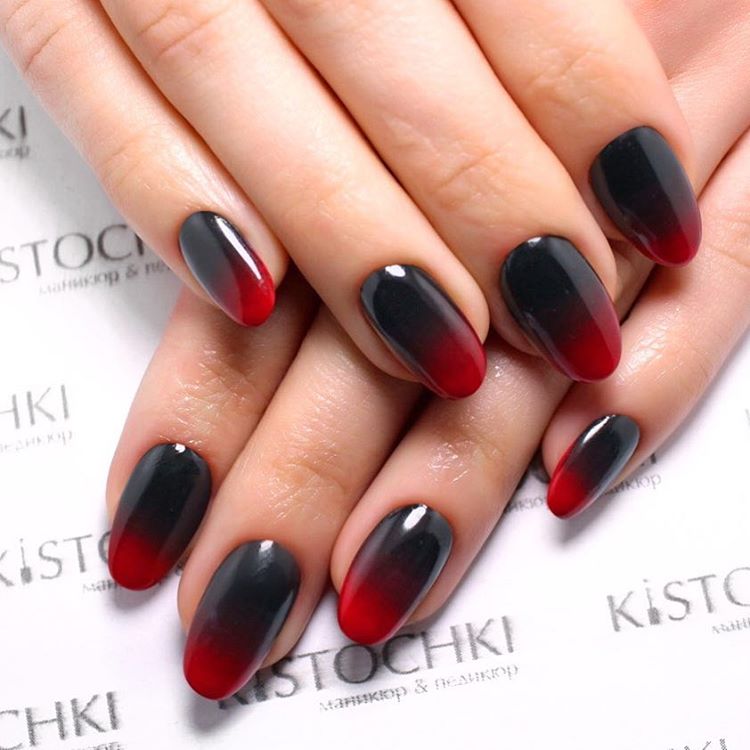
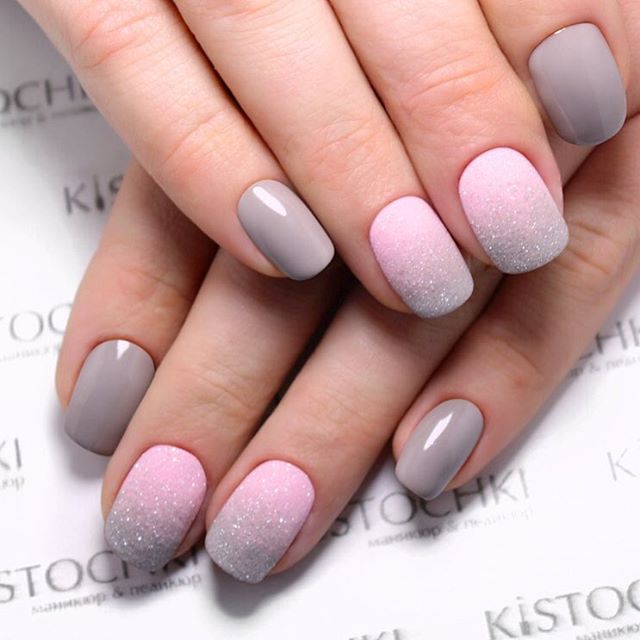
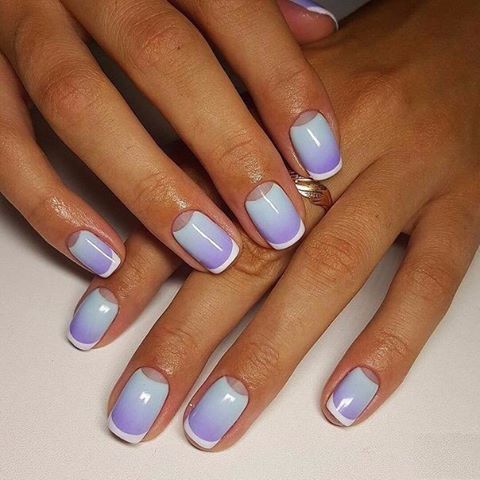
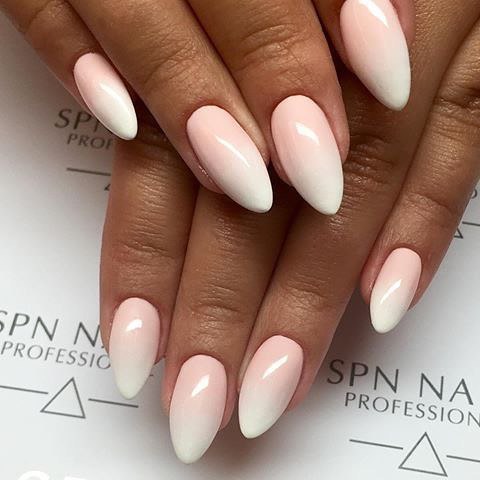
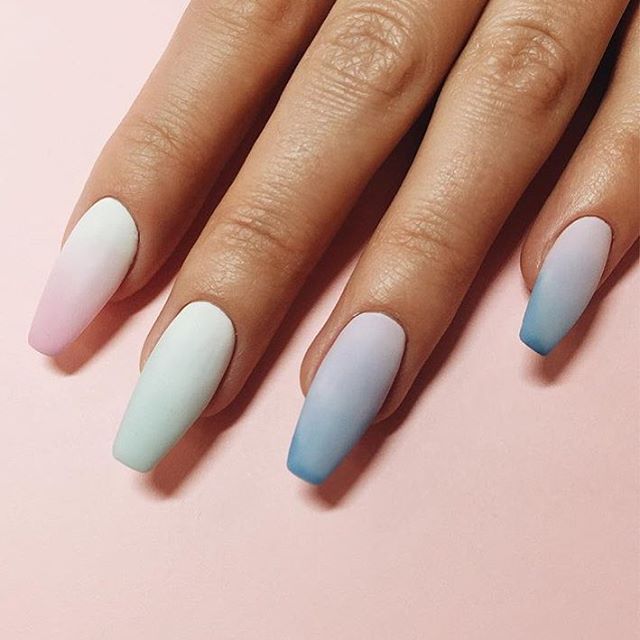
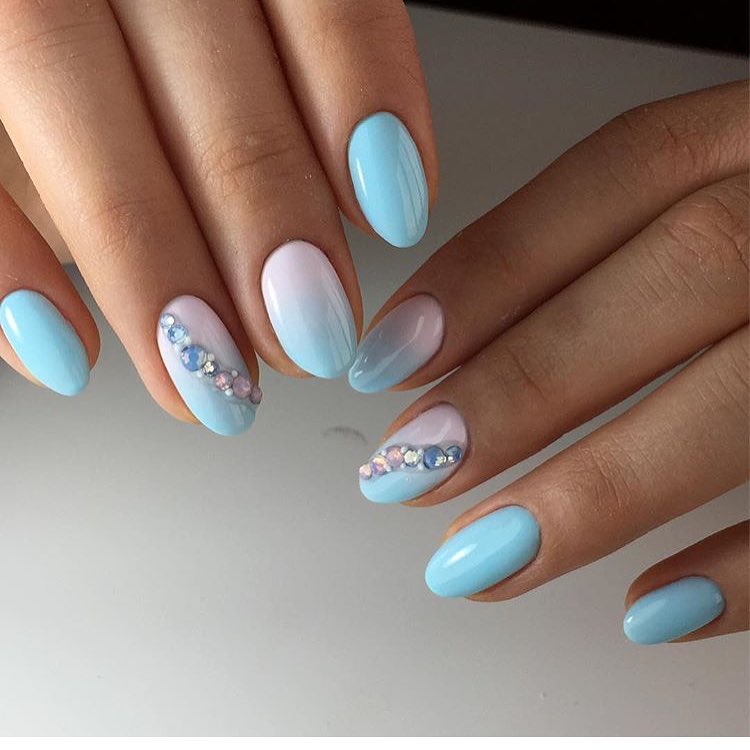
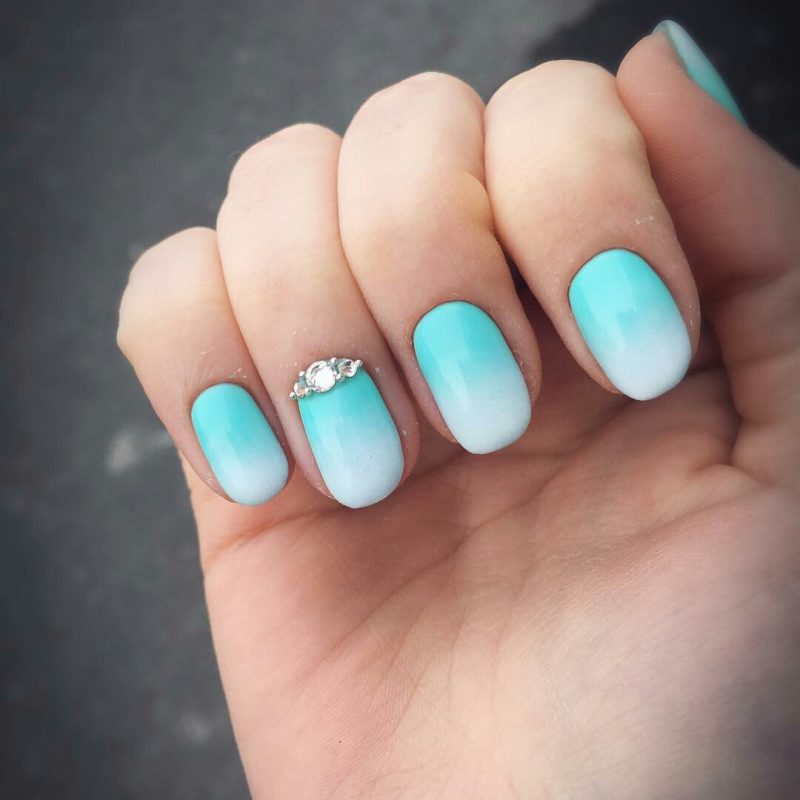
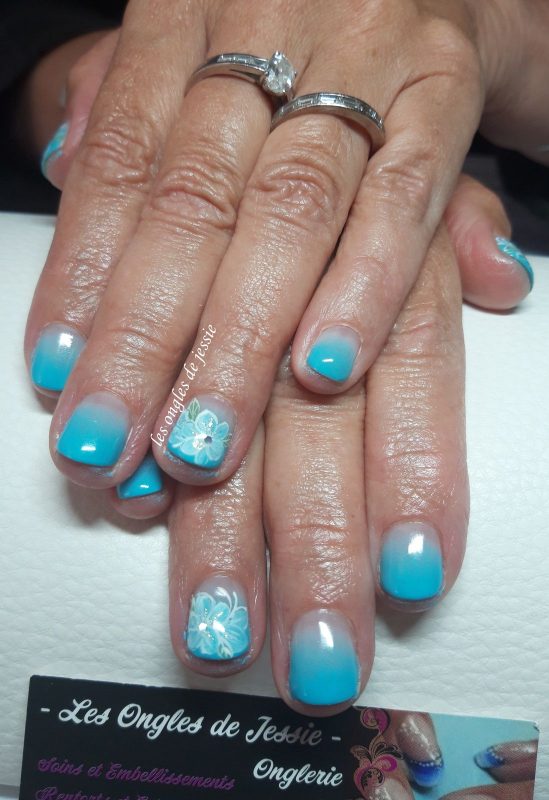
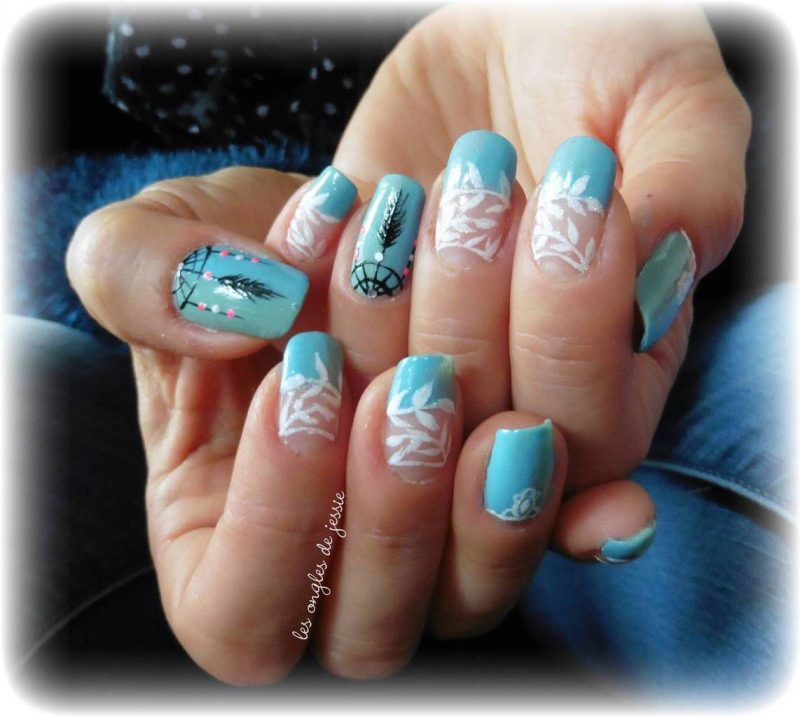
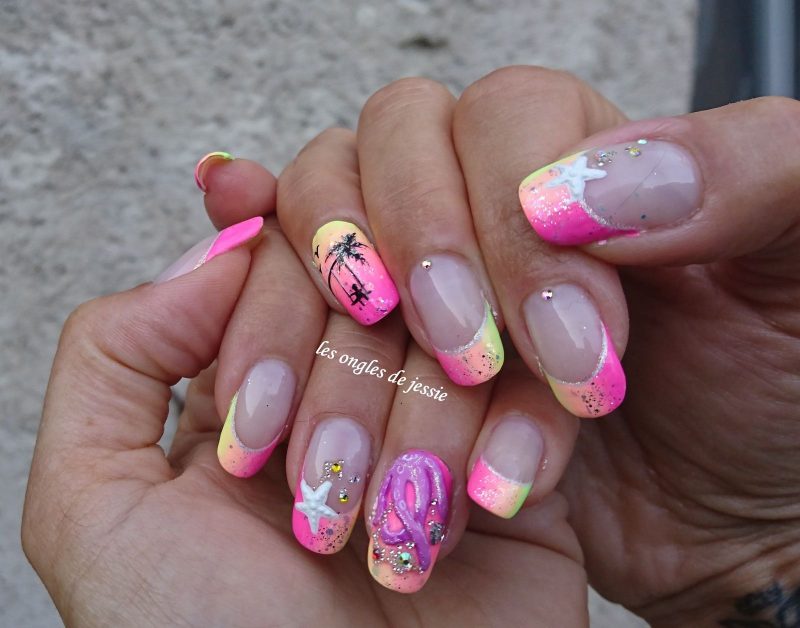
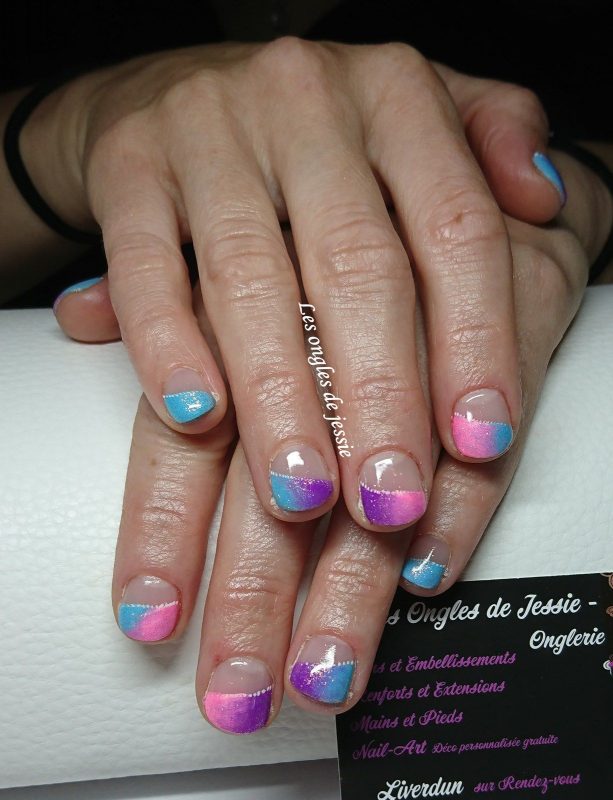
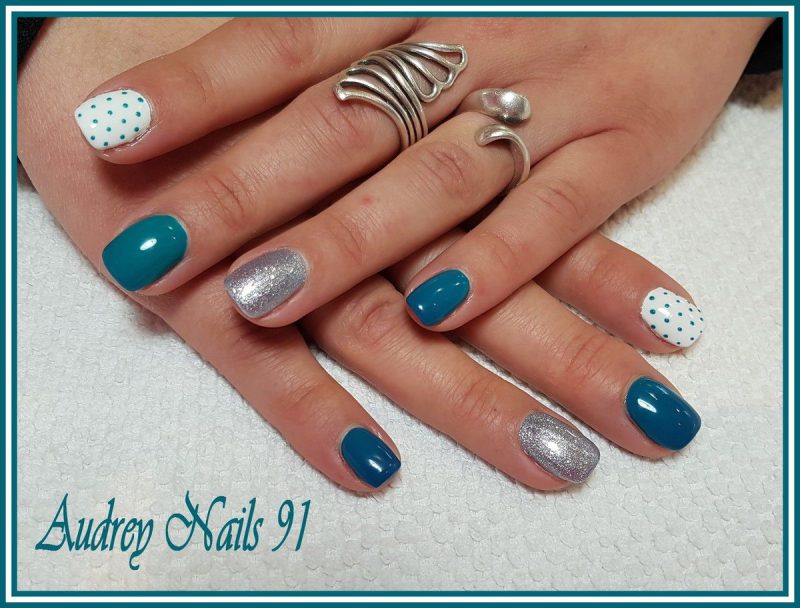
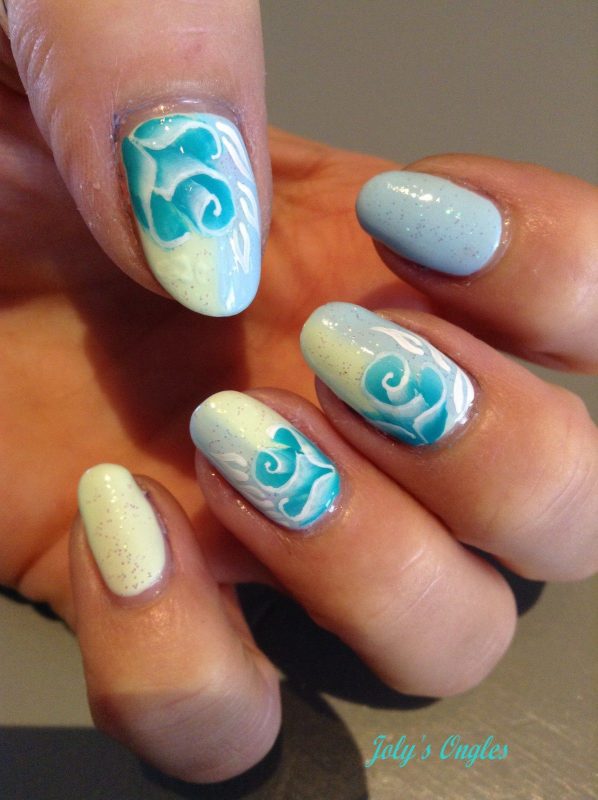
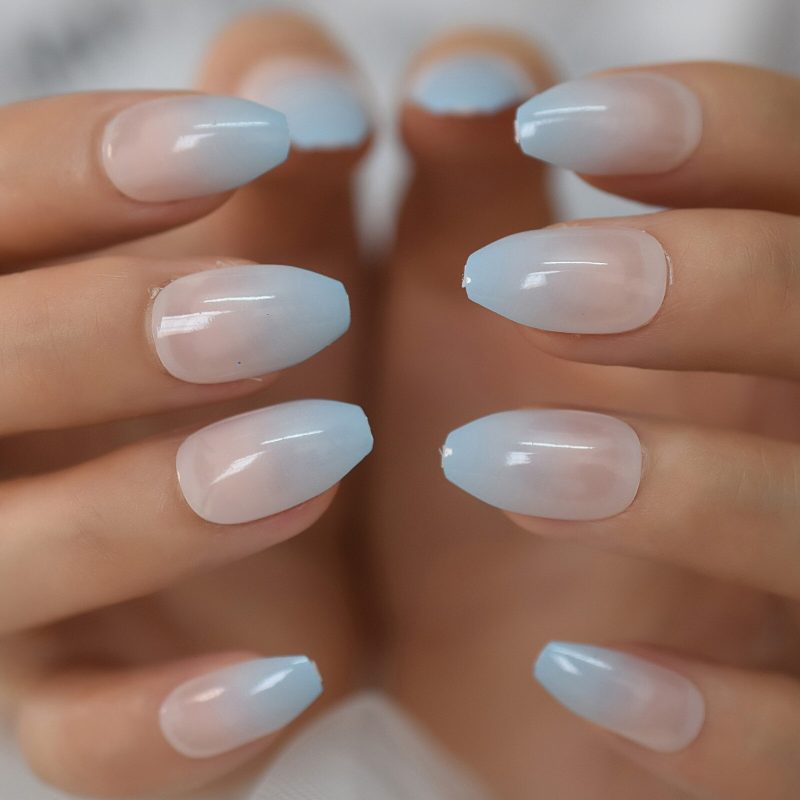
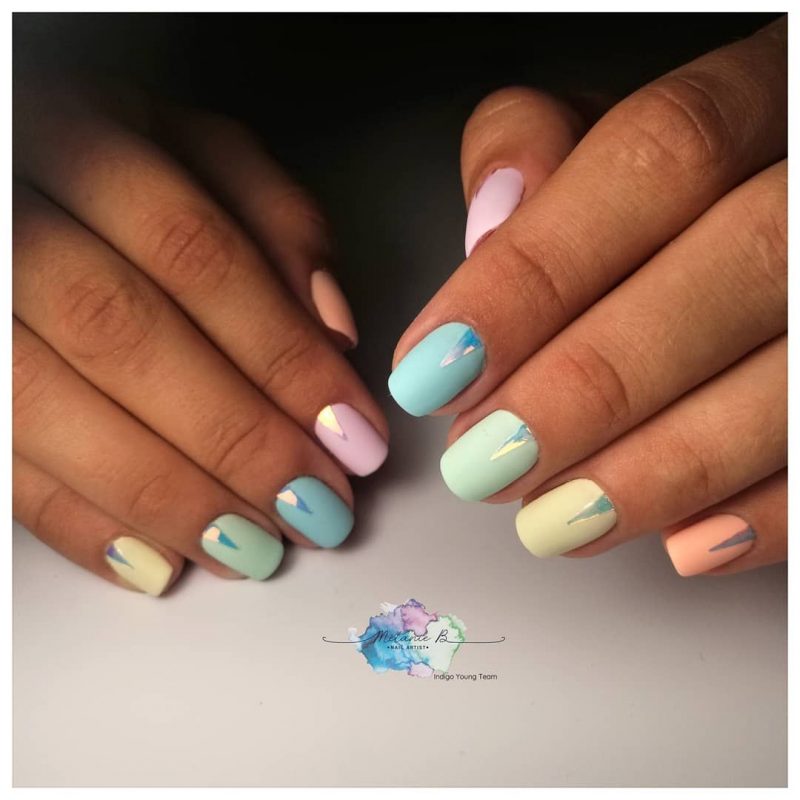
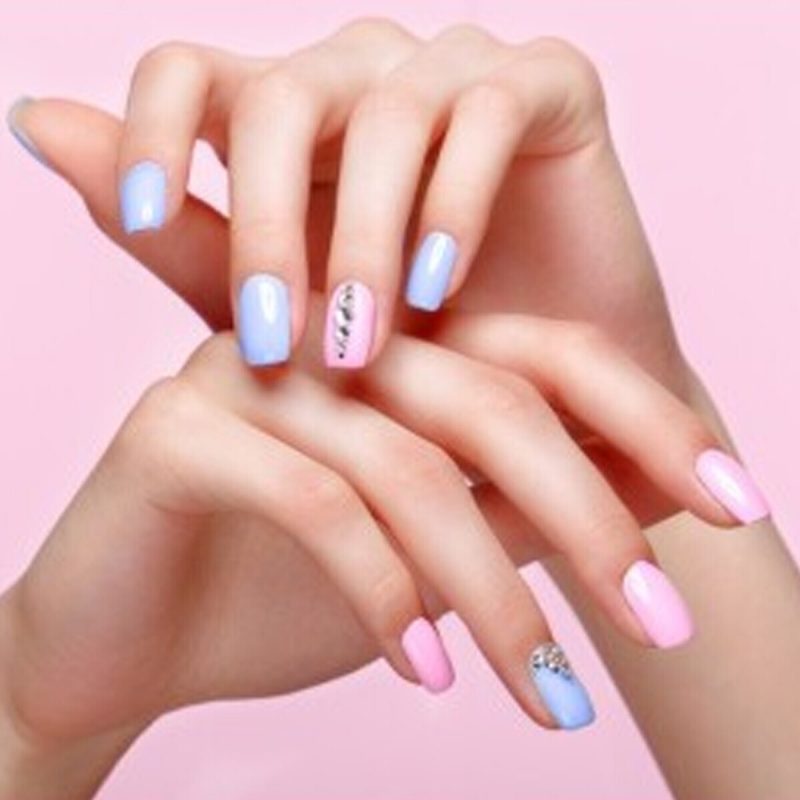
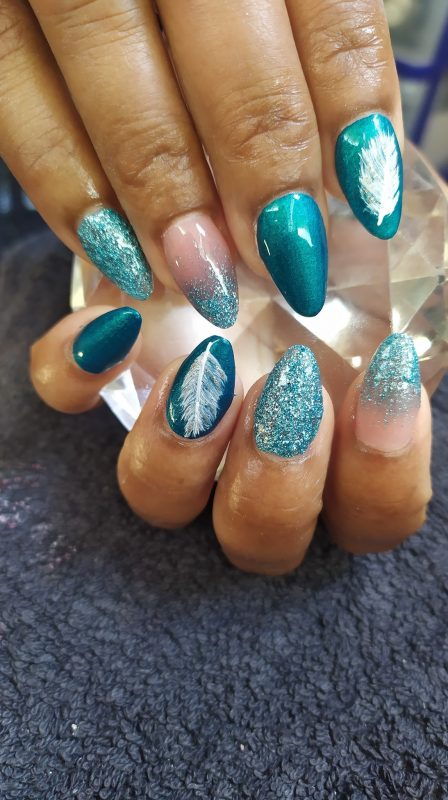
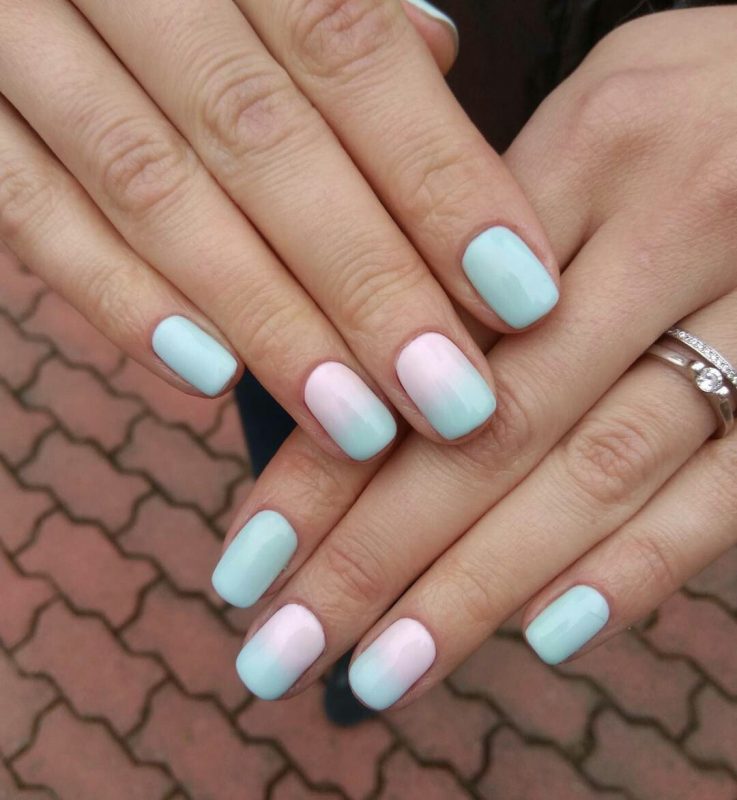
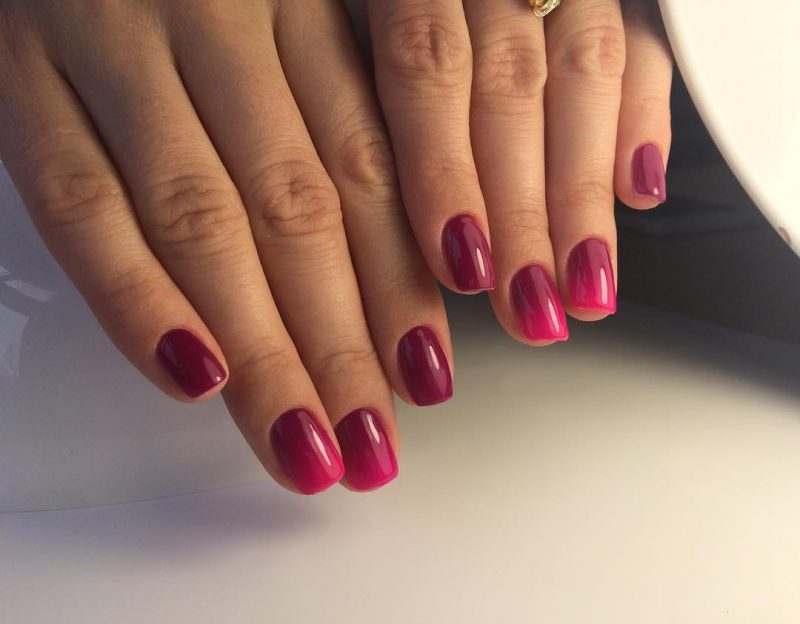
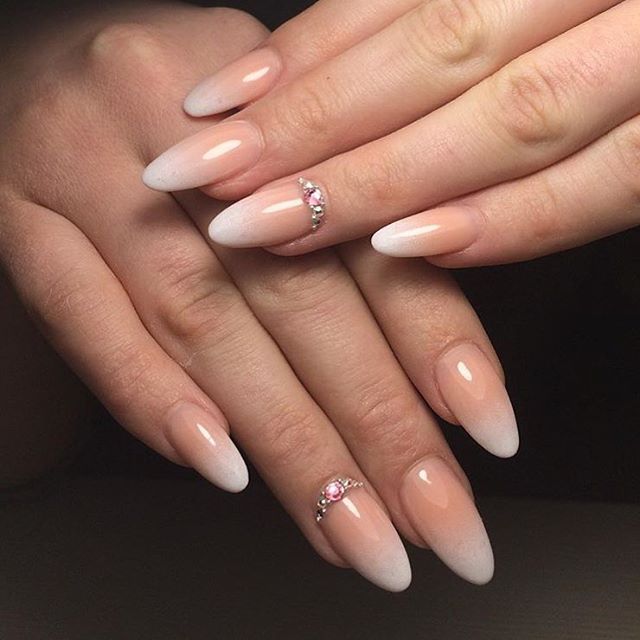
Speaking about the advantages of multicolor nails, the first thing we would like to mention is, of course, an opportunity to experiment. There are no limits In the selection and combination of shades, although the basic laws of coloring should not be forgotten. sky-blue and blue, green and light green, orange and yellow, pink and white, brown and beige, black and silver, red and gold are the most popular combinations in the gradient gel nails, but, as you can guess, all color variations are possible. Despite the fact that the gradient design is very attractive, it is completely devoid of vulgarity.
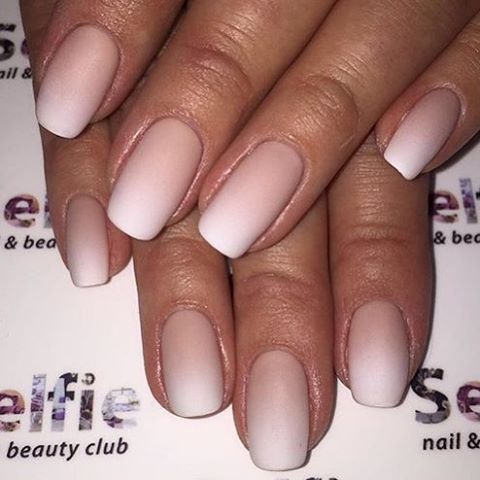
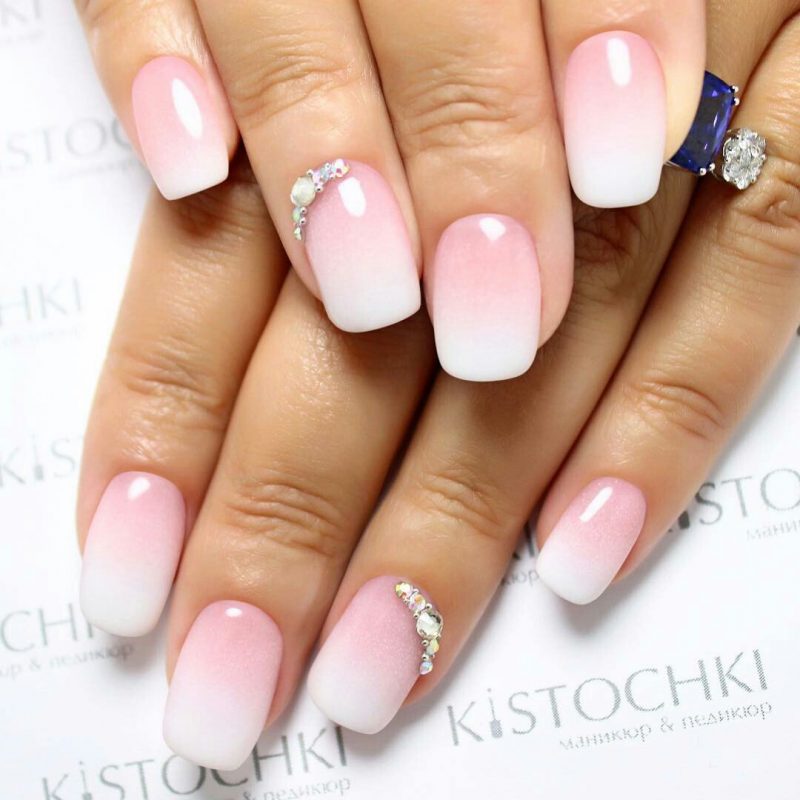
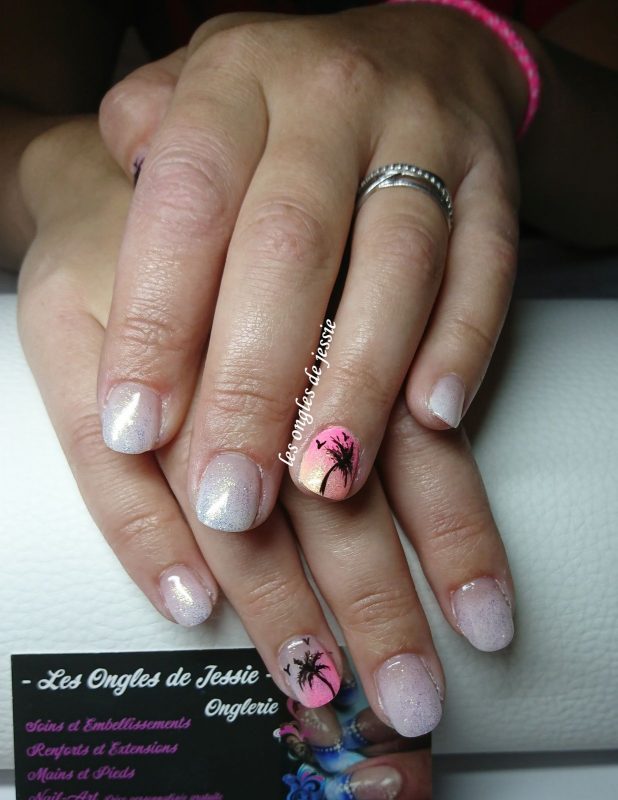
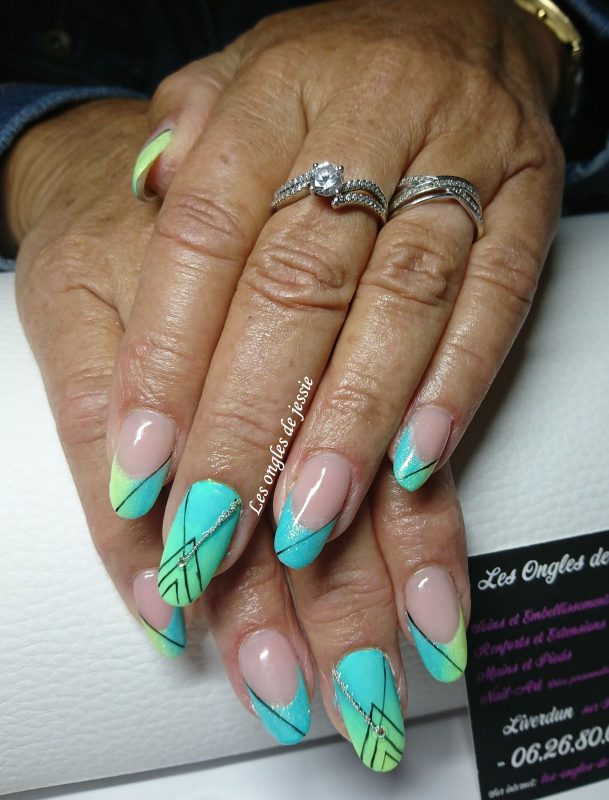
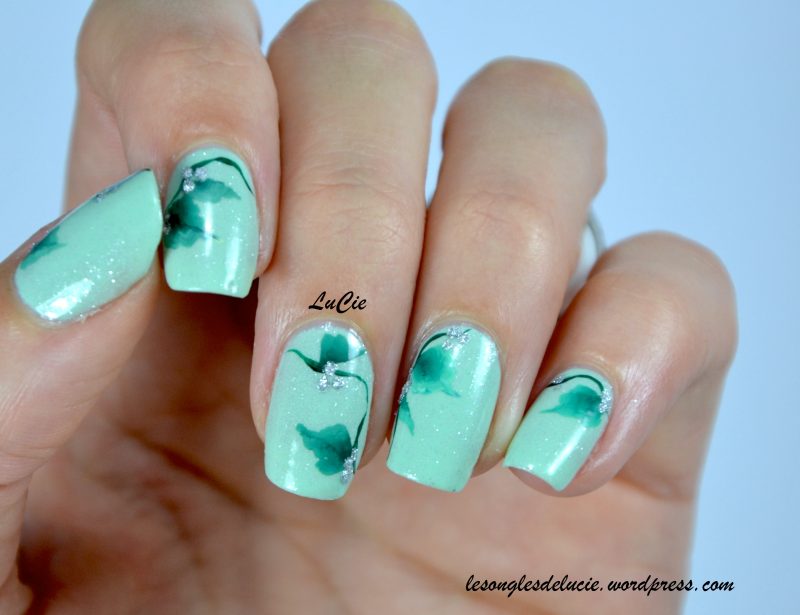
Decorated in unusual bright colors, this nails looks very stylish and extravagant, but decorated in soft neutral colors – restrained and elegant. The pink gradient nails nail design is very advantageous in terms of combination with clothing and accessories. You can always vary the colors and textures of polishes depending on the outfit and other elements of your appearance. Among other things, the blue gradient nails allows you to maximize your creative abilities. Learning the basics of its technique, you can advance in mastery by increasing the number of shades and additional decorative elements.
What Do You Need to Do Gradient Nail Art?
To do spectacular gradient nails, just like in fashionable glossy magazines, you should have a minimum set of materials, tools and products. You need:
a usual tool for removing cuticles (scissors, tweezers, an orange stick);
a nail file;
basic polish;
colorful polishes of the same texture (maximum 5 shades). The right combination of a color palette may not be such a simple task as it seems at first glance. If you have certain difficulties with it, it is much more convenient to use ready-made sets for rainbow gradient nails, including from 2 to 7 polishes of different colors.
polish of saturated white color or, as an alternative, of a light pastel shade;
finishing polish;
cosmetic sponge;
cotton buds or a special pencil;
nail polish remover;
a piece of foil, cardboard or polyethylene;
container with water.

How to Do Gradient Nails with Gel Polish: Step-by-Step Tutorial
When starting diy gradient nails at home, stock up with a little patience and do not try to make it in a hurry. Follow the step-by-step instruction:
Part 1
Carry out the procedure of the standard care. Remove the burrs, adjust the length and create the shape of the nail plates.
Degrease the nails and use the base coating. Do not underestimate this tool, because thanks to it. Your nails will last much longer, and natural nail plates will be reliably protected from yellowing.
Apply one-color light polish on the nails and wait until it dries completely. It may be a rich and sufficiently thick white polish. This technique is used to give the primary colors greater brightness and intensity. If you don’t have white polish, you can use any solid or bright polish that will become a part of the main composition.
Dampen a sponge in a container of water and then squeeze it. In this way, you prevent the polish from absorbing too quickly.
Paint 2 lines on the surface of the sponge with each of the chosen polishes. Use colors of different intensity, from dark to light. The transition you create must have a neat common boundary. Try to do this as quickly as possible so that the polish doesn’t dry out.
Slightly press the sponge in cardboard or foil. Do not overdo with it: the edges of the color zones should be slightly mixed but not smeared. Estimate the smoothness of the resulting transition by making a preliminary print of the sponge on a white sheet of paper. If the result satisfies you, continue the procedure on the nails.
Part 2
Do this with each nail. This can be done in two ways: attach the sponge to the base of the nail and stretch it to the tip or perform a jerky blotting movement on the entire surface of the nail plate. The more often you repeat the procedure, the brighter the silver gradient nails will be. For sure, with each subsequent nail you will have to repeatedly apply polishes to the sponge. If you accelerate a little, you will be able to paint several nails at a time. Tip: if there is a need for visual extension of the nail plate, create a transition from light to dark, starting from the base of the nail.
It’s clear that because of the application of a sponge there’ll be remains of the polish on the skin around the nail plate. You can get rid of them quickly and easily using a special correction pencil for nails or a cotton swab dipped in polish remover. However, there is one small trick. Before applying the decorative coating on the nails, glue the skin around them with pieces of office scotch or smear it with a cream that will create a kind of protective film.
Cover the nails with the finishing varnish. You will see how their surface will become glossy and has a perfectly smooth texture. Do not interfere with even a few layers of finishing coating. The transition from one color to another will become very soft and neat.
Gradient Nail Polish: New Designs
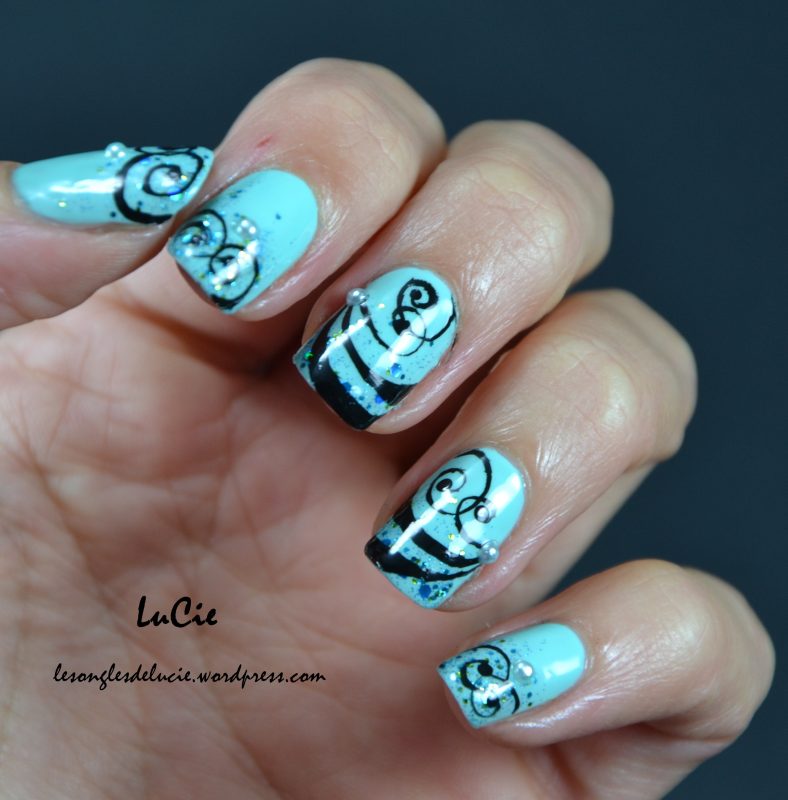
In the technique of gradient nails improvisation is appreciated. You can change the design over and over again creating the stripes a different direction, complementing the nails with decorative elements or using matte fixer instead of glossy one.
Without hesitation, try something new. After all, as a result of the experiments, each subsequent technique of nails including the gradient design was created.