Ombre nails have become a staple in the world of nail art, offering a chic and versatile way to play with colors and gradients. Whether you’re preparing for a special occasion or just want to add a touch of glamour to your everyday look, ombre nails are a fabulous choice. In this article, we’ll explore some glam concepts for ombre nails and provide a step-by-step tutorial to achieve this trendy look at home.
Concept Ideas for Ombre Nails
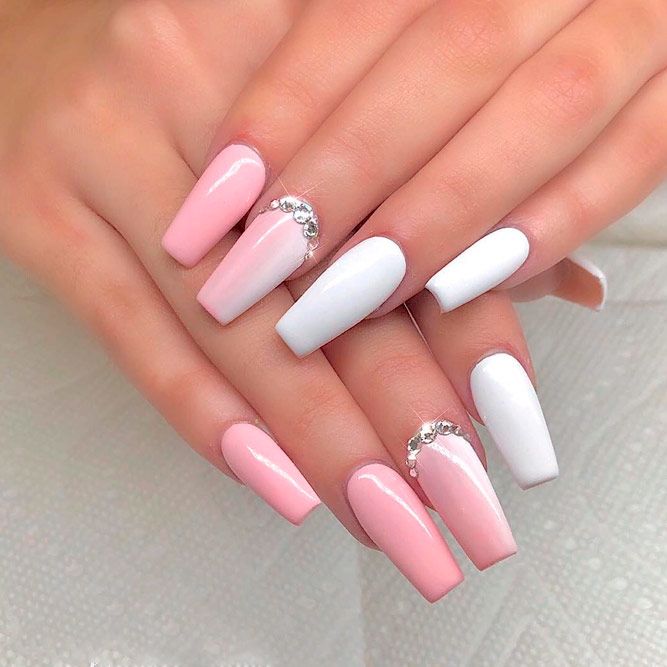
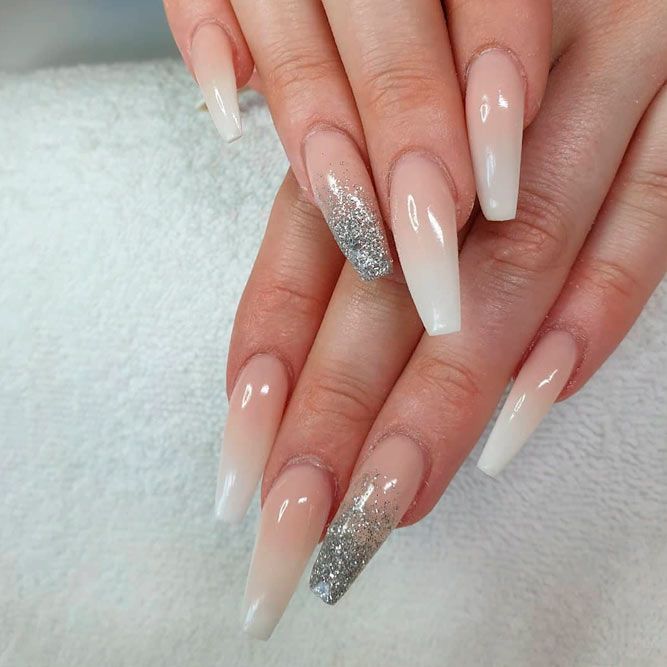
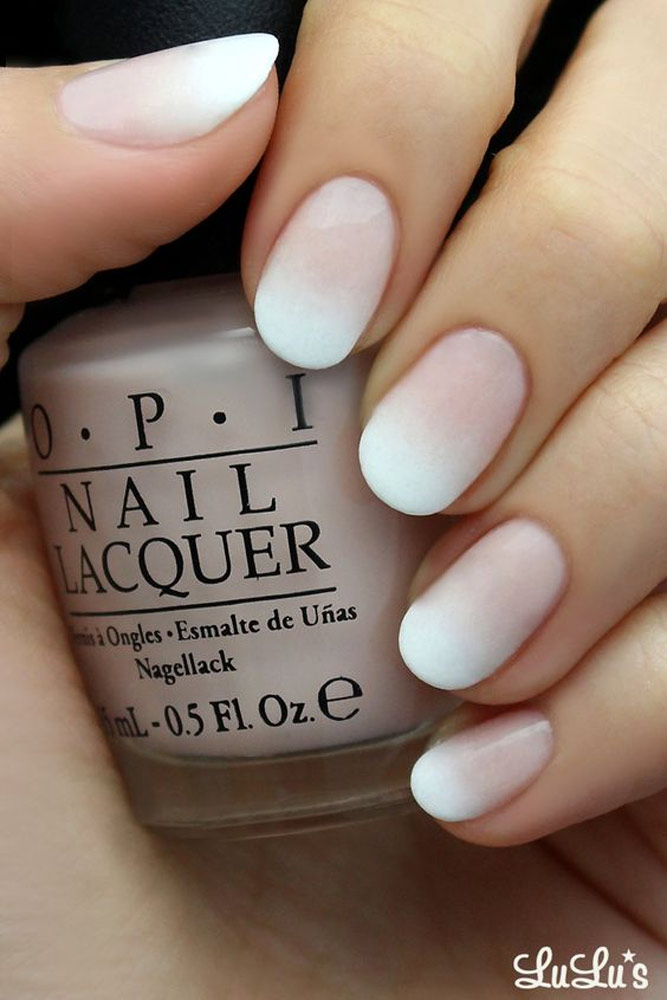
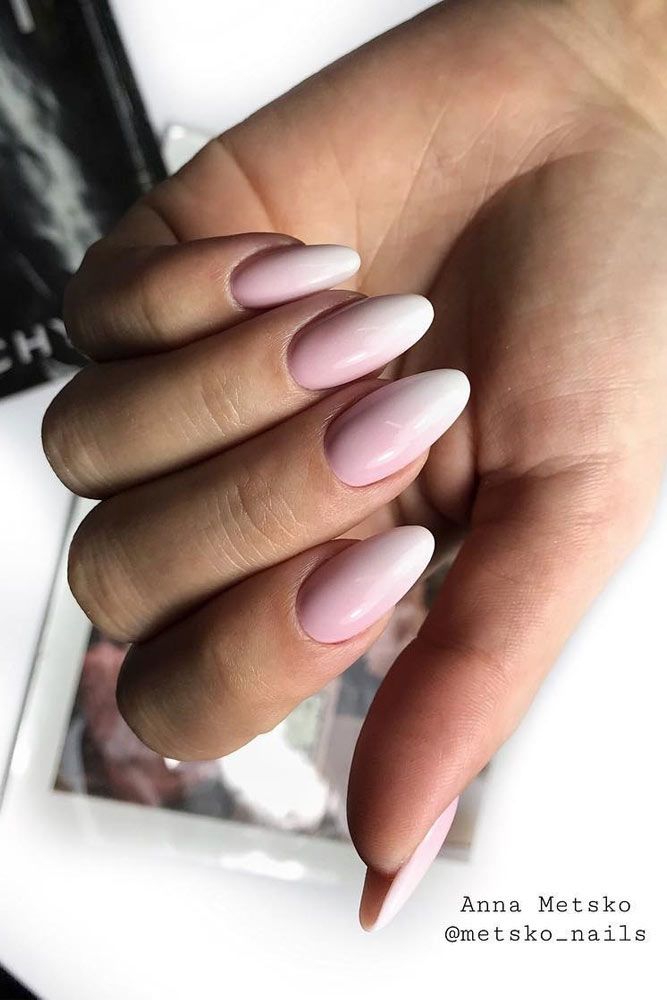
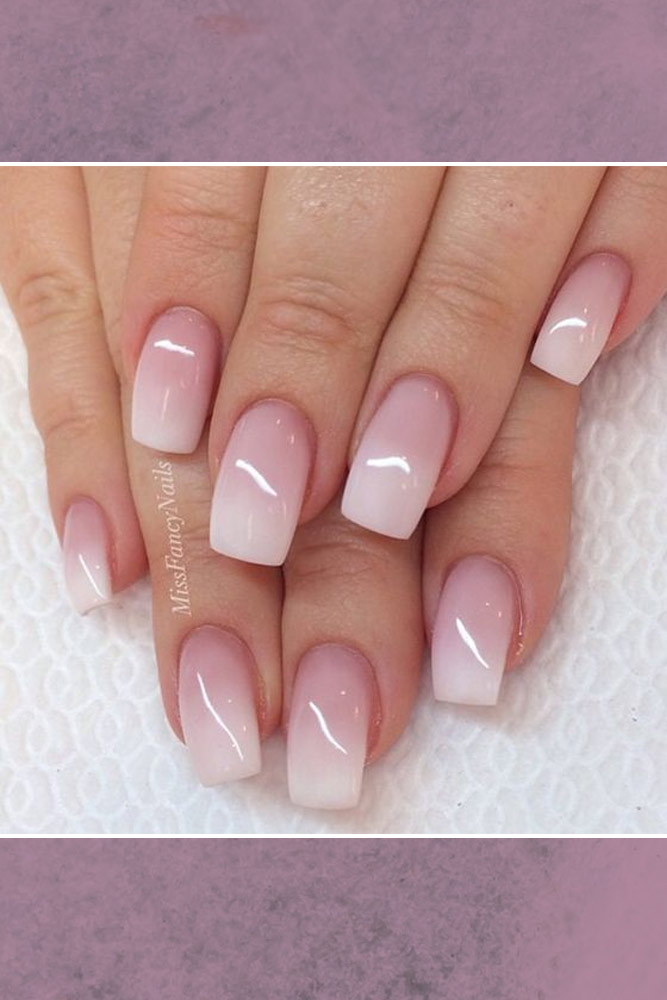
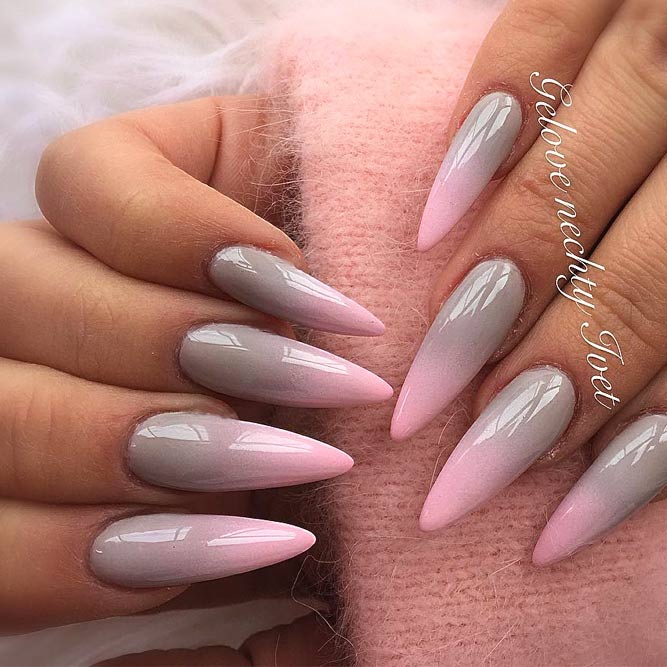
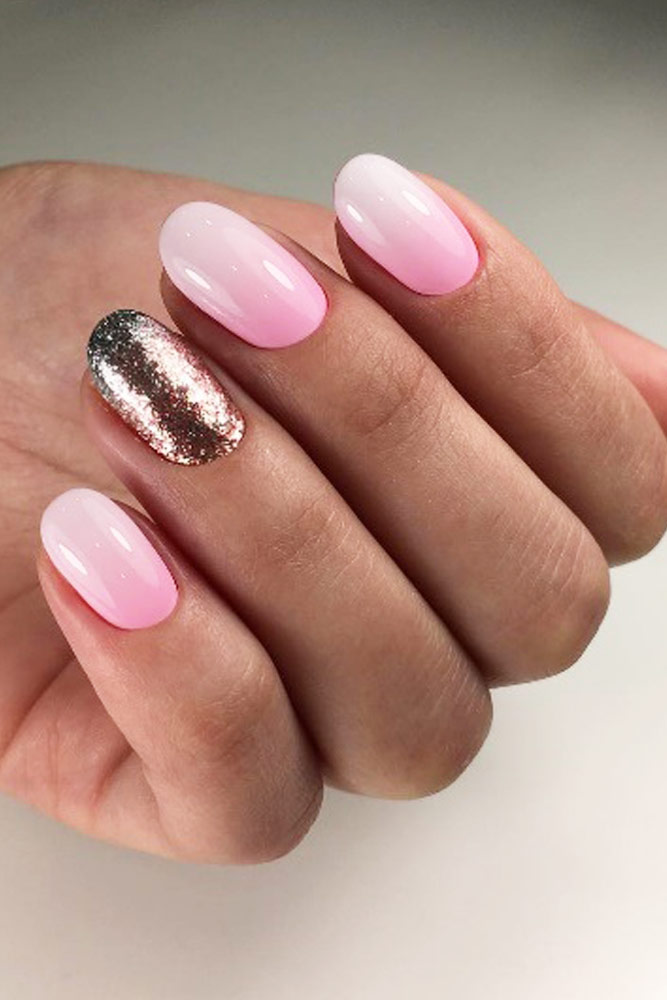
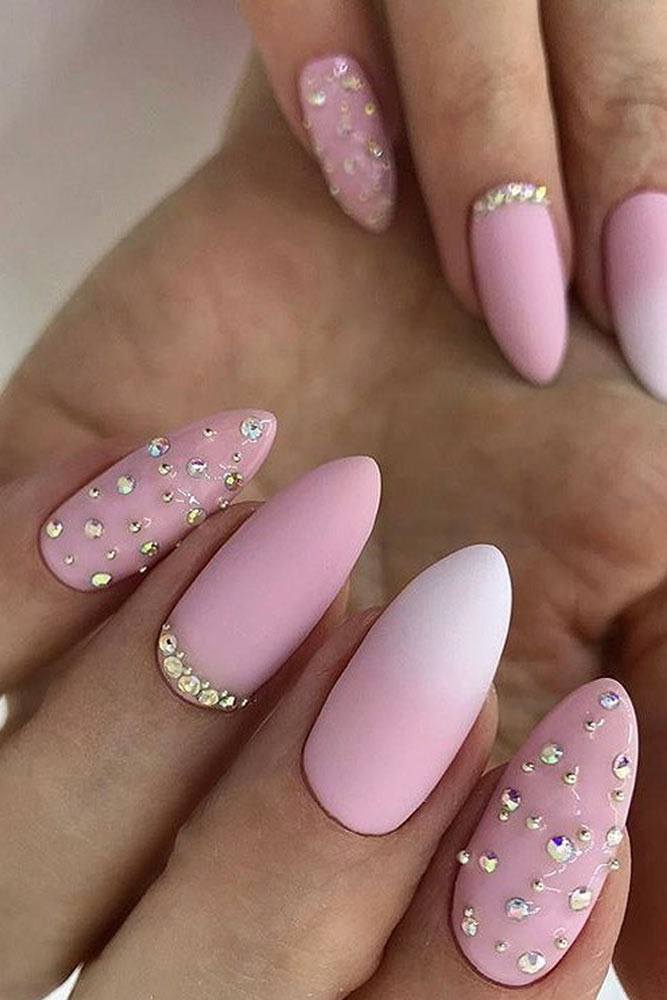
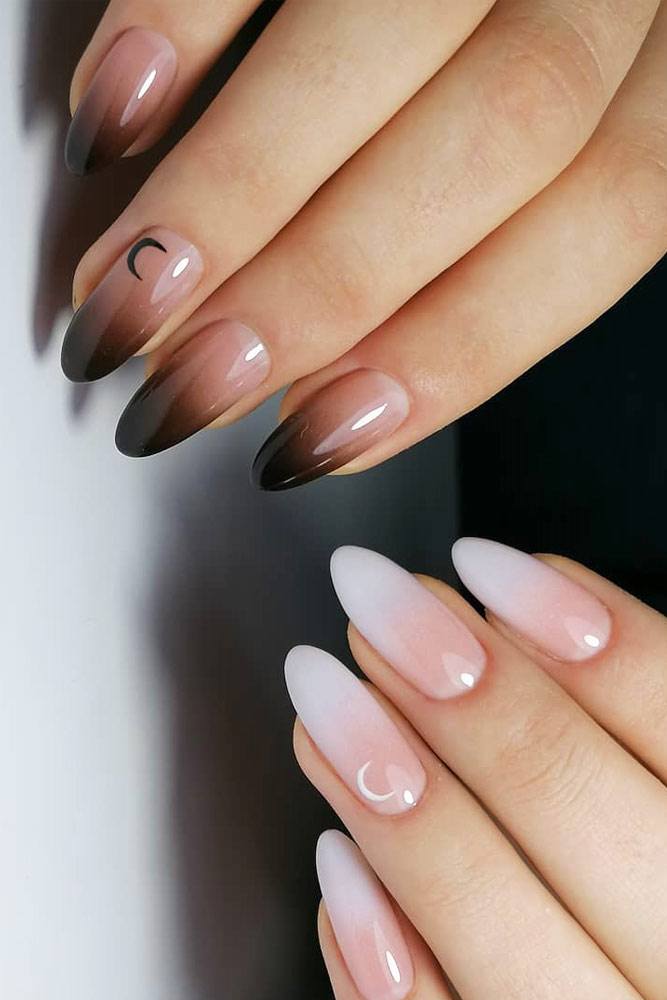
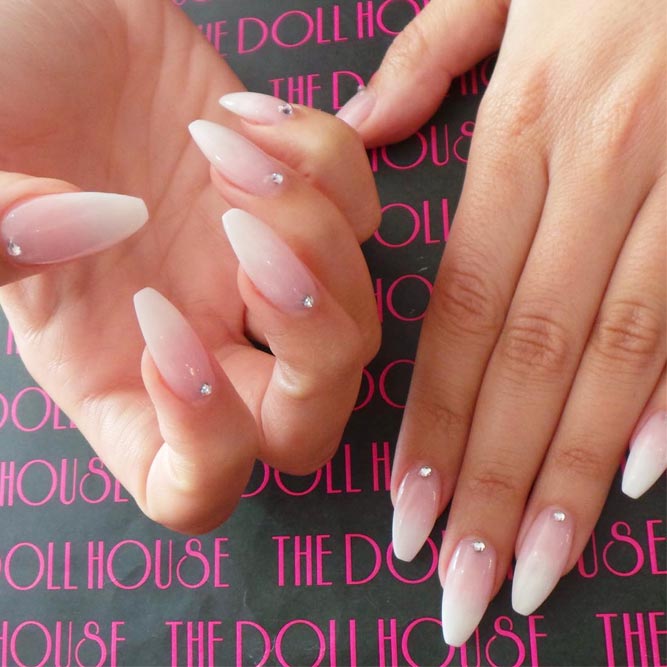
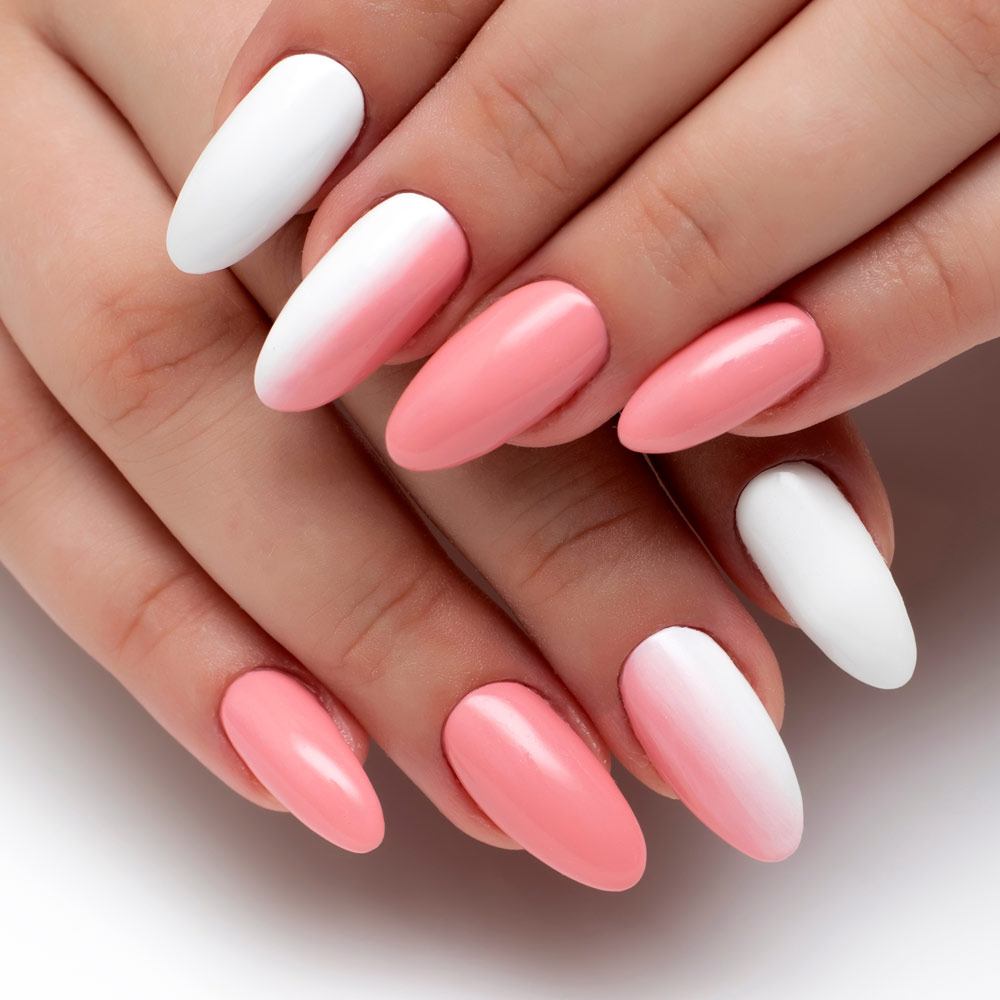
- Classic French Ombre: Blend a pale pink base into white tips for a sophisticated and elegant take on the traditional French manicure.
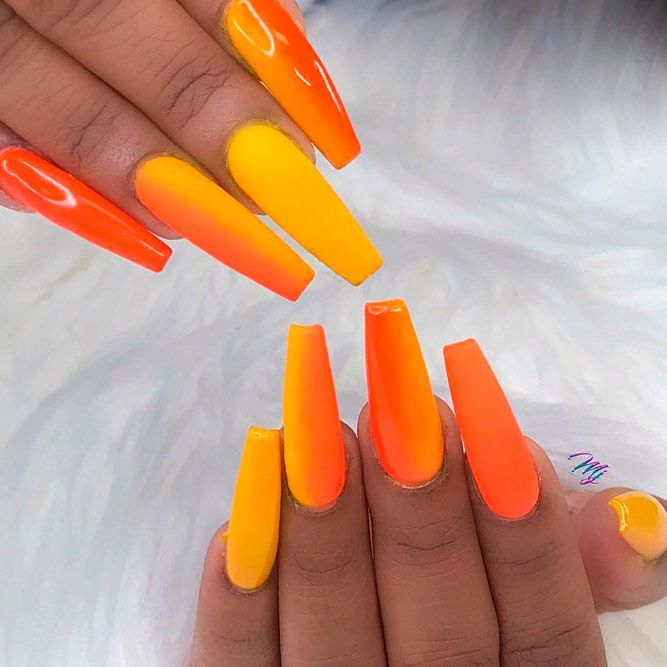
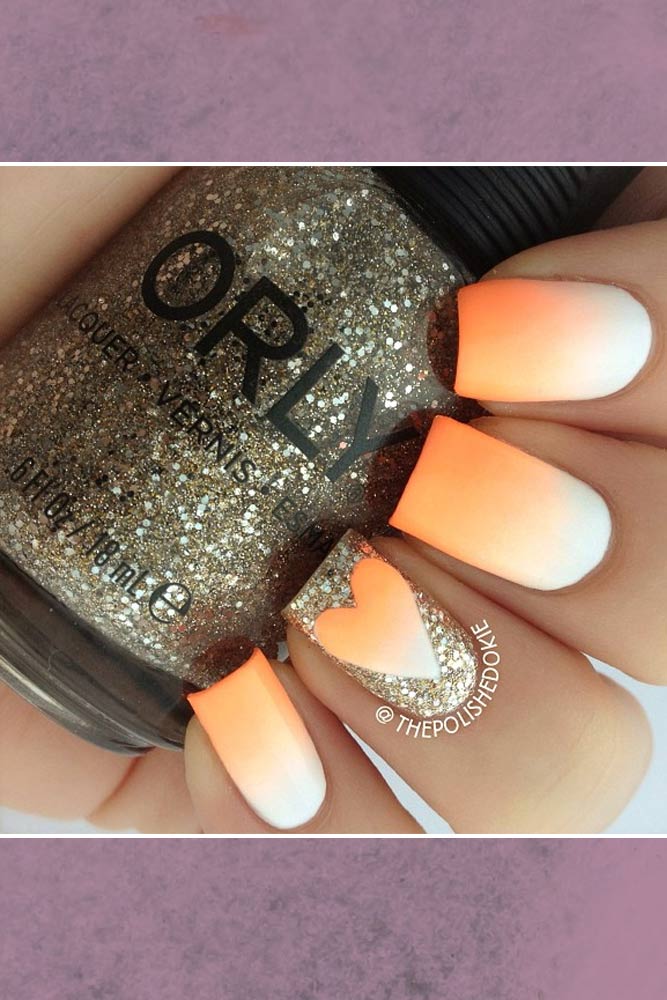
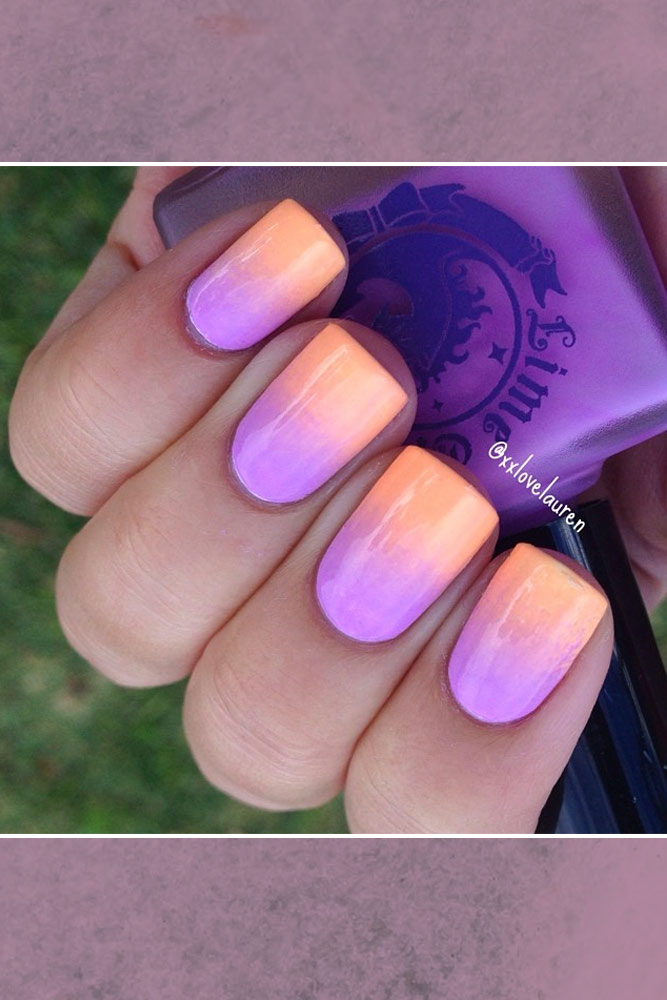
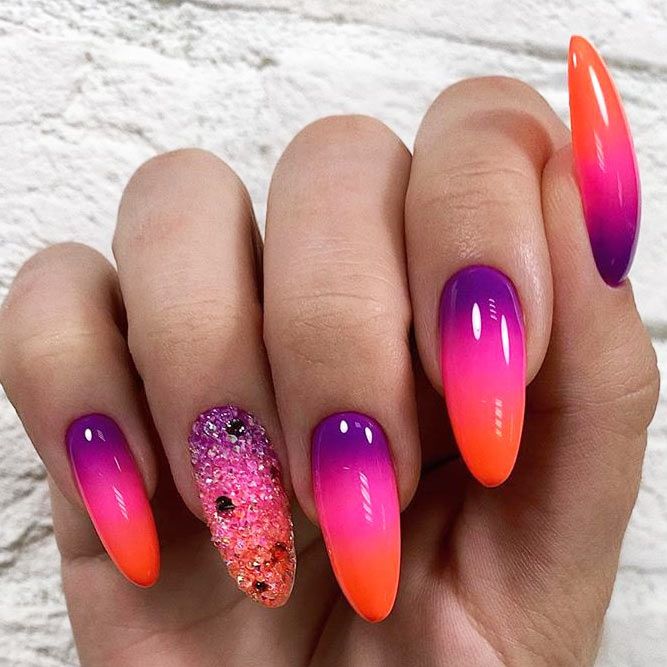
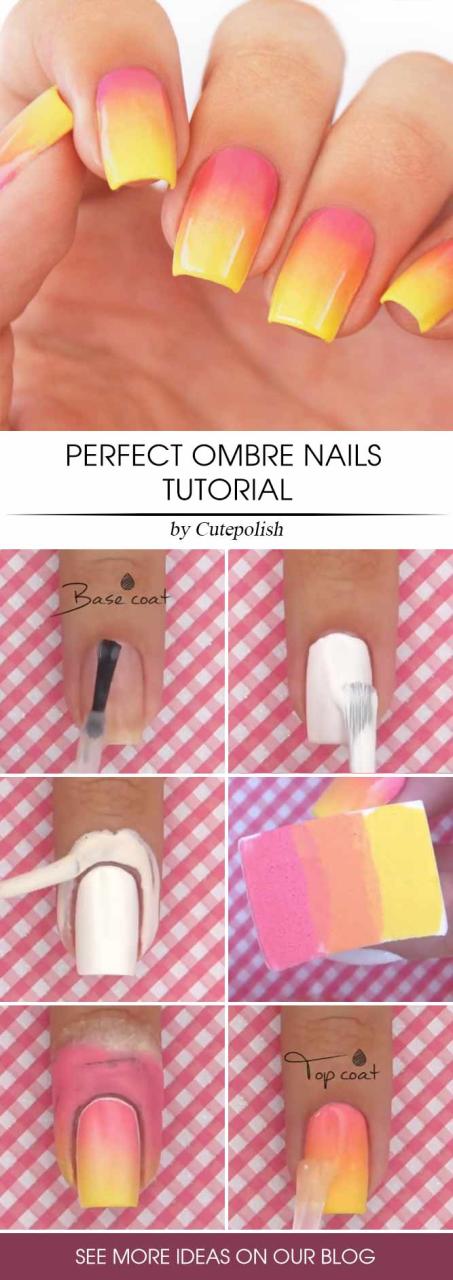
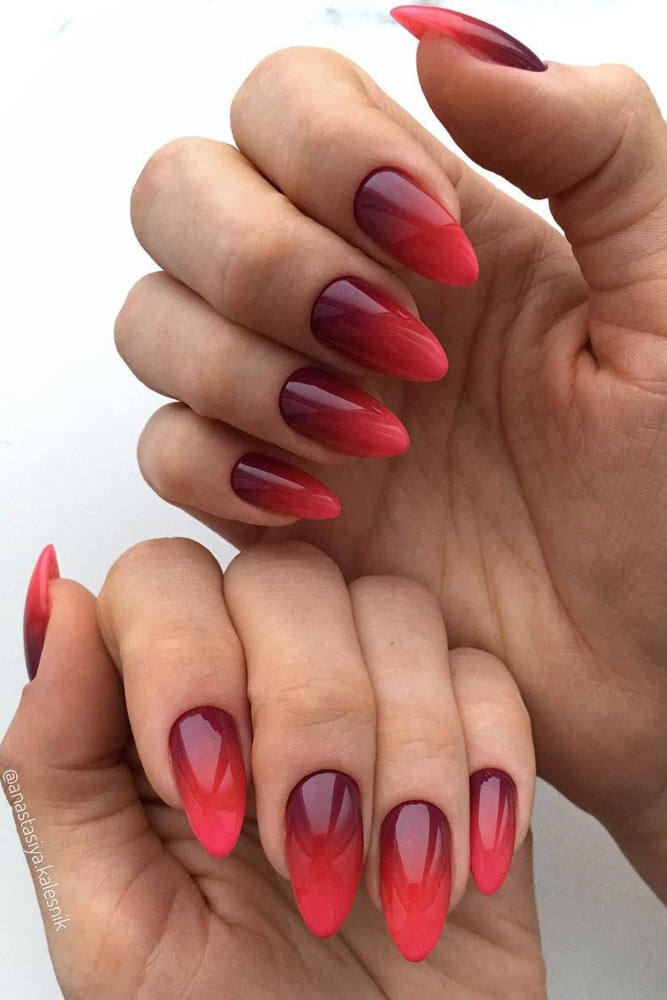
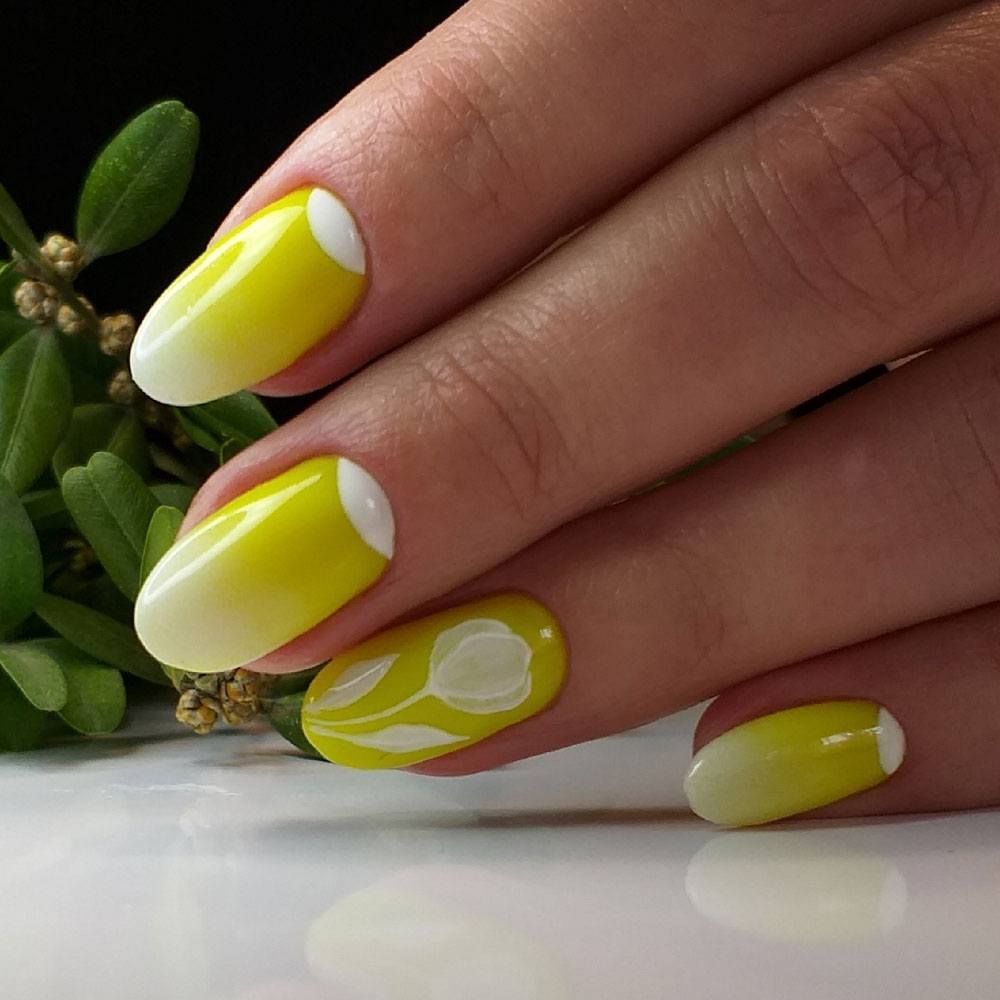
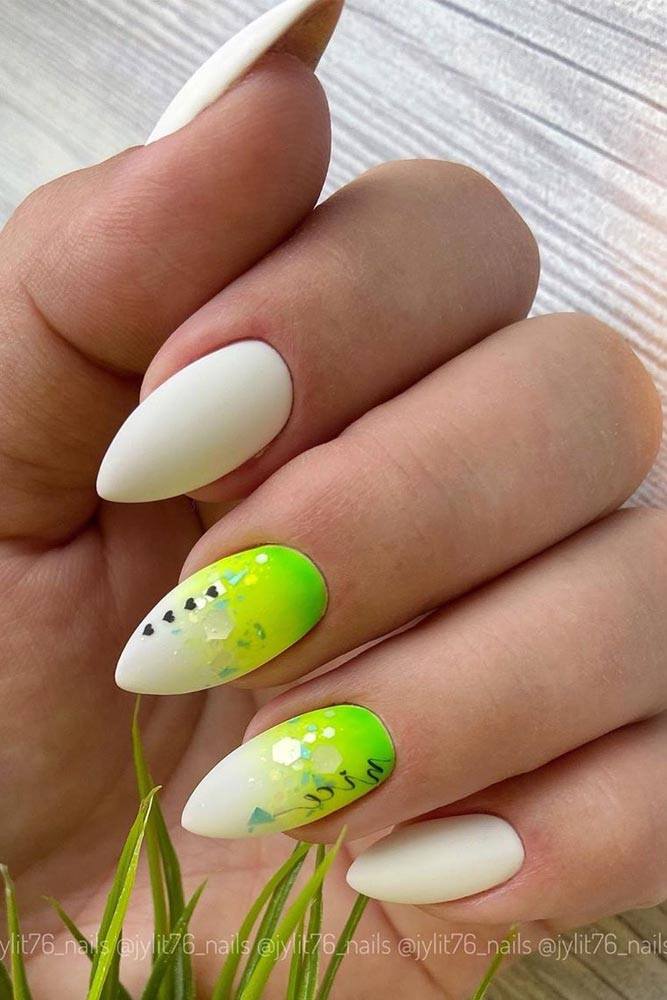
- Sunset Glow: Mimic the colors of a sunset by blending vibrant oranges, pinks, and yellows. This design is perfect for summer or to brighten up a dull day.
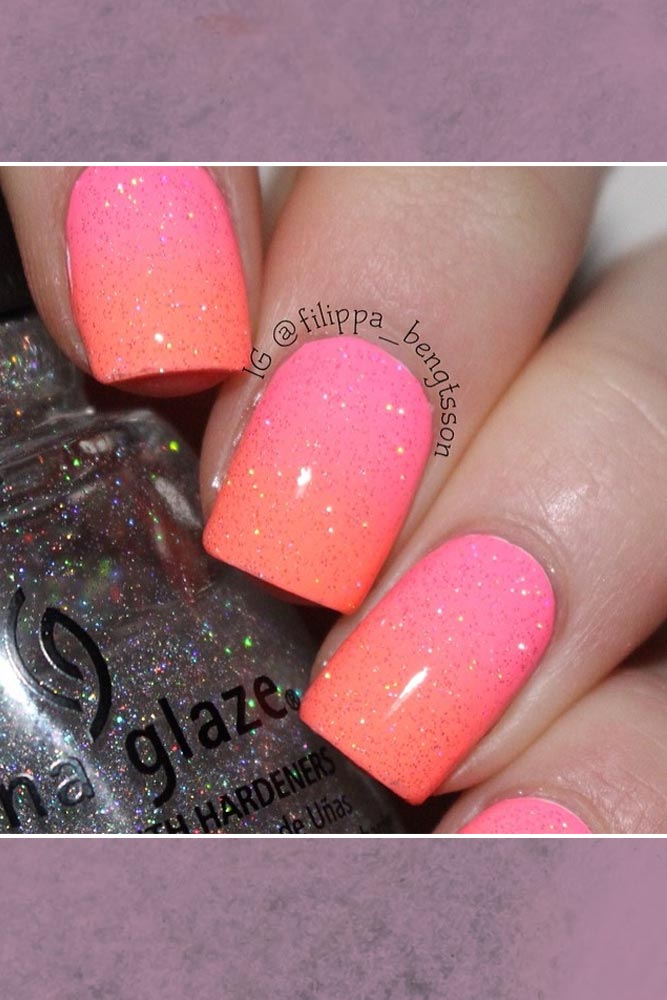
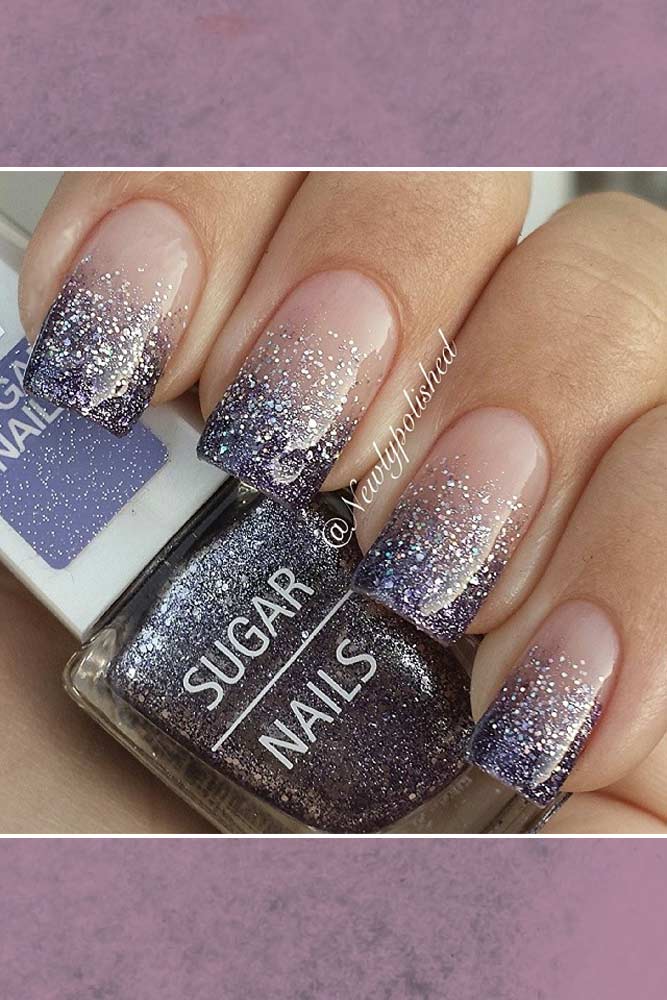
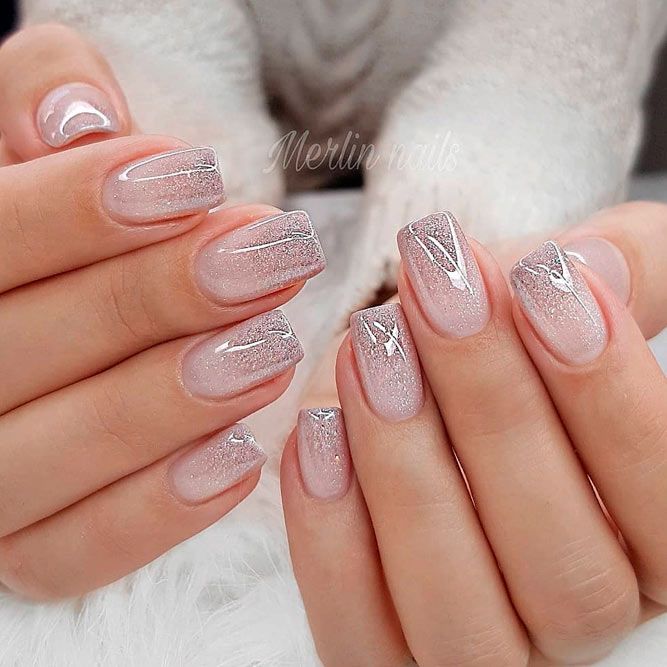
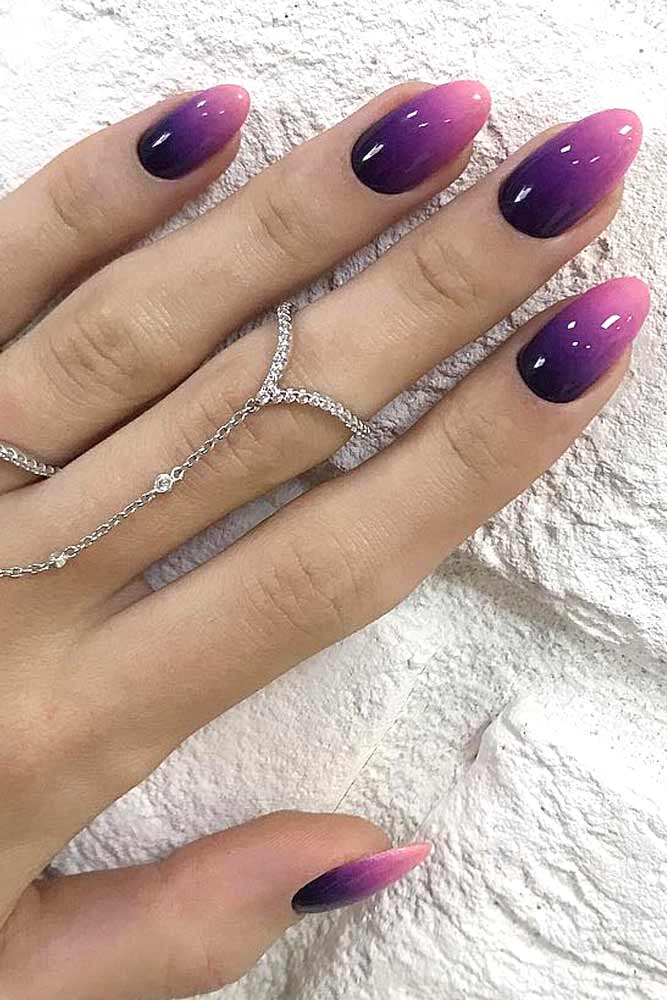
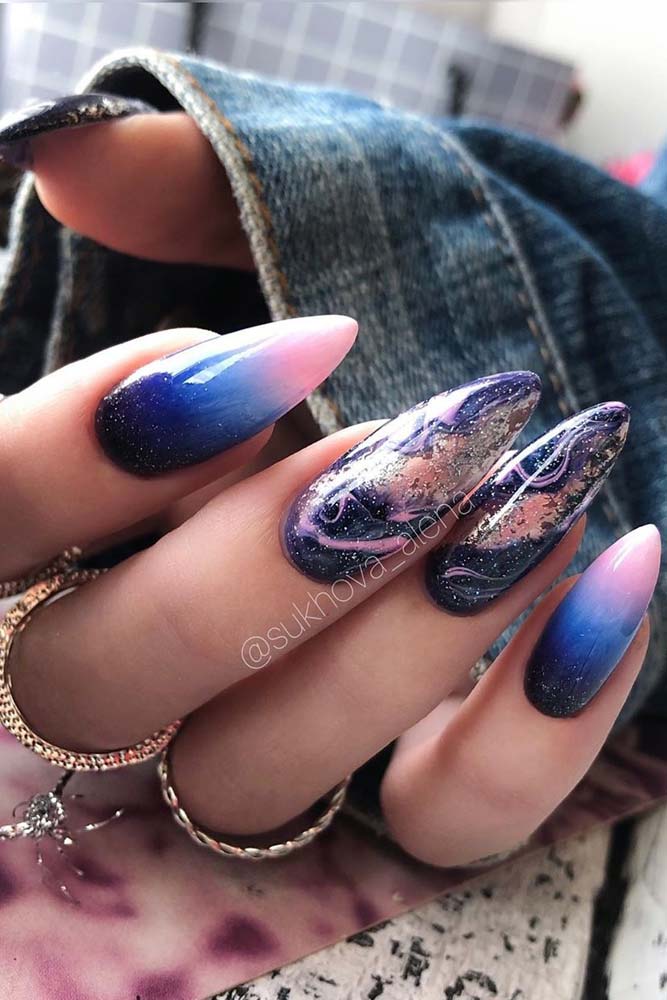
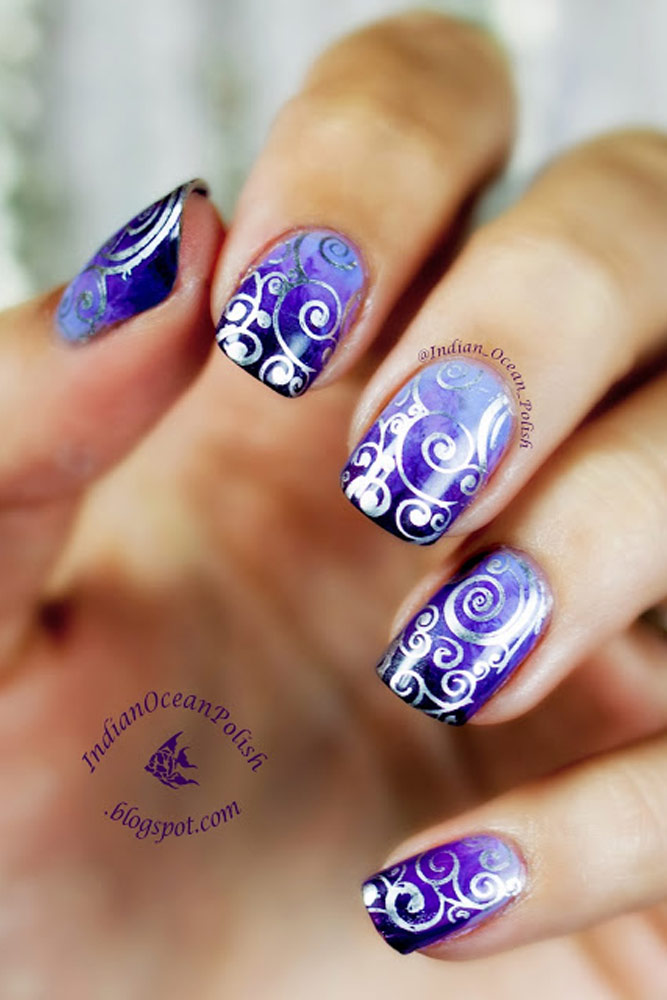
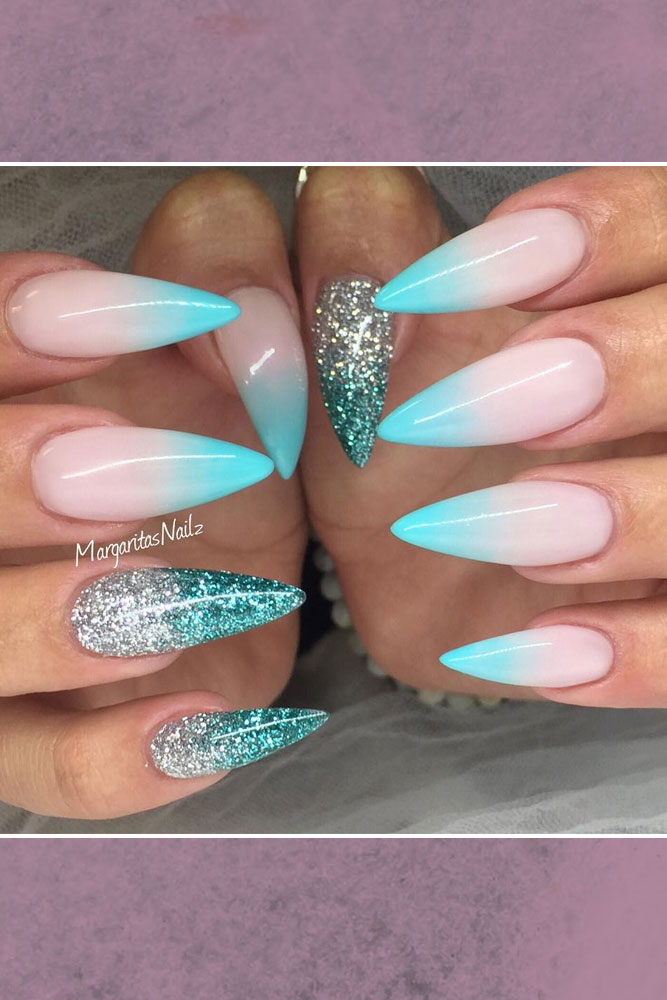
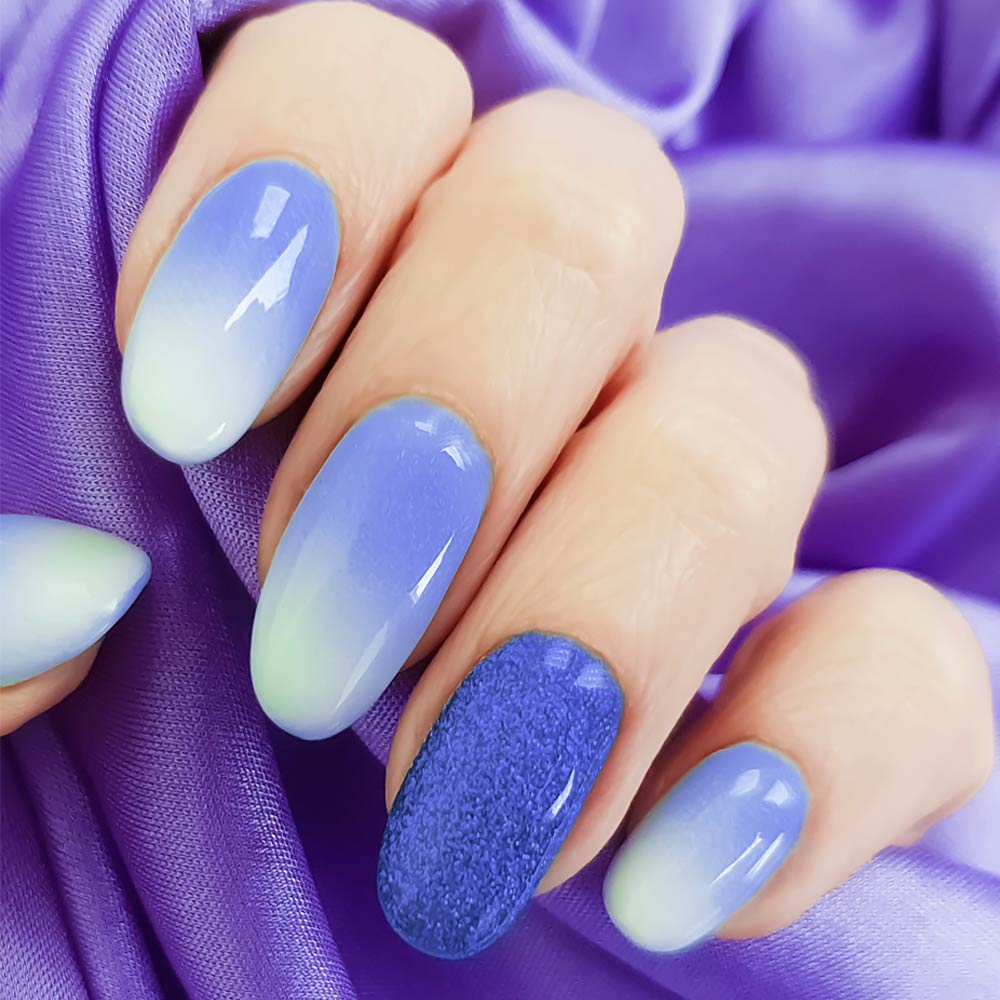
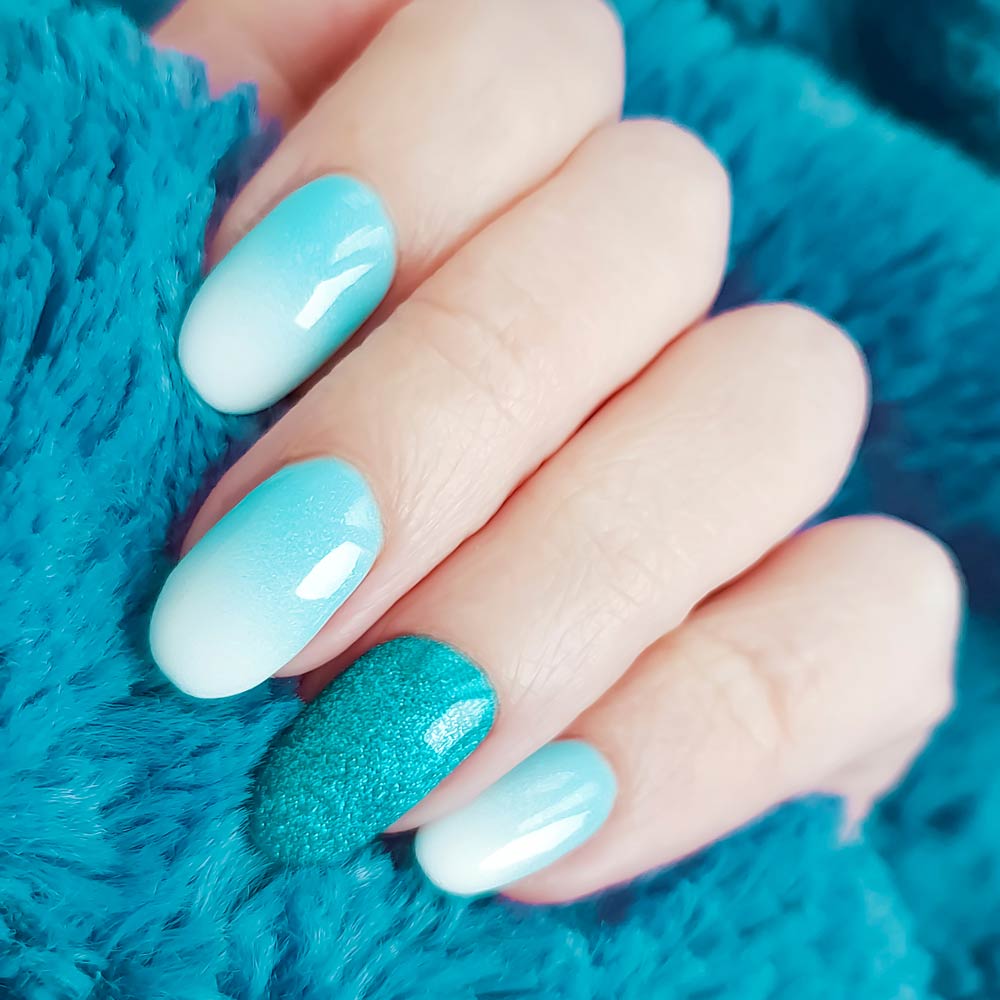
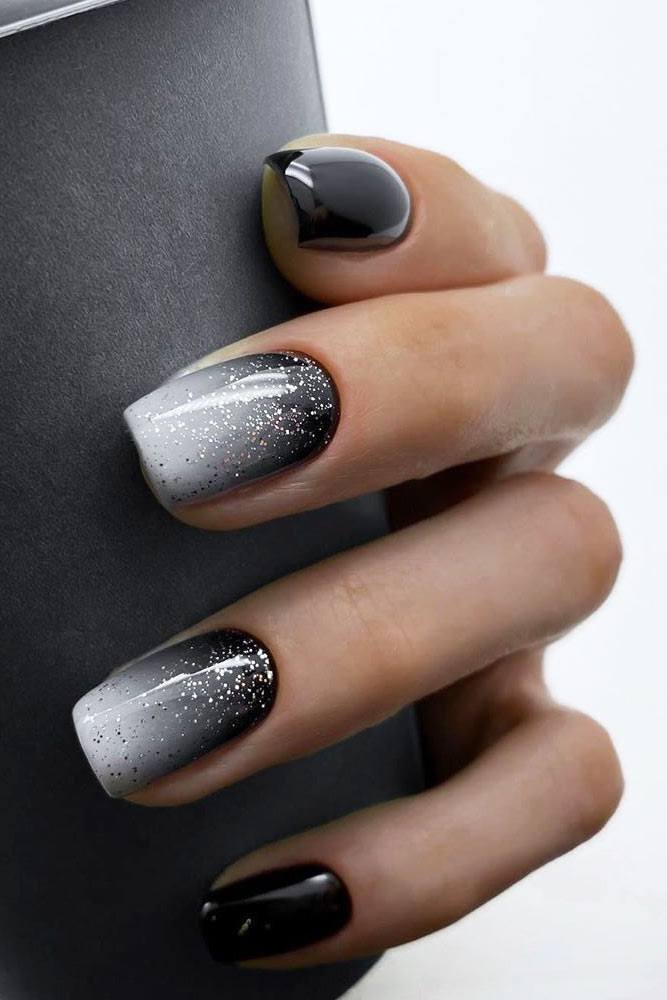
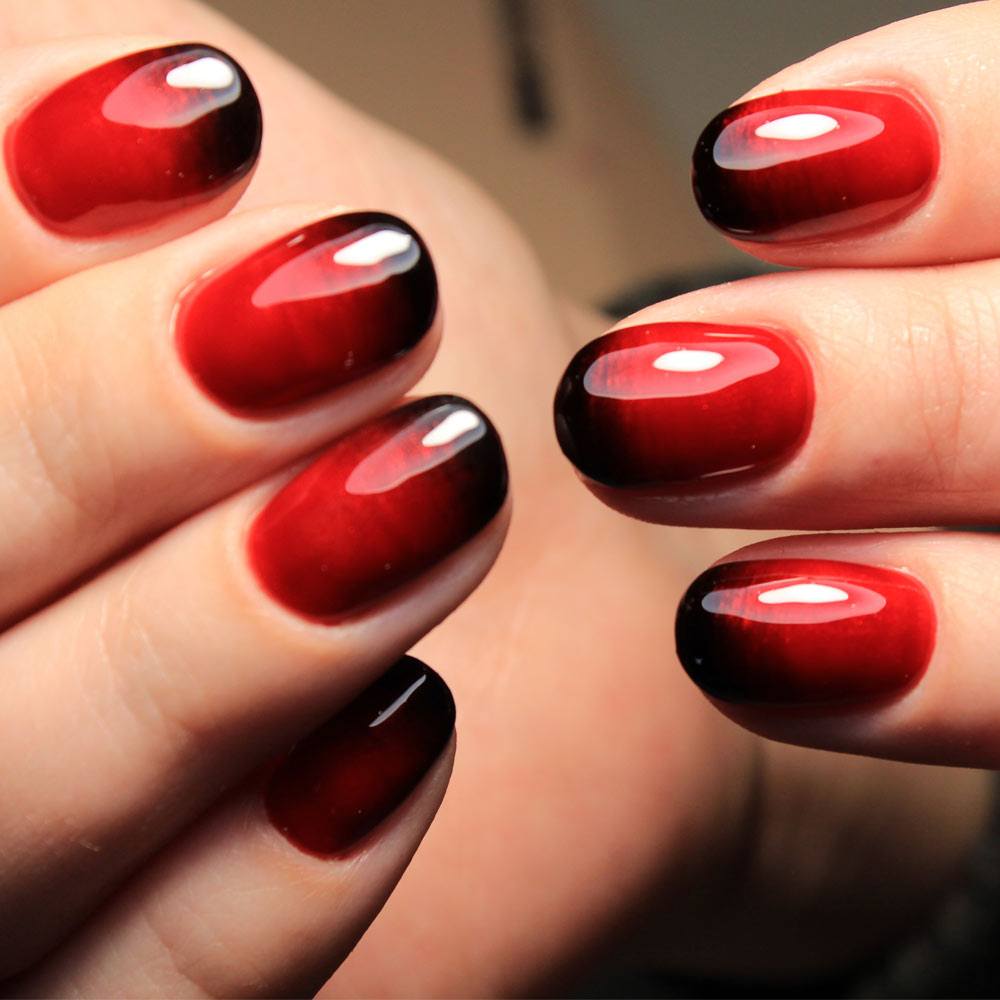
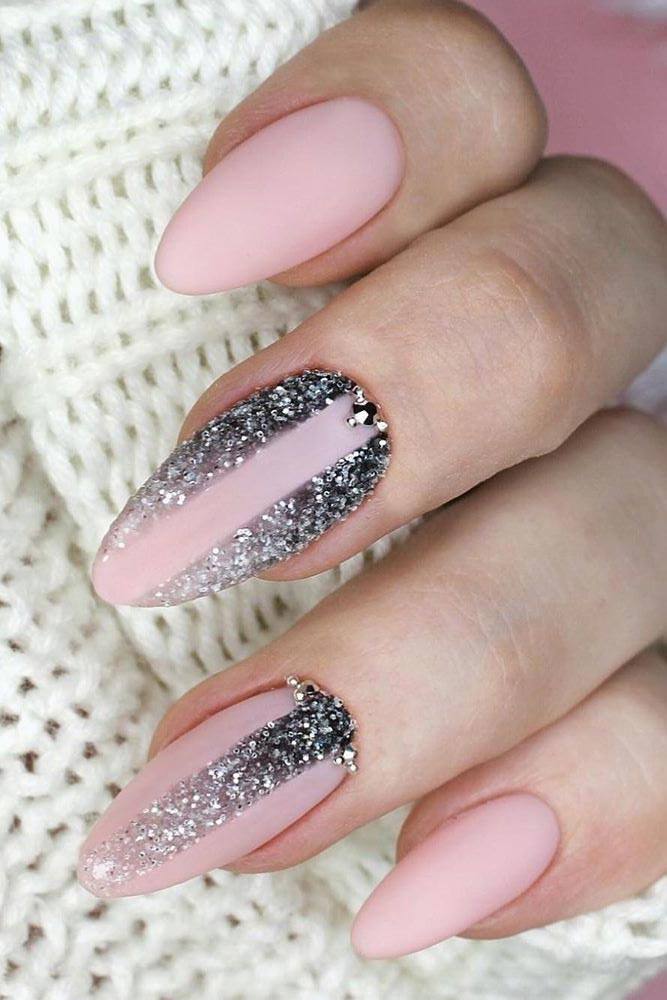
- Glitter Fade: Start with a solid color at the base and gradually fade into a glittery tip. This design adds sparkle and is ideal for evening events.
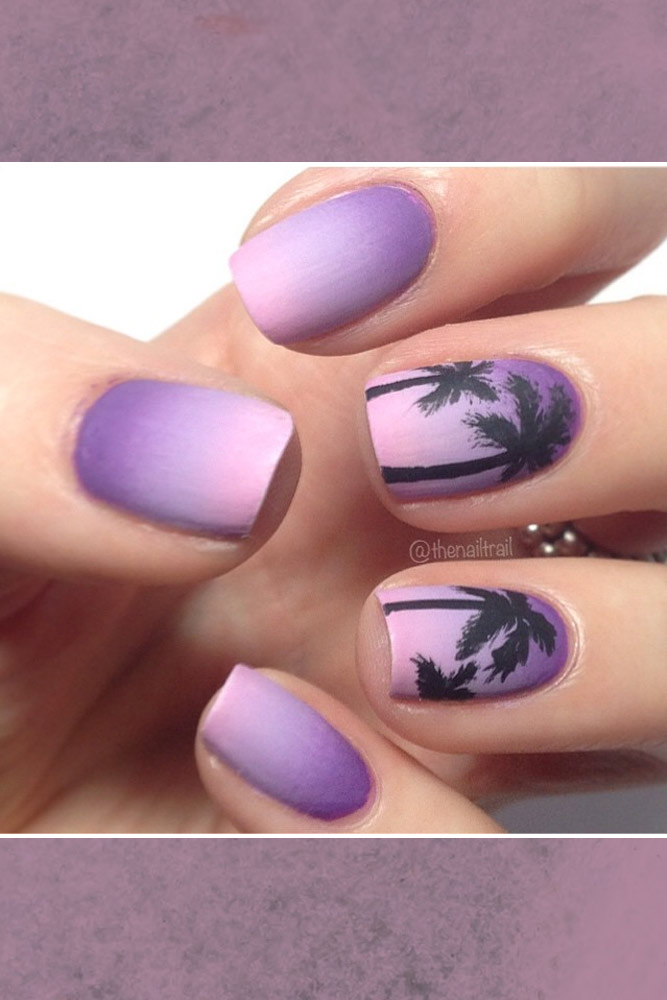
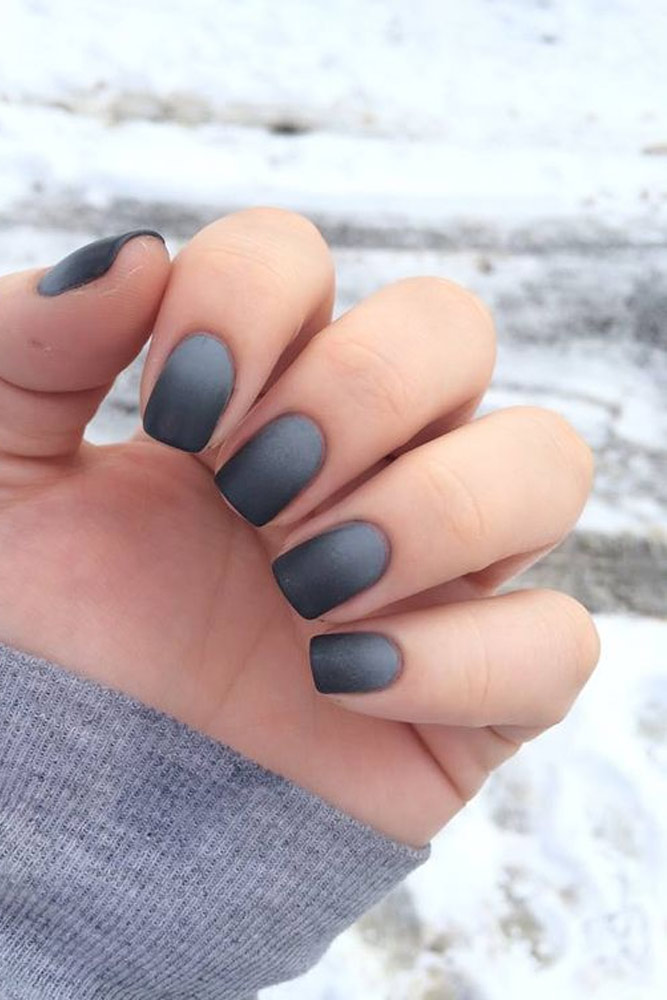
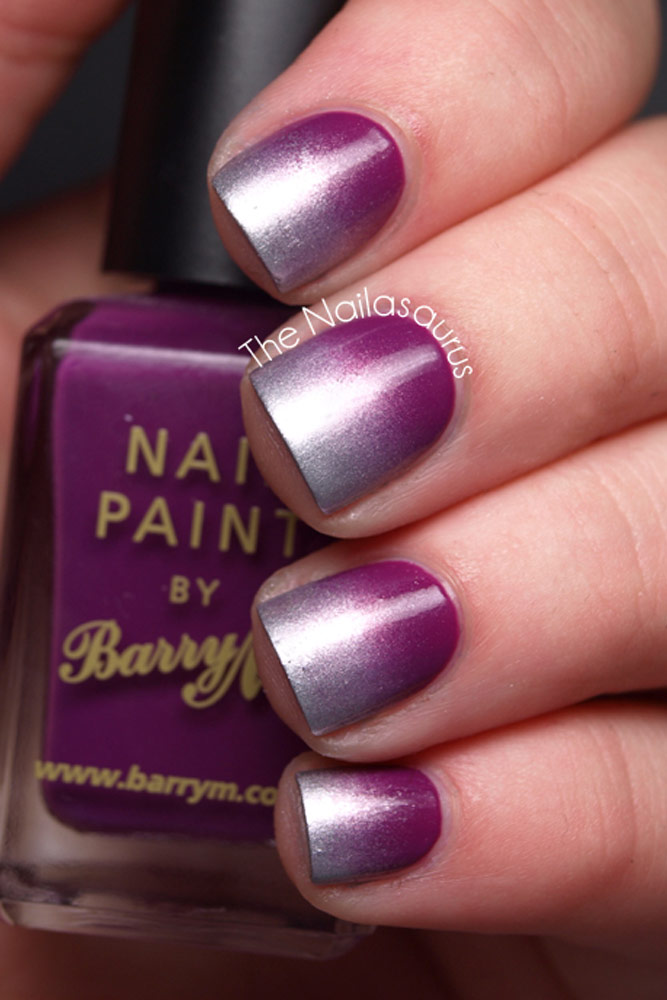
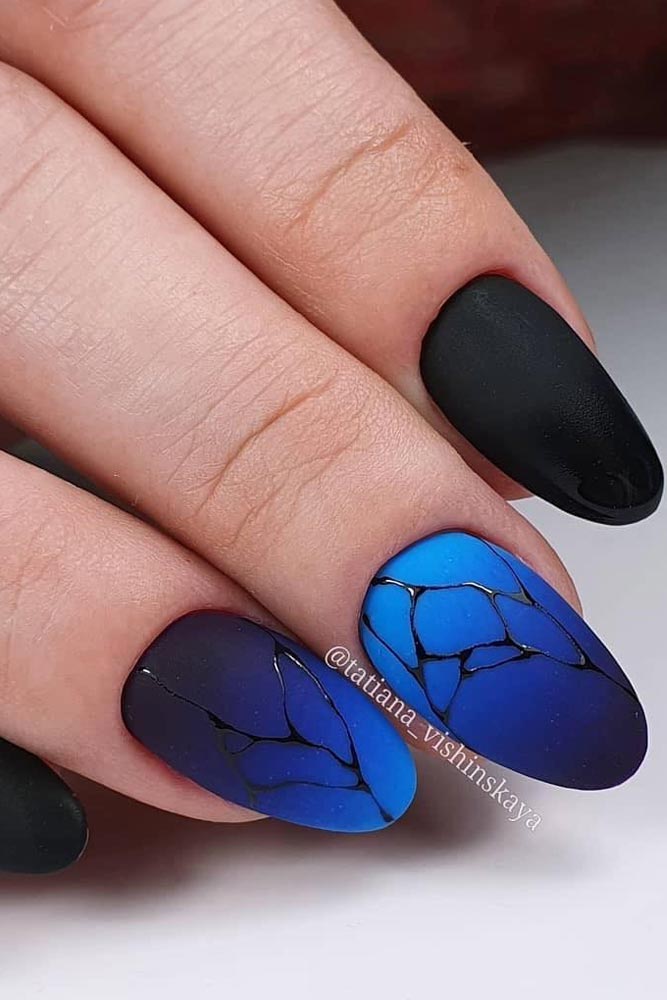
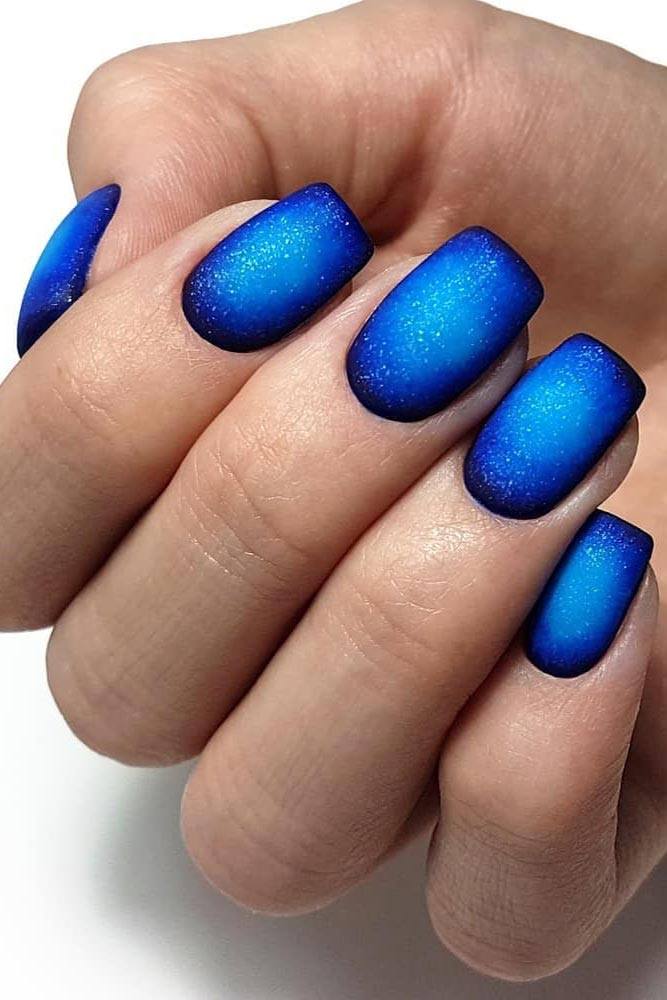
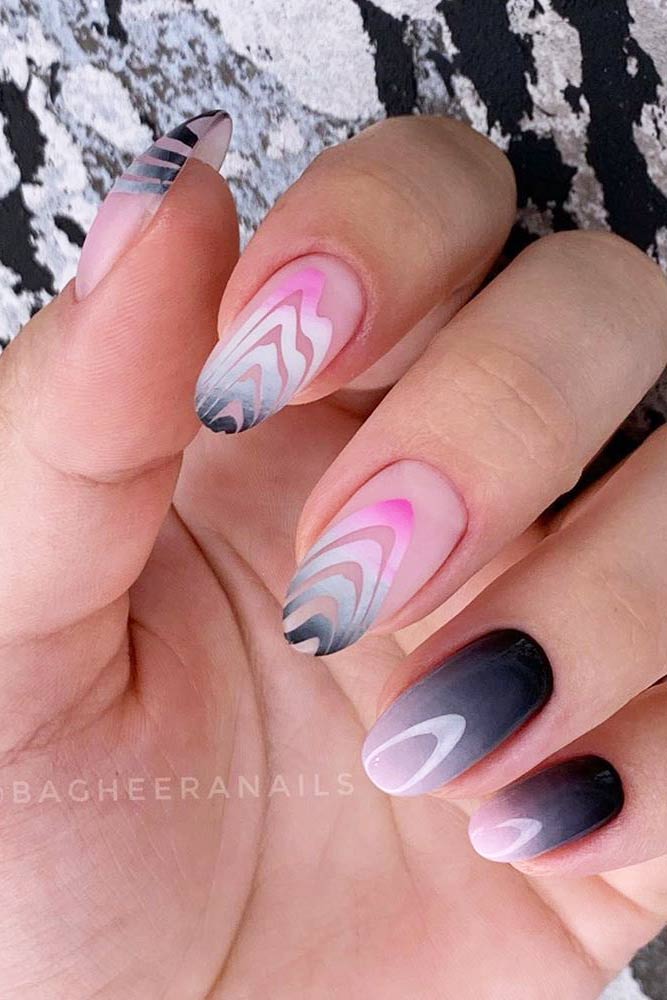
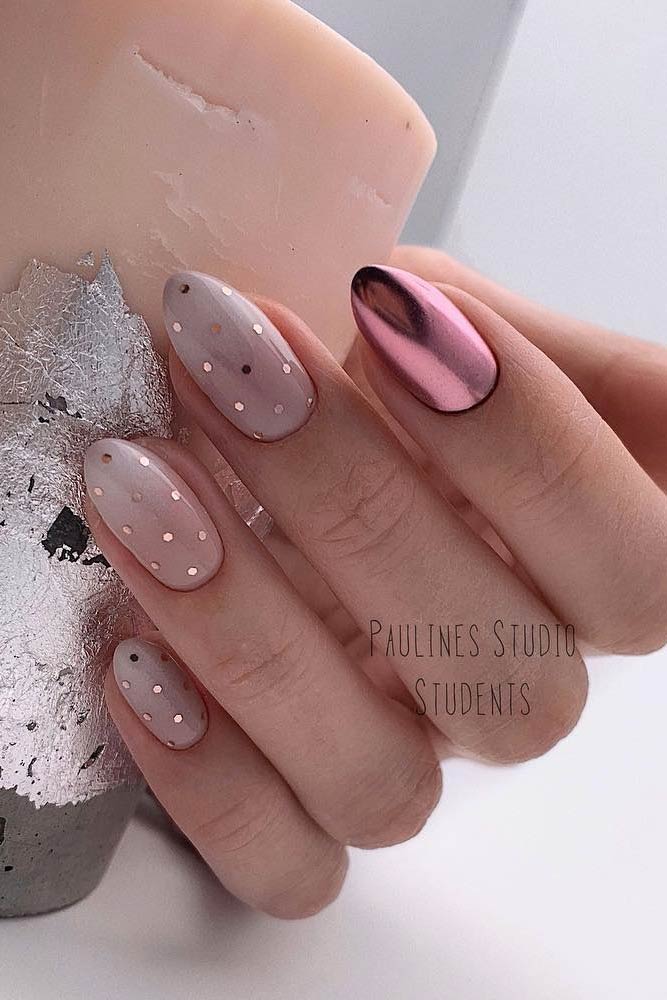
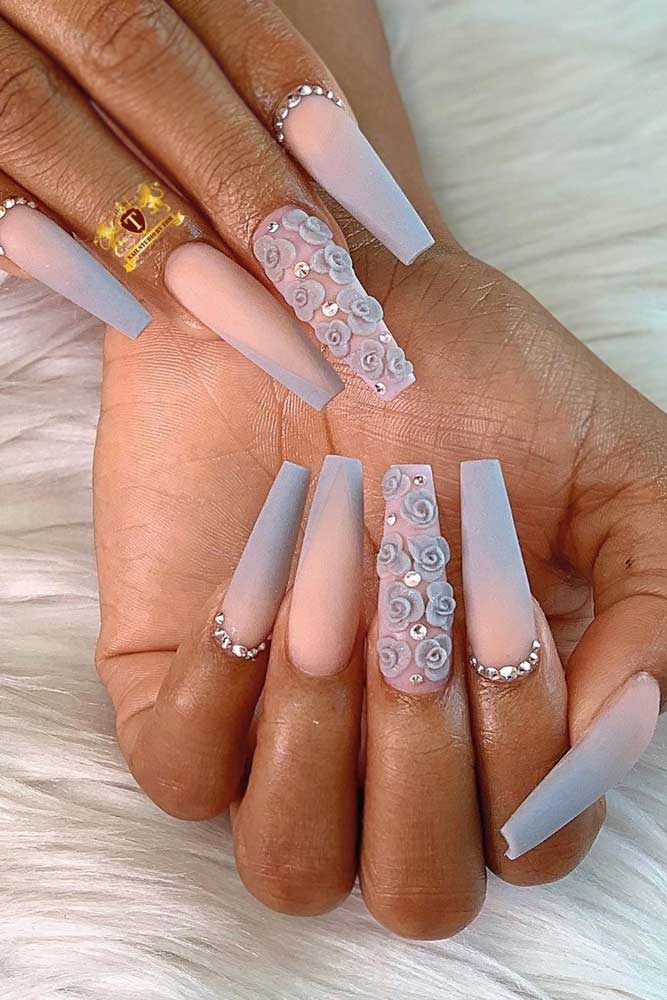
- Metallic and Matte Combo: Combine a matte base color with a metallic gradient for a modern and edgy look.
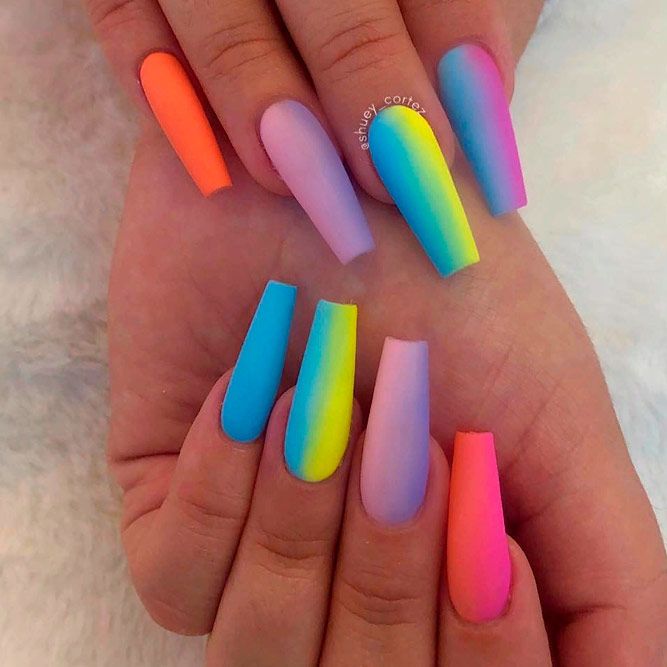
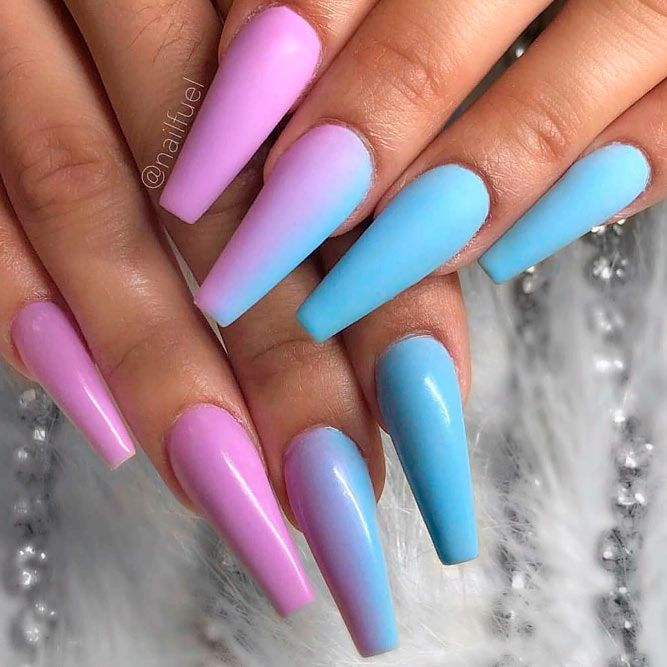
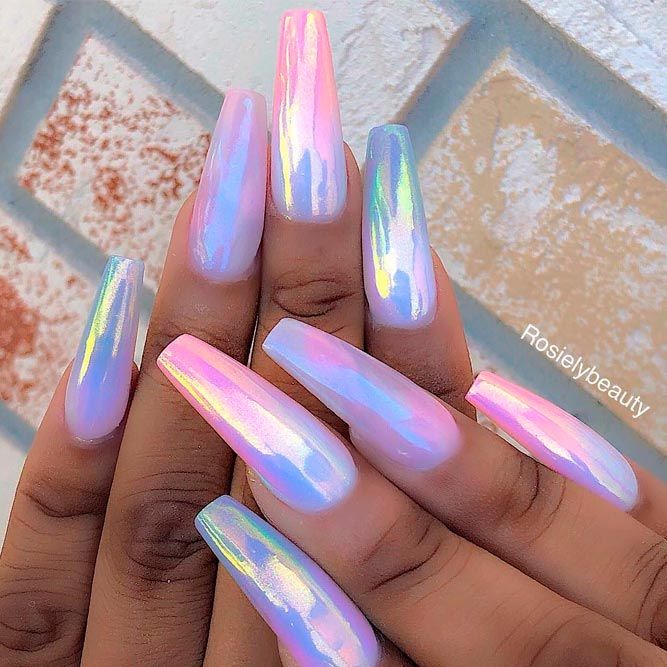
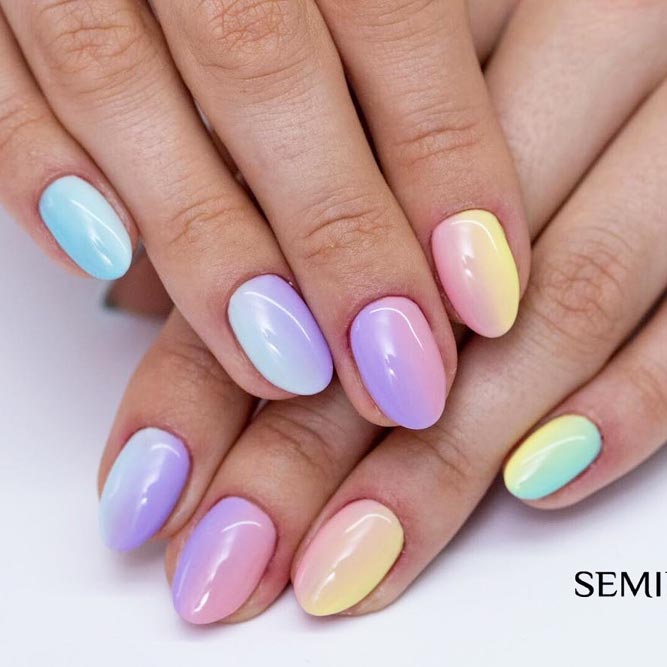
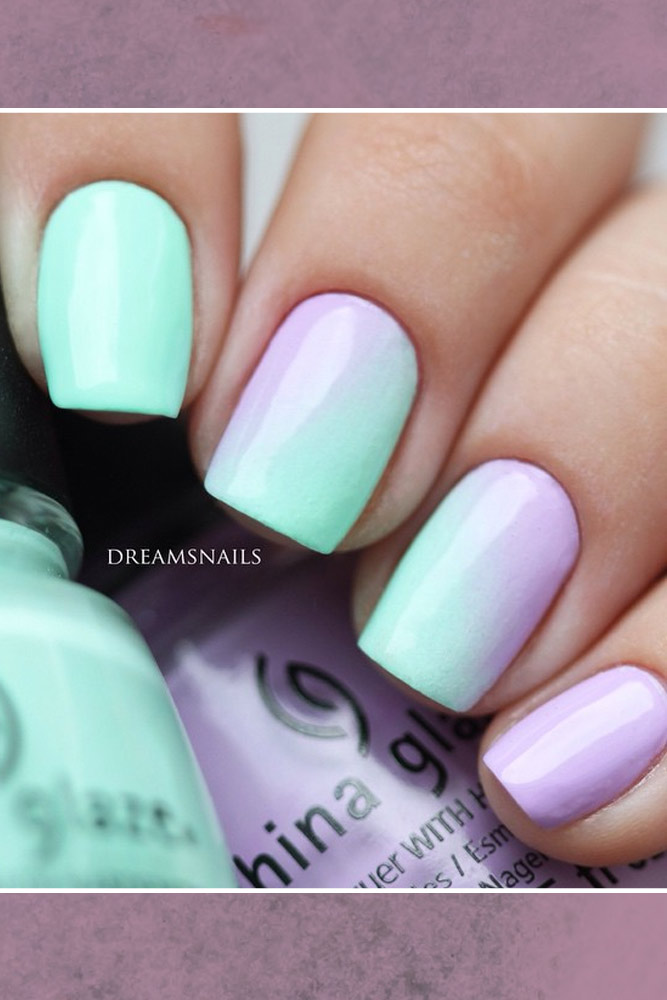
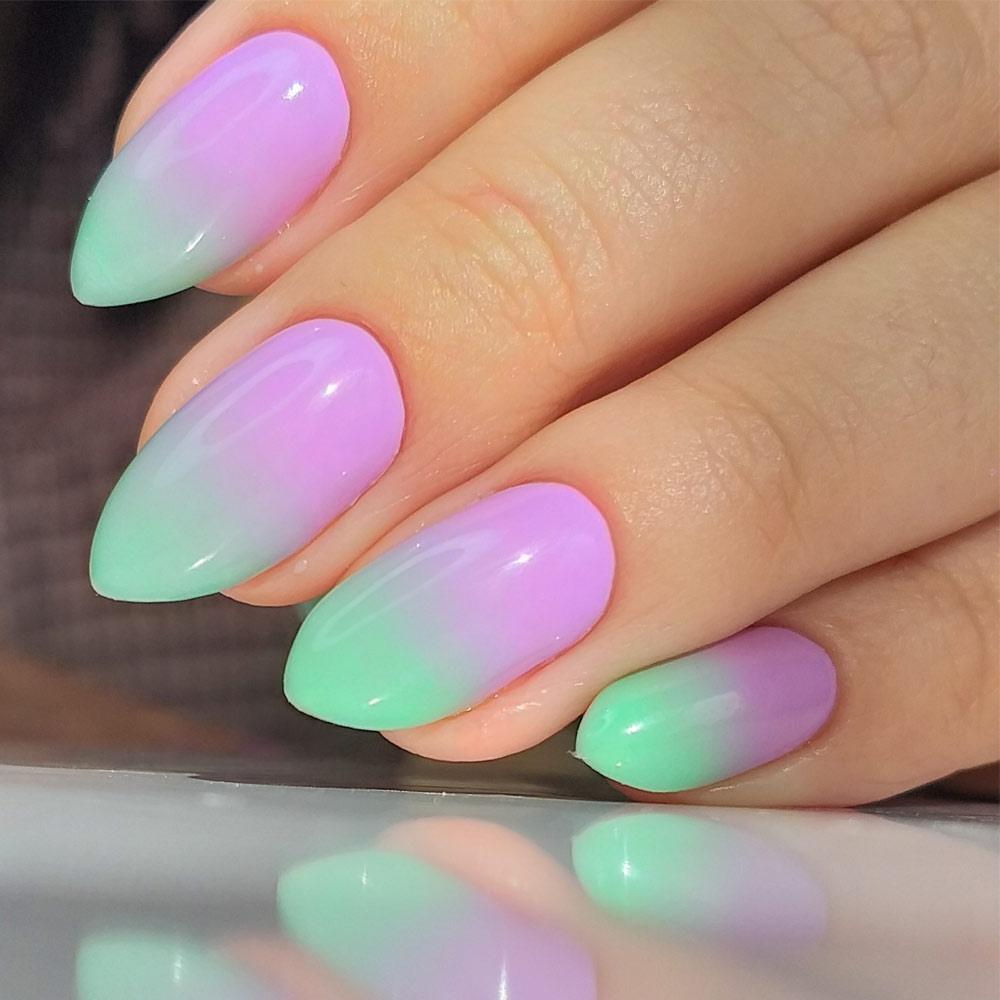
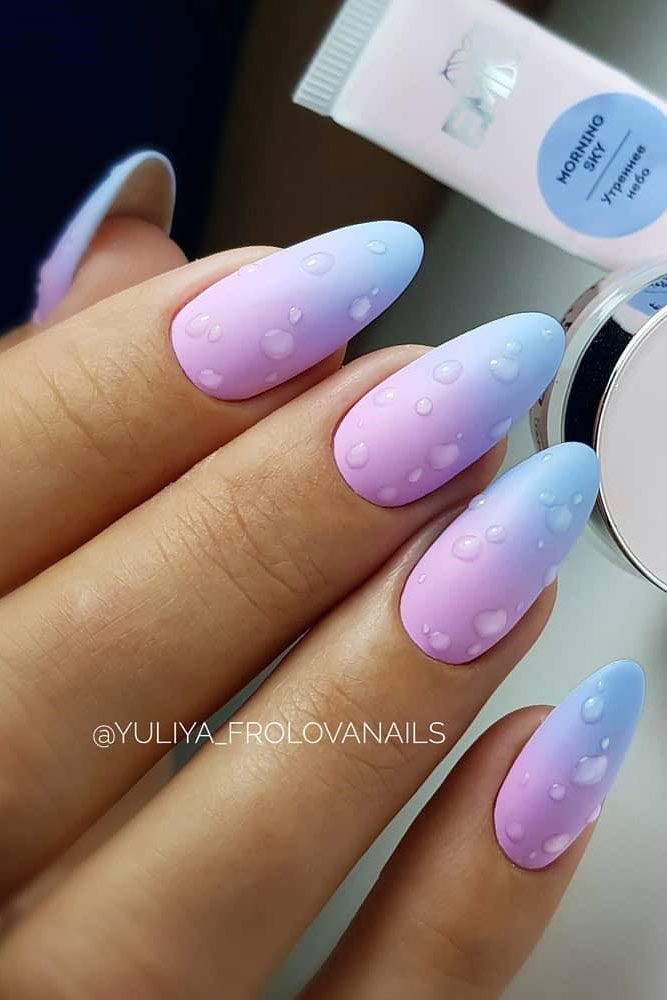
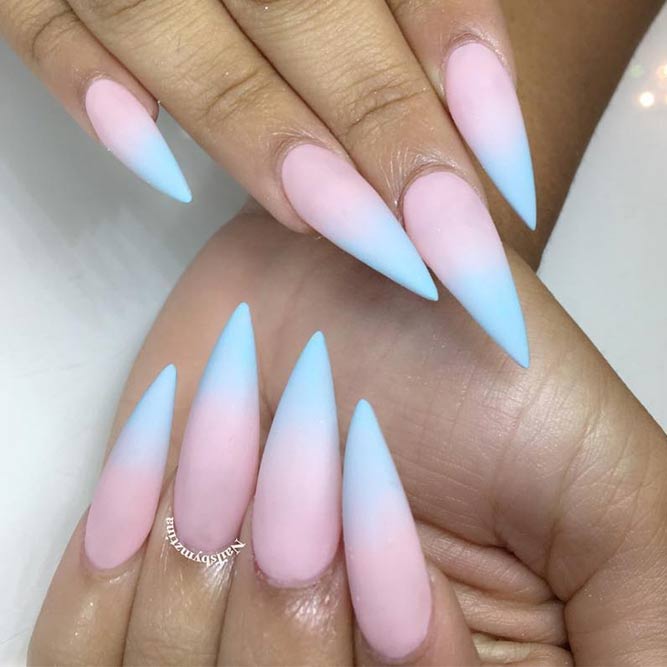
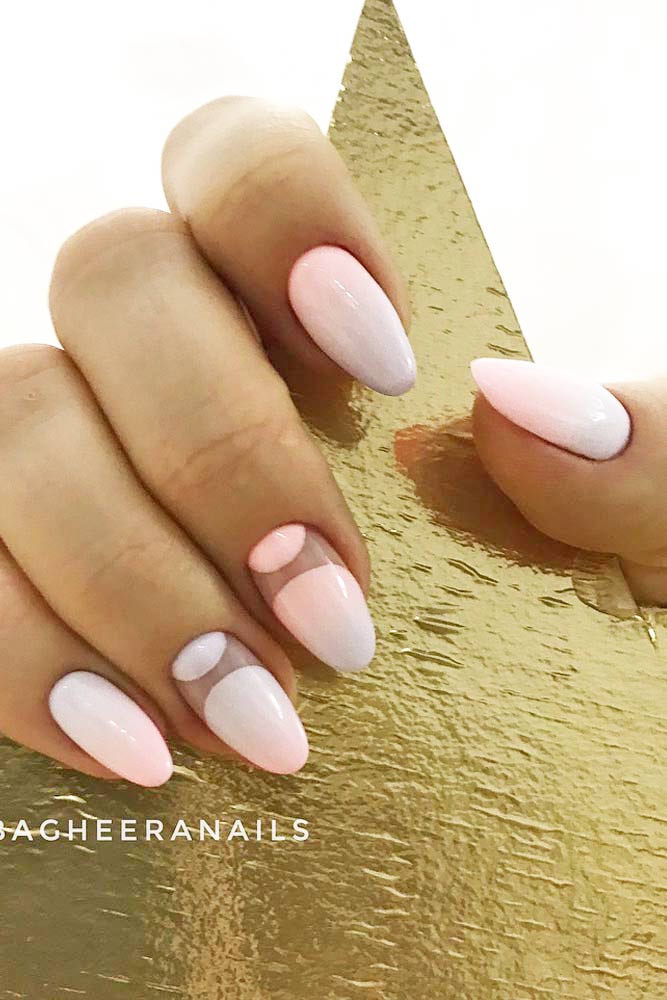
- Pastel Rainbow: Use soft pastel shades to create a gentle, rainbow effect across your nails, perfect for spring.
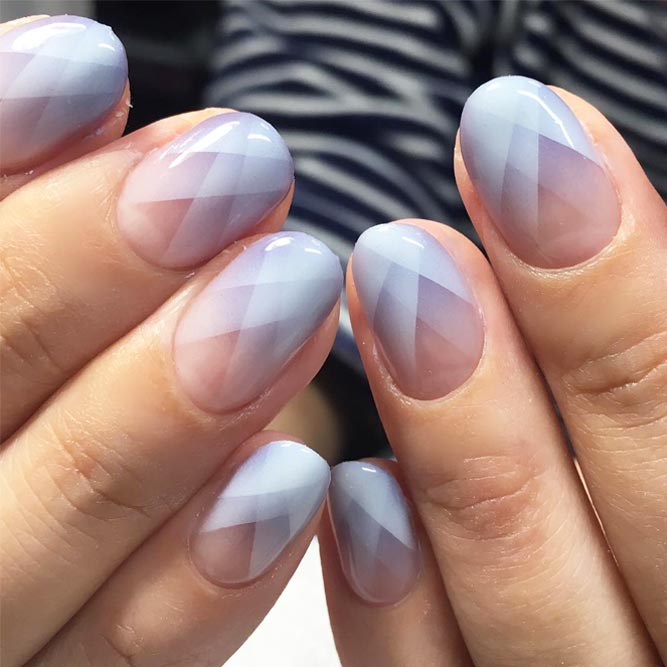
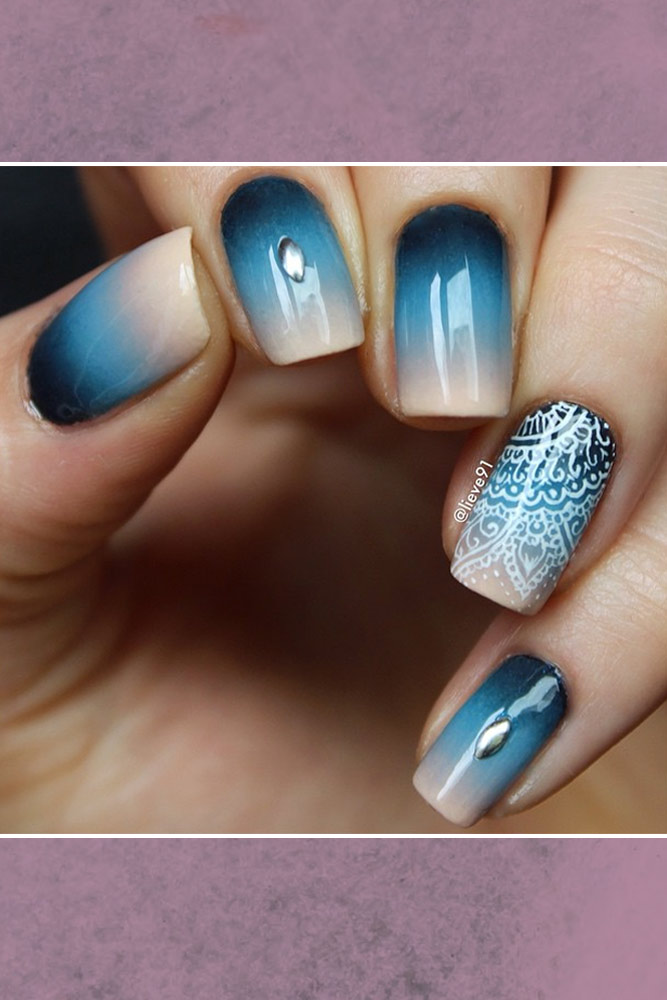
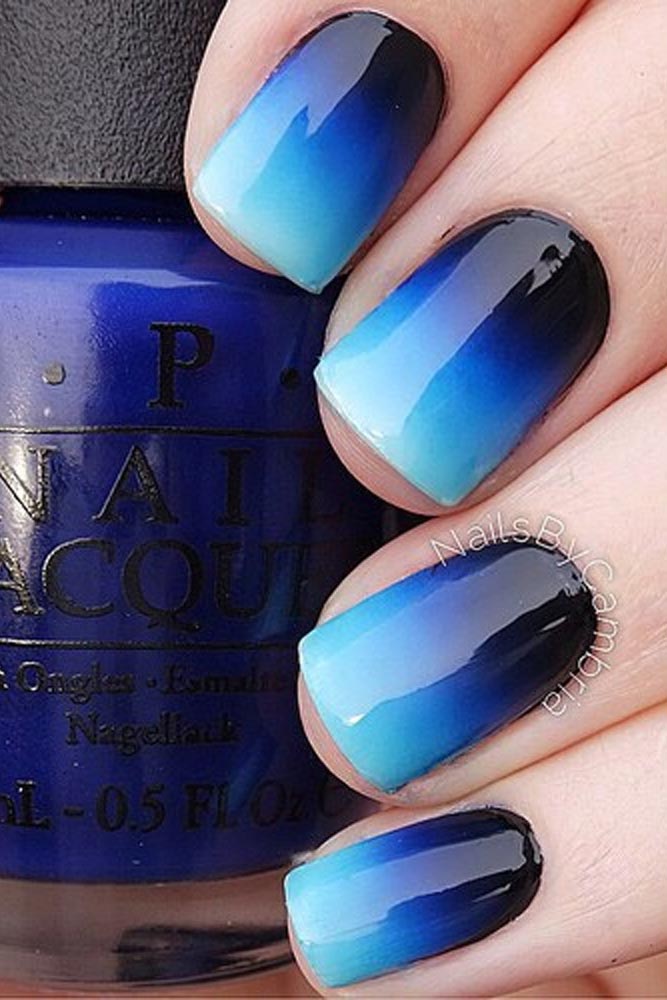
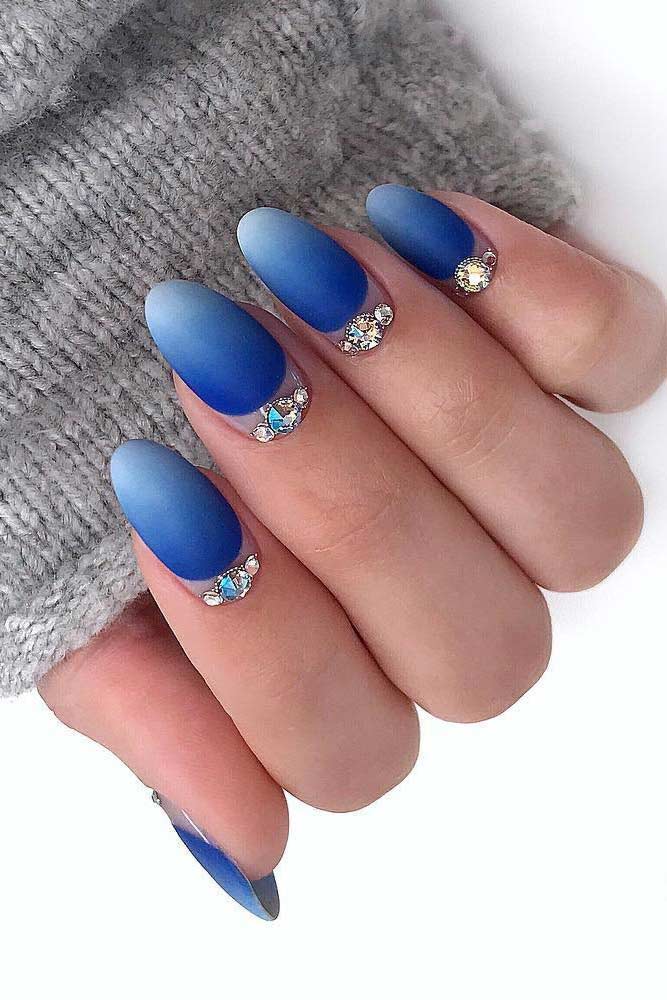
- Deep Sea Blues: Blend various shades of blue to mimic the deep, mysterious hues of the ocean, ideal for a cool and calming effect.
DIY Ombre Nail Tutorial
What You’ll Need:
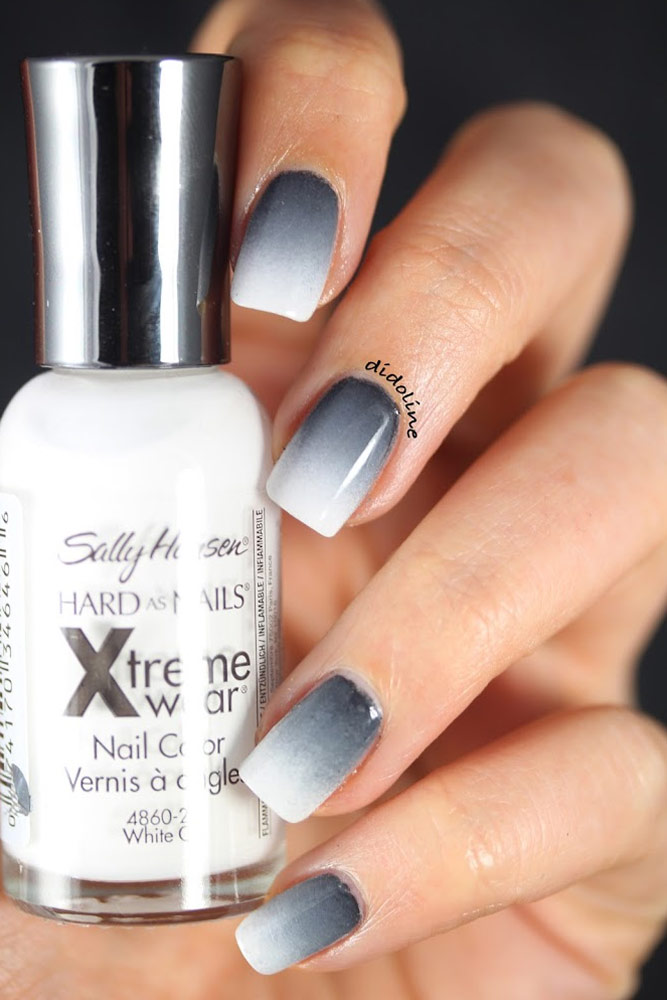
- Two or more nail polish colors
- A makeup sponge
- A top coat
- Nail polish remover and a clean-up brush
Steps:
- Prepare Your Nails: Start with clean, shaped nails. Apply a base coat to protect your nails and enhance the longevity of your manicure.
- Apply the Base Color: Choose the lightest color as your base and apply it to your nails. Let it dry completely.
- Prepare the Sponge: On a makeup sponge, apply your chosen colors side by side, slightly overlapping them.
- Dab on the Gradient: Gently dab the sponge onto your nails, pressing the colors onto the nail surface. Repeat until you achieve the desired gradient effect. Allow it to dry.
- Clean Up: Use a small brush dipped in nail polish remover to clean up any polish on the skin around your nails.
- Apply Top Coat: Finish with a top coat for a glossy look and to seal in your design.
Tips for Perfect Ombre Nails
- Practice the sponge technique on paper first.
- Use a liquid latex barrier around your nails for easier clean-up.
- Experiment with different color combinations and finishes.
Conclusion
Ombre nails are a fun and glamorous way to express your style. With these concepts and the tutorial provided, you can easily achieve professional-looking ombre nails at home. Remember, the key to perfect ombre nails is patience and practice. So, grab your favorite polishes and start experimenting!