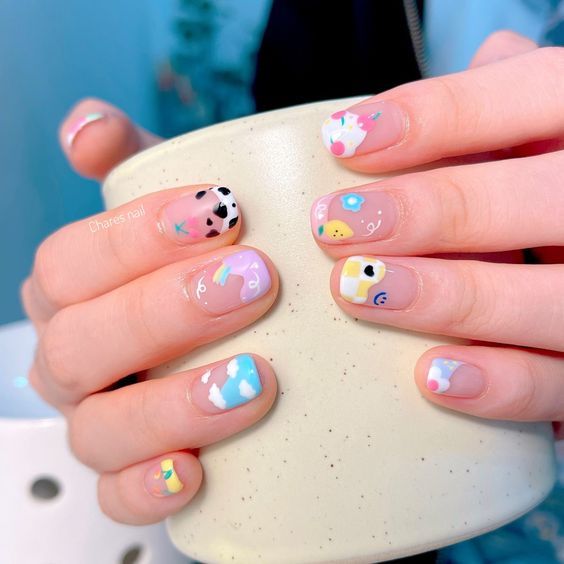
Starting your journey in the world of nail art can be as exciting as it is daunting. For beginners, the key is to start with simple designs that not only boost confidence but are also quick and easy to master. This article aims to guide you through a few designs that are perfect for those just starting out with their DIY nail art adventures.
Basics Before You Start
Before diving into painting your nails, it’s crucial to prepare your nails properly. Ensure your nails are clean, filed, and free of any old polish for the best results. Equipping yourself with the right tools such as a good quality nail polish, a fine brush for details, and a dotting tool will set the foundation for a successful nail art experience.
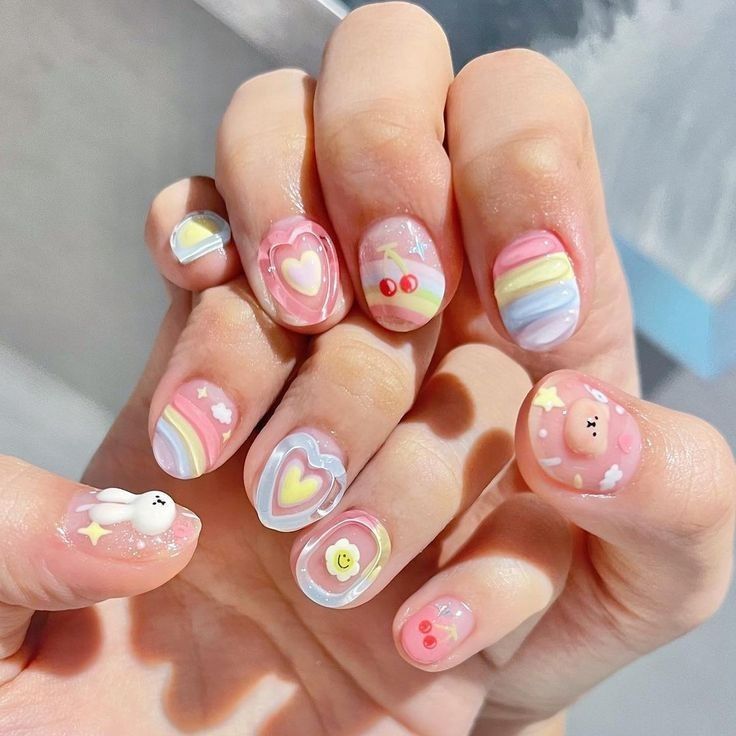
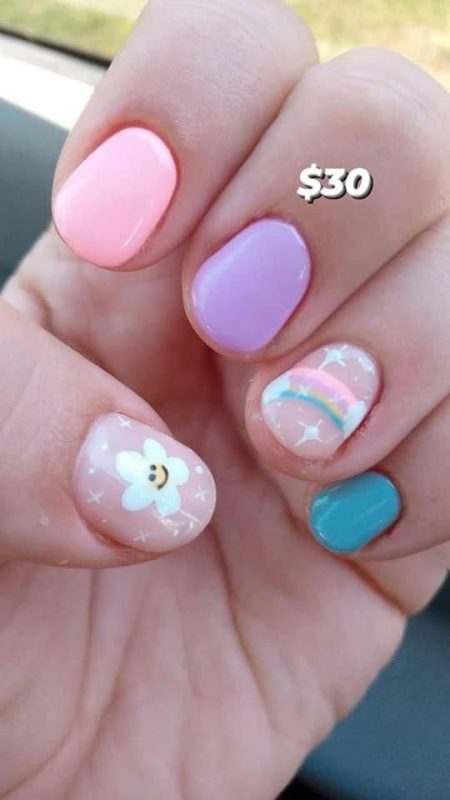
Five Simple Nail Designs for Beginners
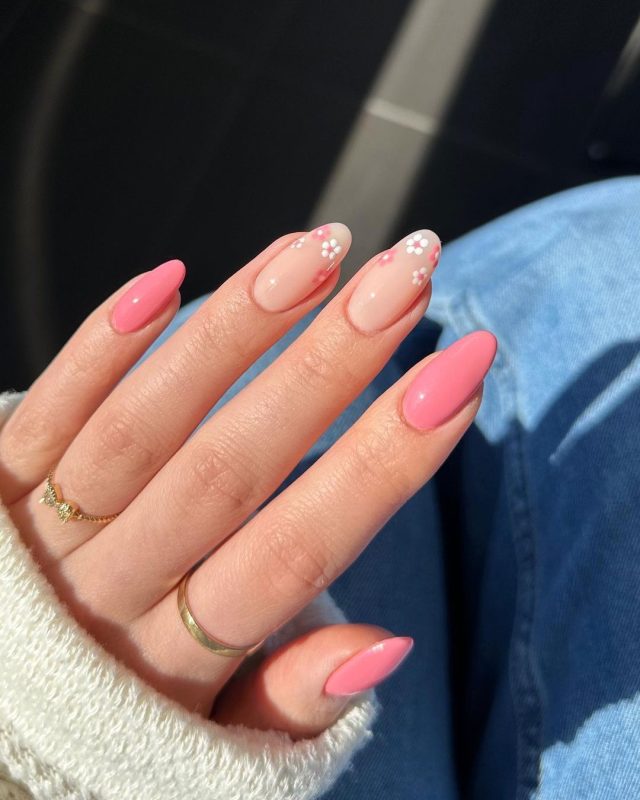
Single Color Manicure
A single color manicure is perhaps the simplest of all nail designs and a perfect starting point for beginners. To achieve this:
- Apply a base coat to protect your nails and ensure a smooth application.
- Choose a bold or neutral color and apply two thin coats, allowing each coat to dry thoroughly.
- Finish with a clear top coat to add shine and prolong the life of your manicure.
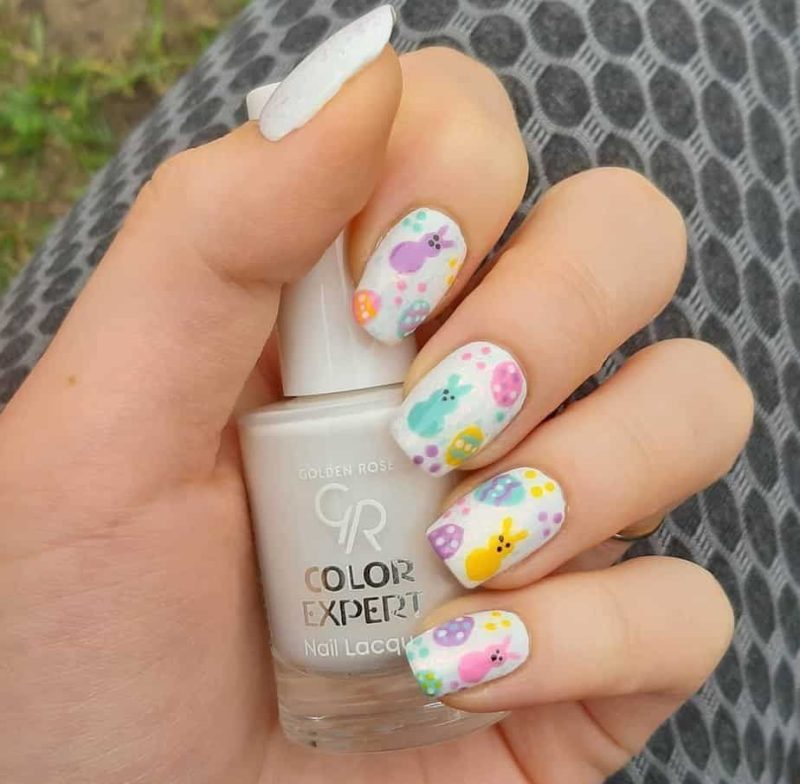
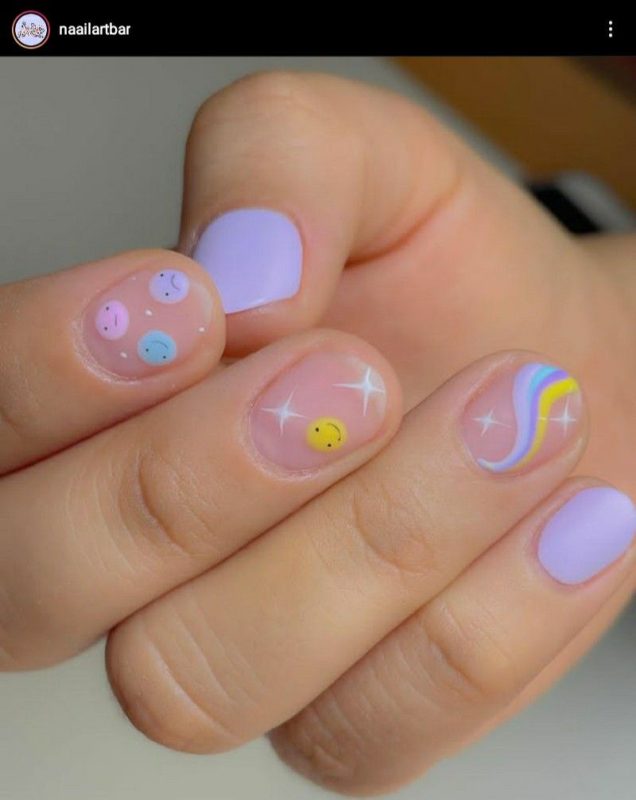
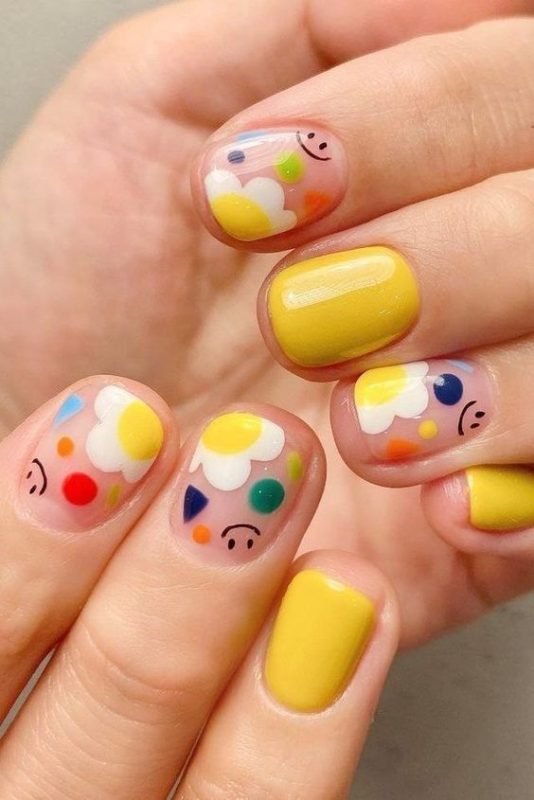
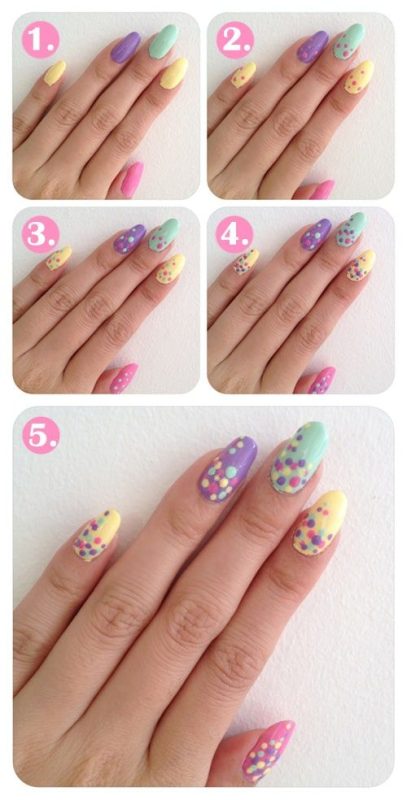
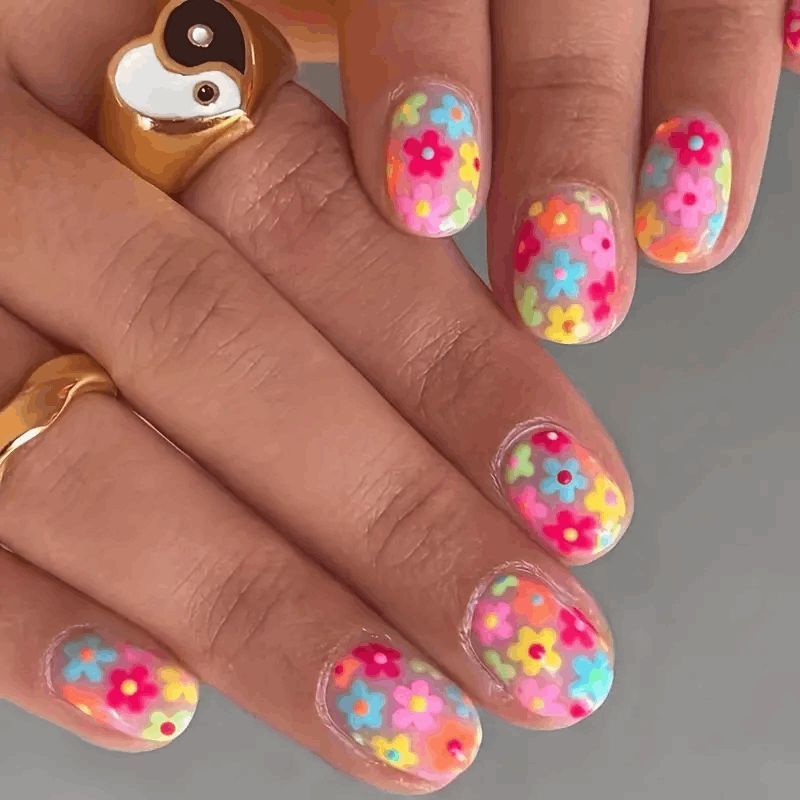
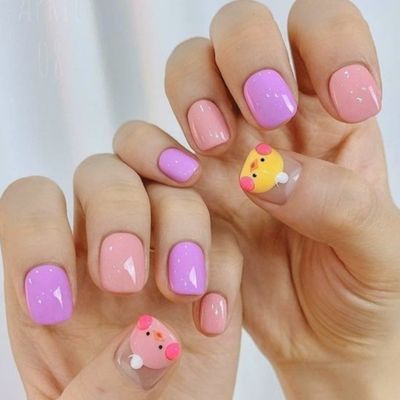
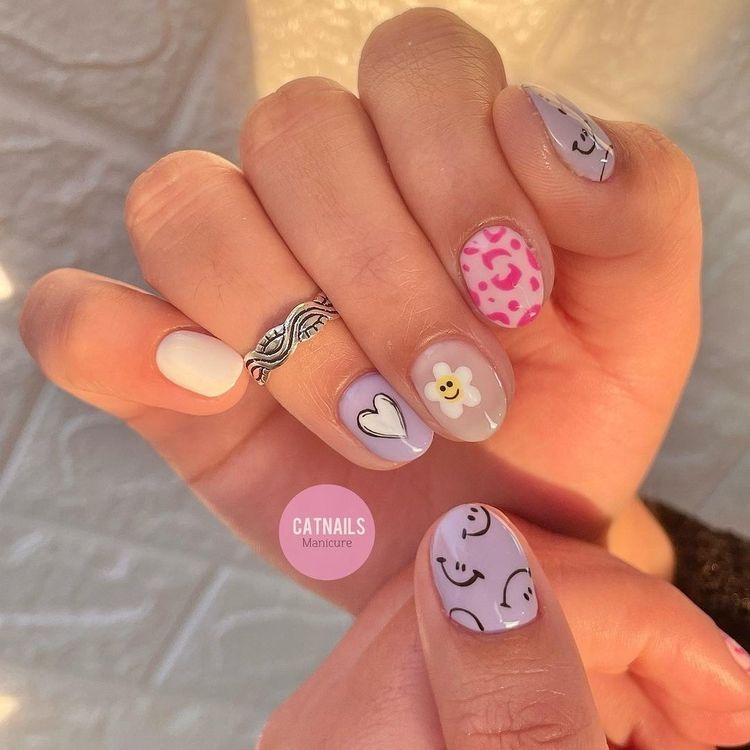
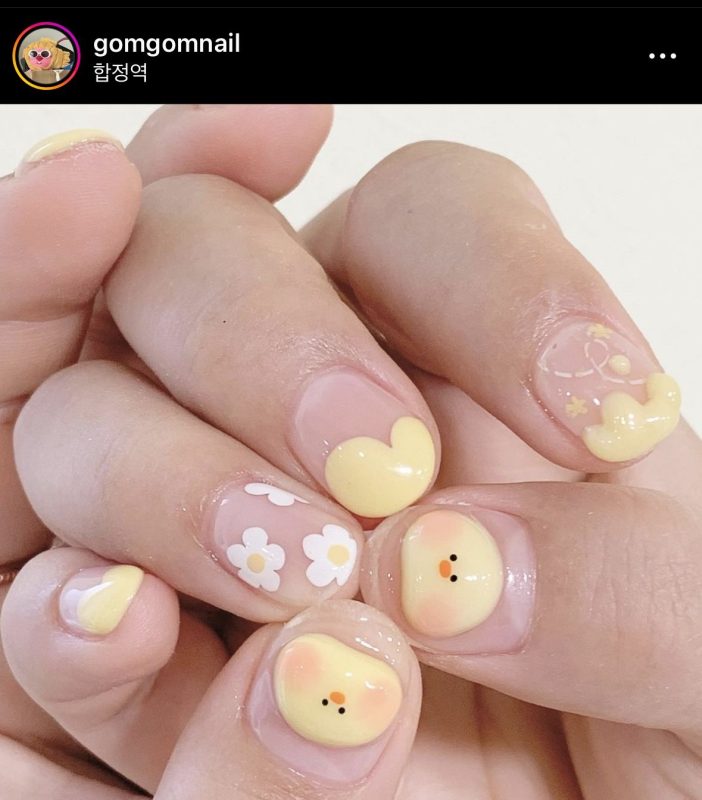
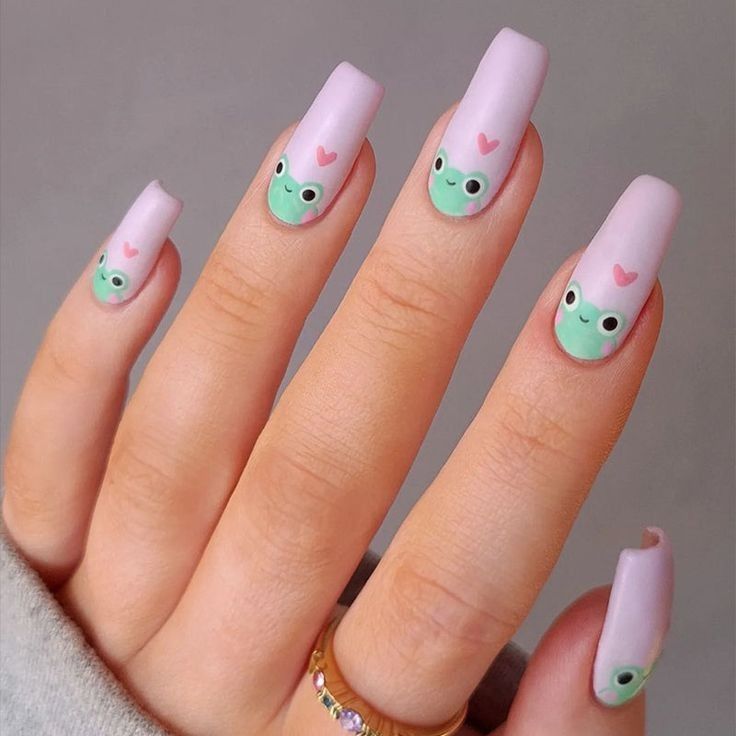
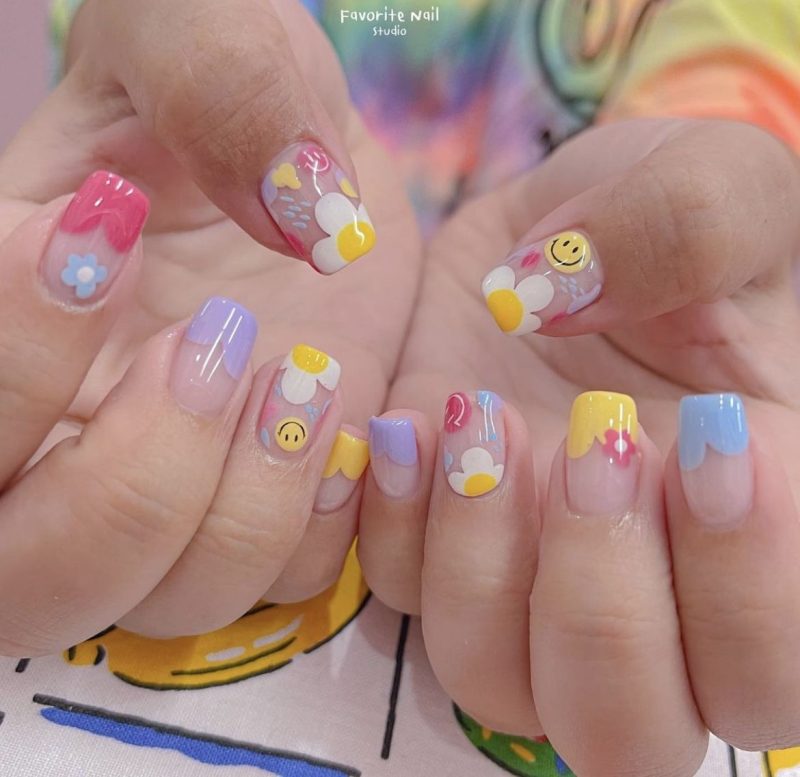
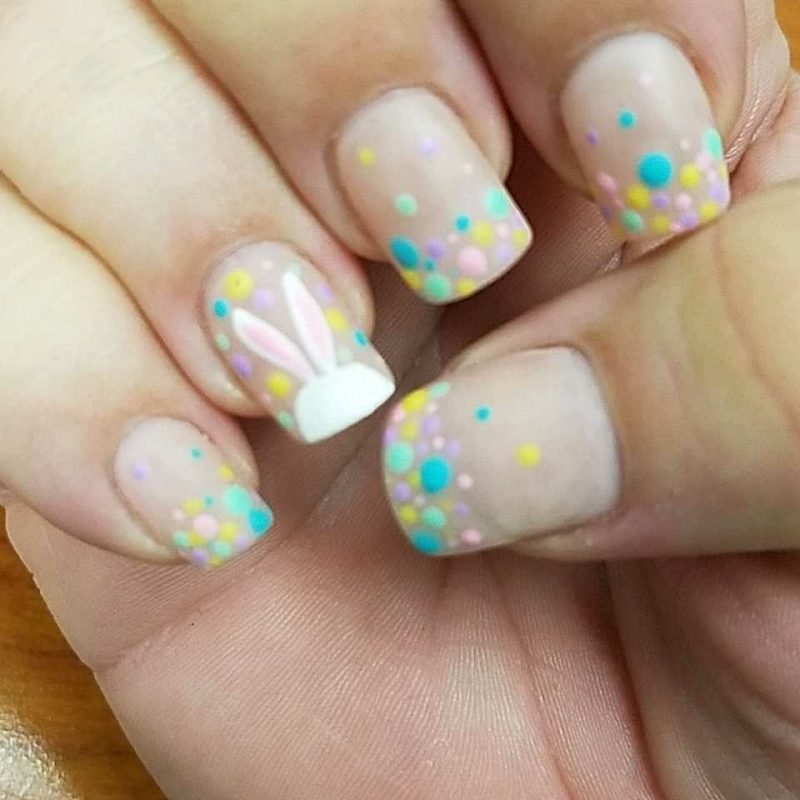
Polka Dots
Polka dots are playful and simple to create. You’ll need a dotting tool or the end of a bobby pin as a DIY alternative.
- After applying your base color, dip your tool into a different color and gently dot it onto your nails.
- Let the dots dry completely before sealing them with a top coat.
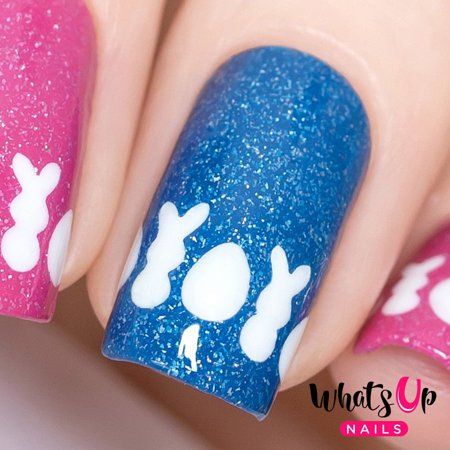
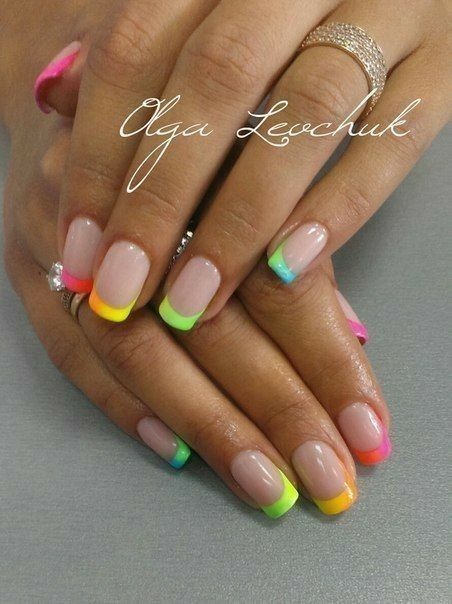
Striped Nails
Stripes are another easy design for beginners. Use tape to achieve clean, straight lines.
- Apply a base color and let it dry.
- Place strips of tape over your nails to form desired patterns, then paint over the tape with a second color.
- Remove the tape carefully while the polish is still slightly wet, then apply a top coat.
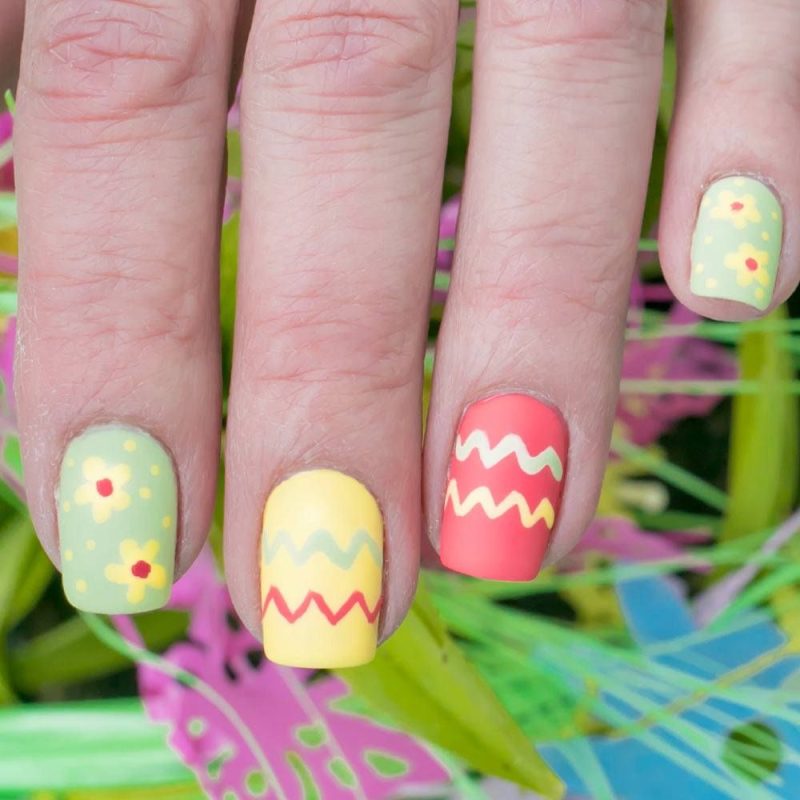
Chevron Patterns
Chevron patterns can add a dynamic look to your nails and are surprisingly simple with the right tools.
- Cut out chevron stencils from tape and stick them on your nails after the base coat has dried.
- Paint over the stencil, then peel it off to reveal your design.
- Finish with a top coat for durability and shine.
Ombre Nails
Ombre nails create a beautiful color gradient and can be achieved using a sponge.
- Apply your base color, then sponge on a gradient of colors while the base is still tacky.
- Blend the colors together on a sponge and dab gently onto the nails.
- Finish with a top coat to smooth out the texture.
Additional Tips for Perfect DIY Nails
Achieving a professional look requires a steady hand and patience. Practice holding your brush or tool firmly to get cleaner lines and designs. If you make a mistake, dip a small brush in nail polish remover and gently correct it.
Conclusion
Starting with simple designs allows you to grow your skills and confidence in nail art. Each design you master will encourage you to try more complex patterns and techniques. Remember, nail art is an expression of creativity—there are no mistakes, just learning experiences!
FAQs
What are the best colors for beginners?
- Stick with bold colors like red, blue, or black for high contrast and easier application.
How do I make my nail polish last longer?
- Always use a base coat and a top coat to seal in your design and protect it from chipping.
Can I do nail art if I have short nails?
- Absolutely! Simple designs like polka dots or stripes can look stunning on shorter nails.
What is the quickest design to apply?
- A single color manicure is quick and foolproof, perfect for those short on time.
How often should I change my nail design?
- Whenever you feel like it! Some enjoy changing designs weekly, while others wait for the polish to wear off.