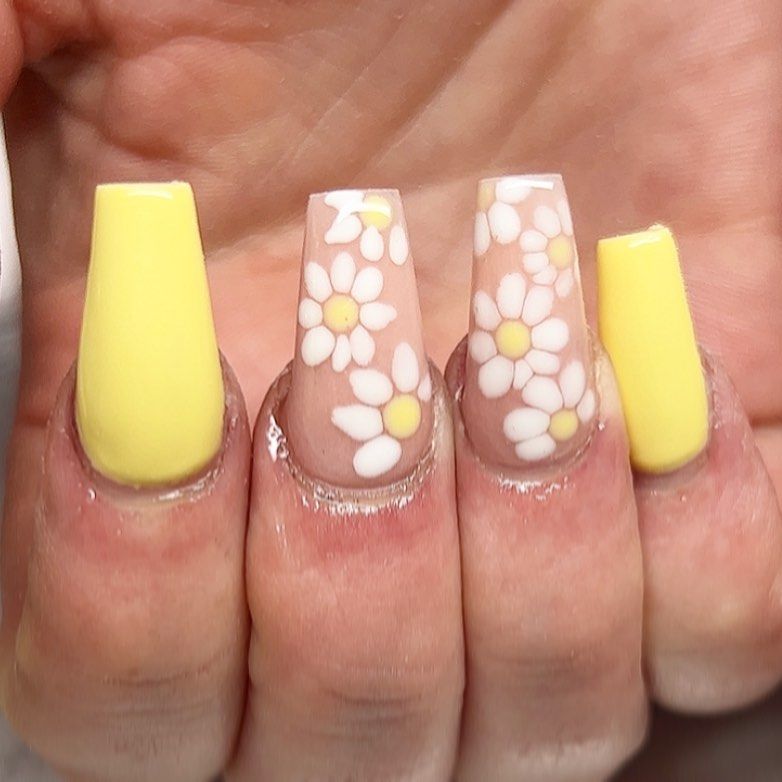
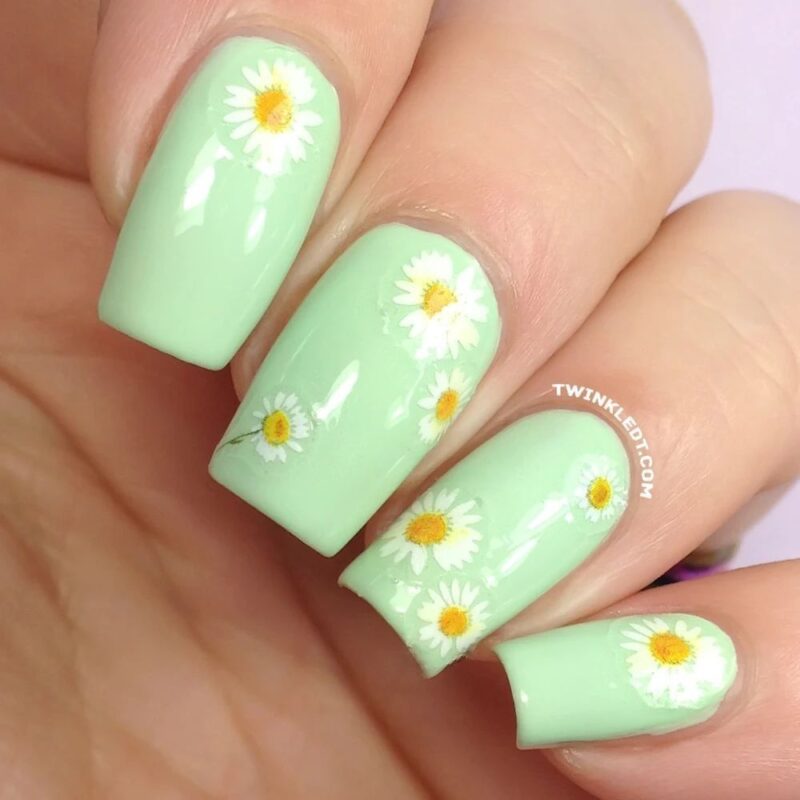
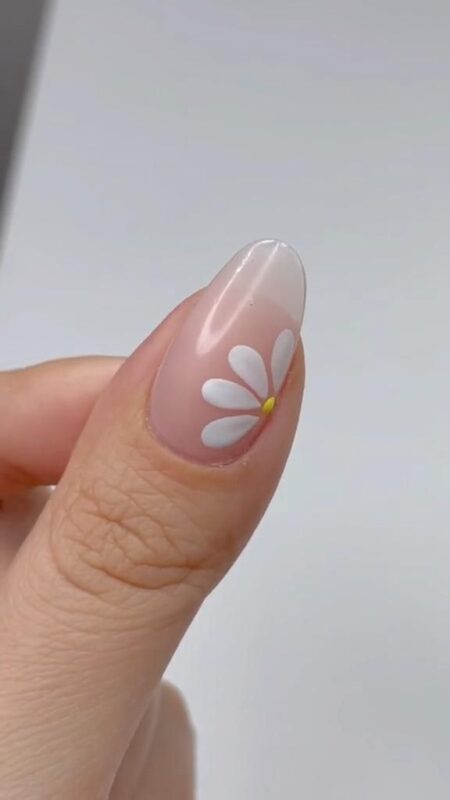
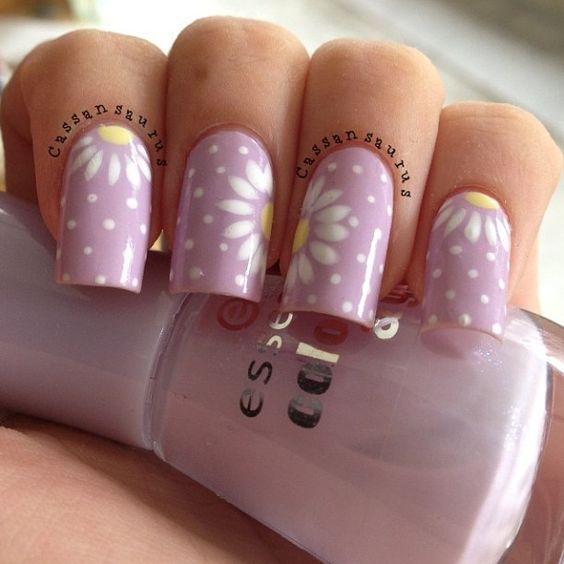
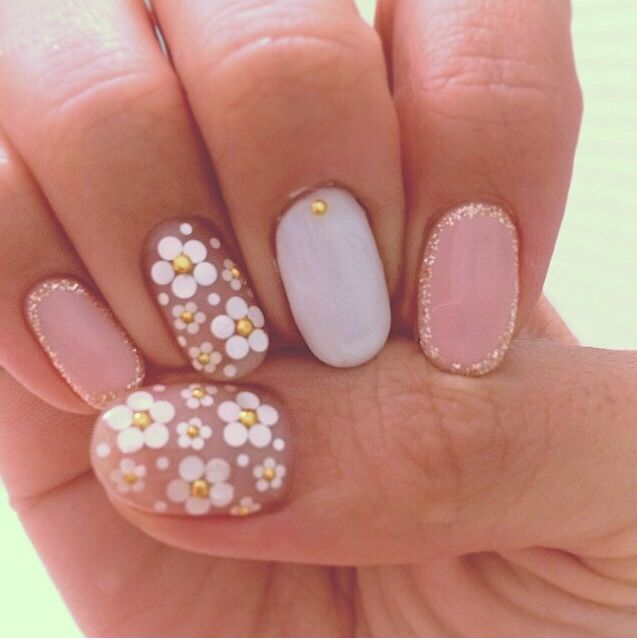
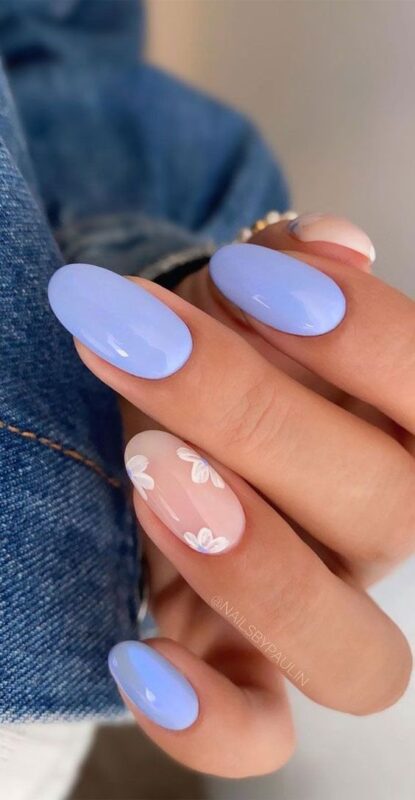
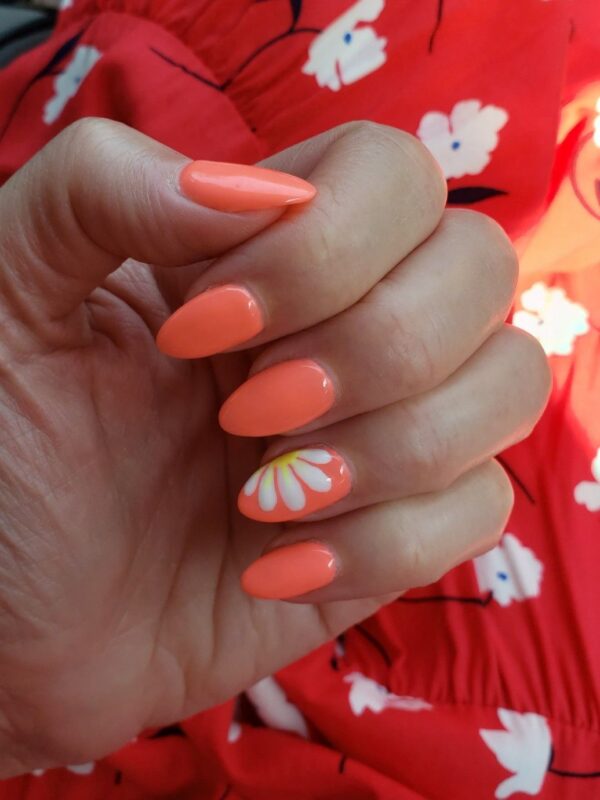
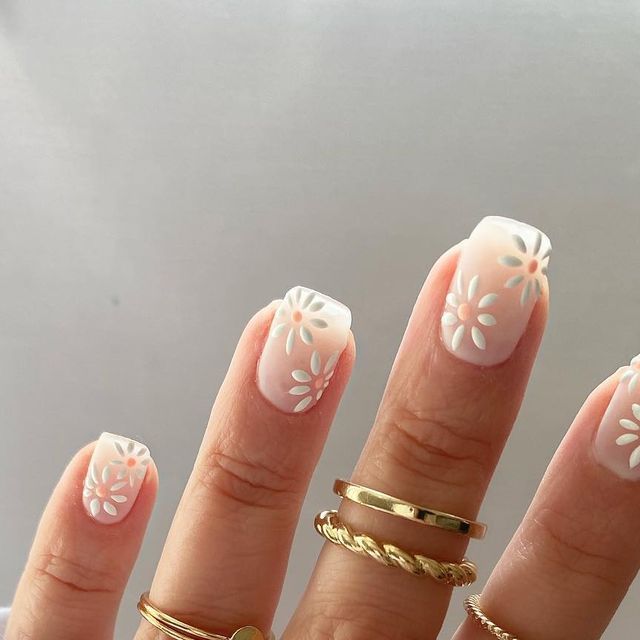
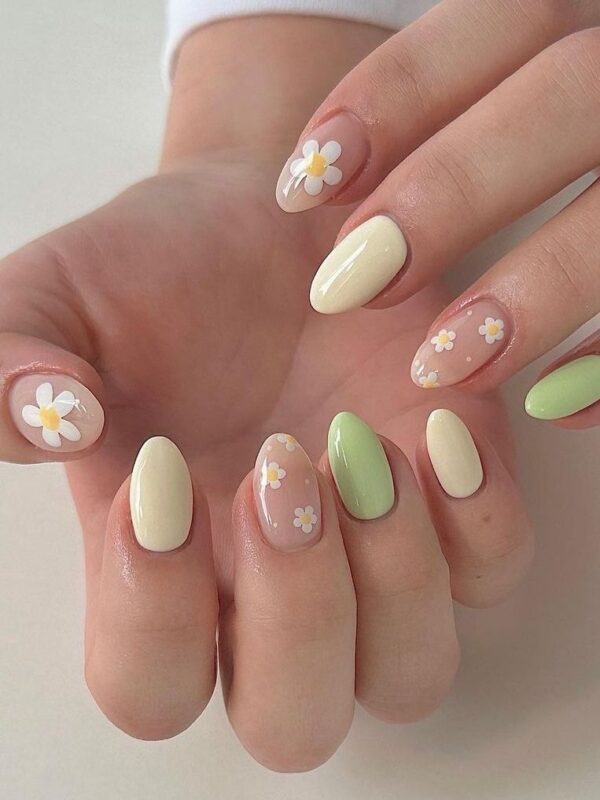
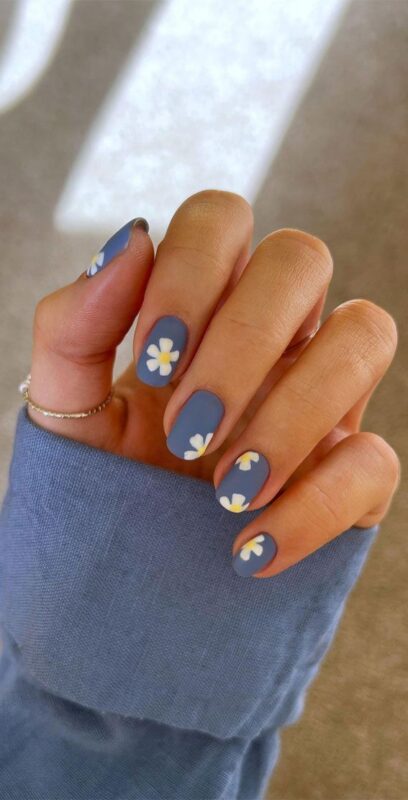
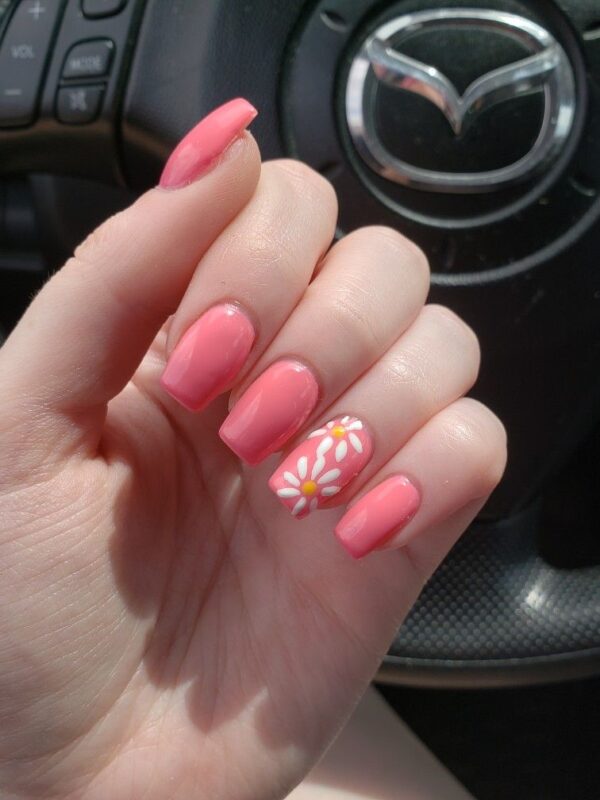
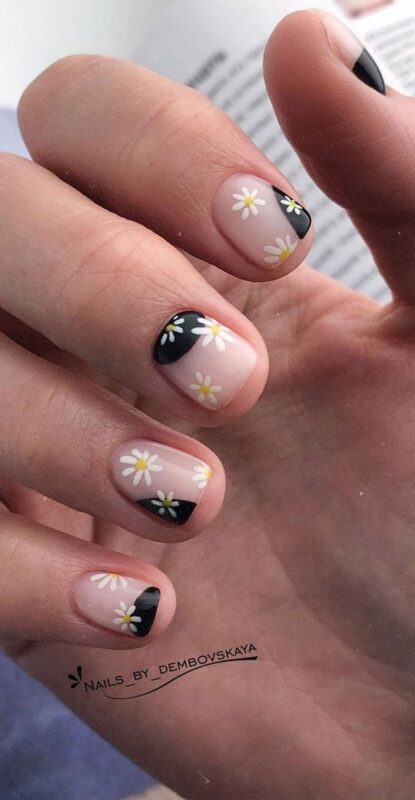
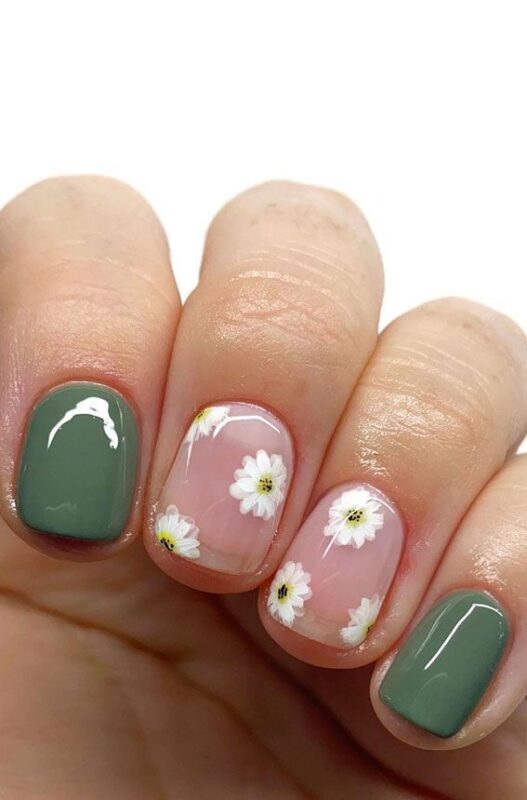
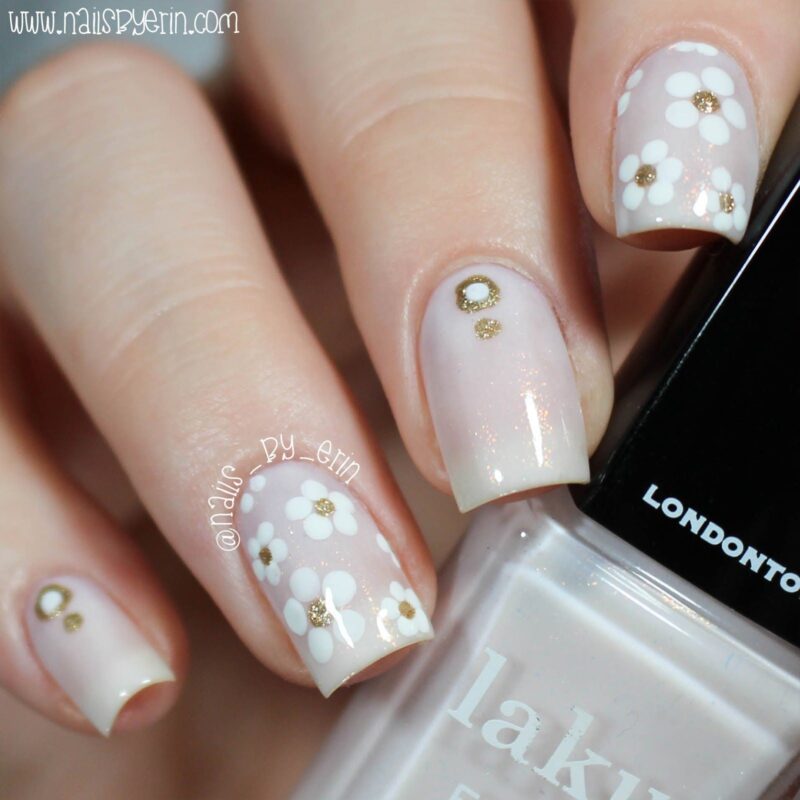
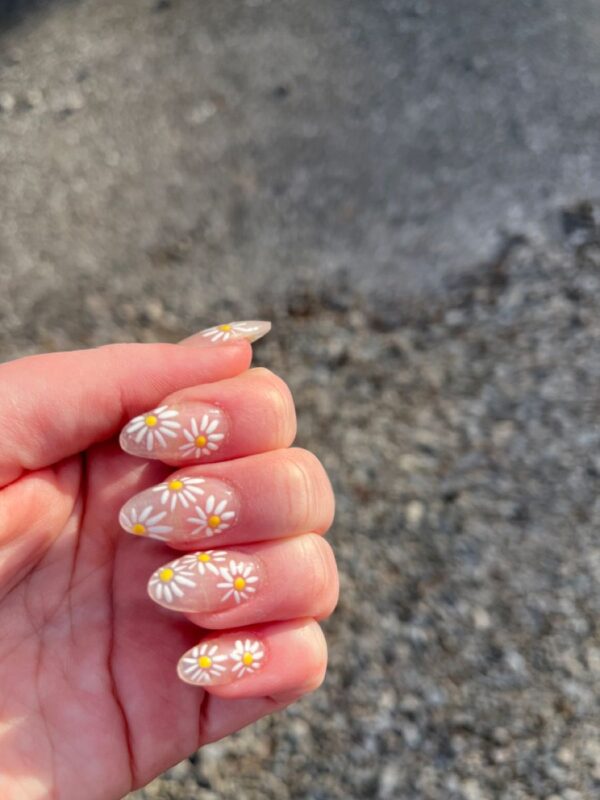
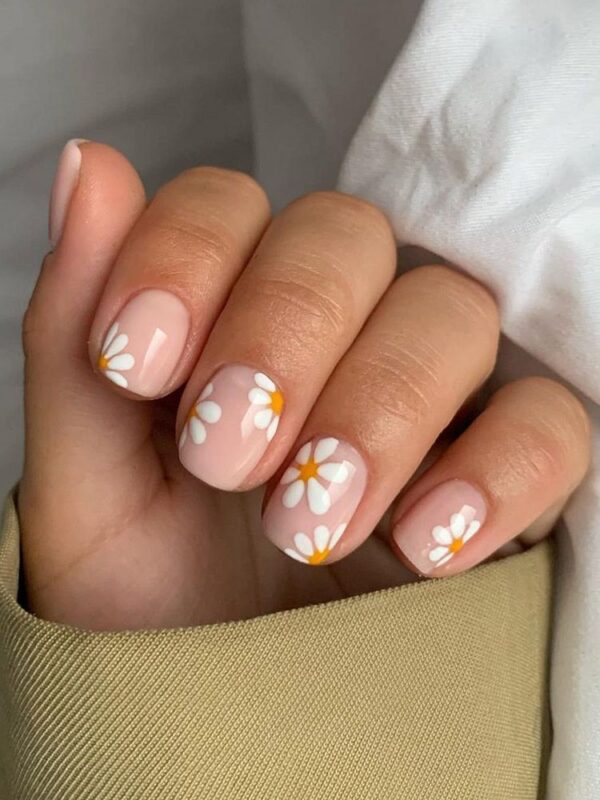
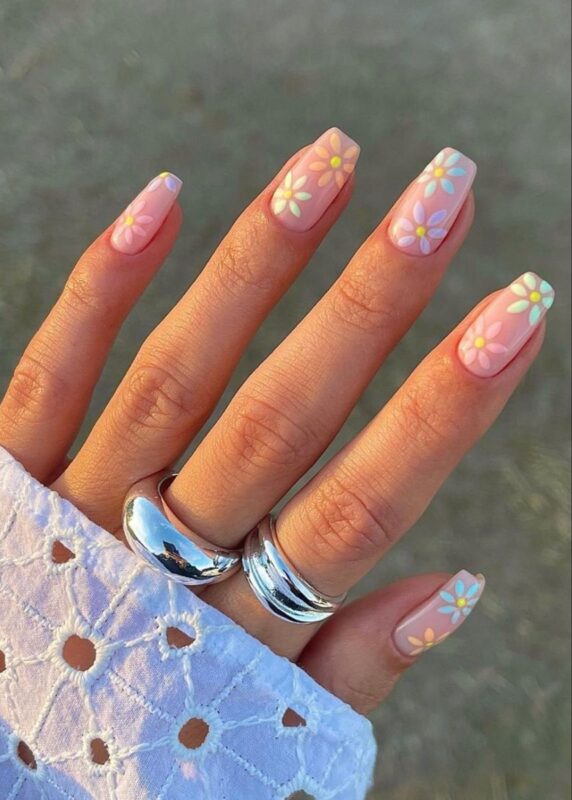
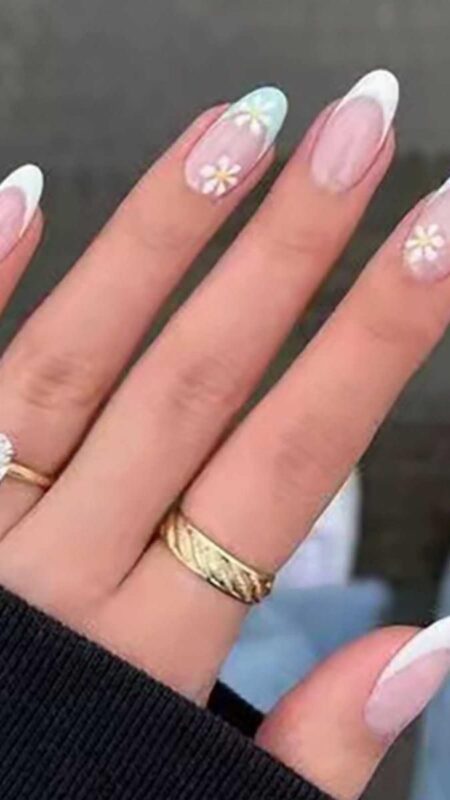
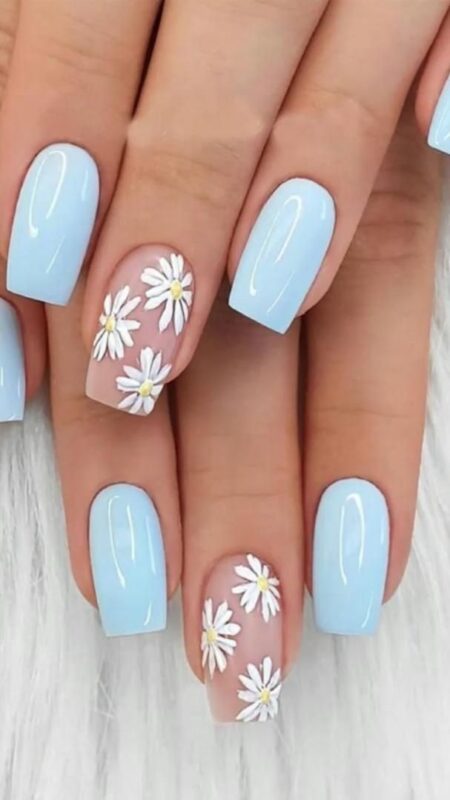
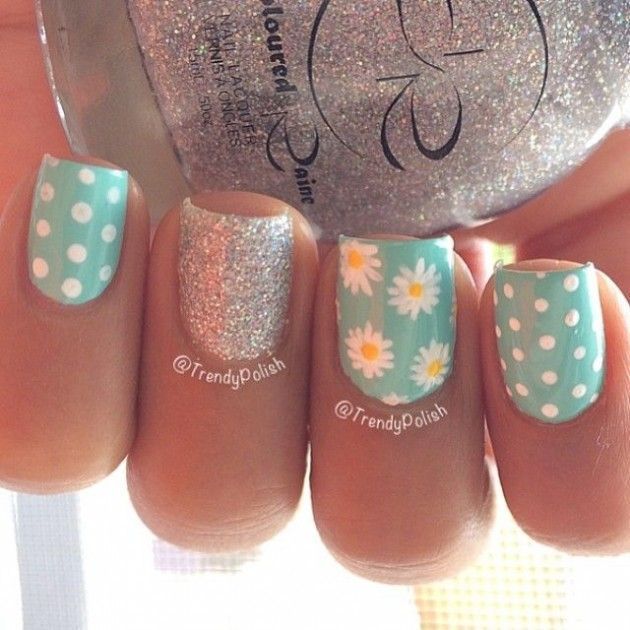
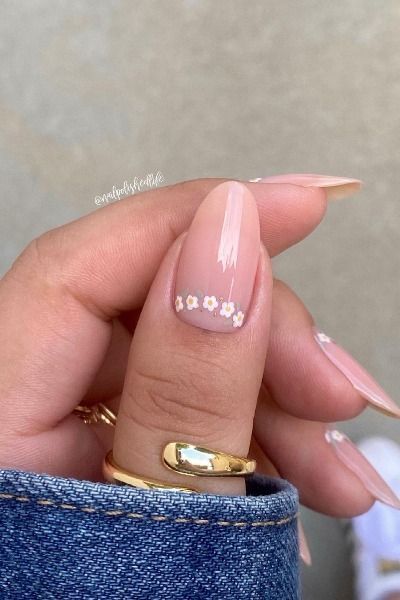
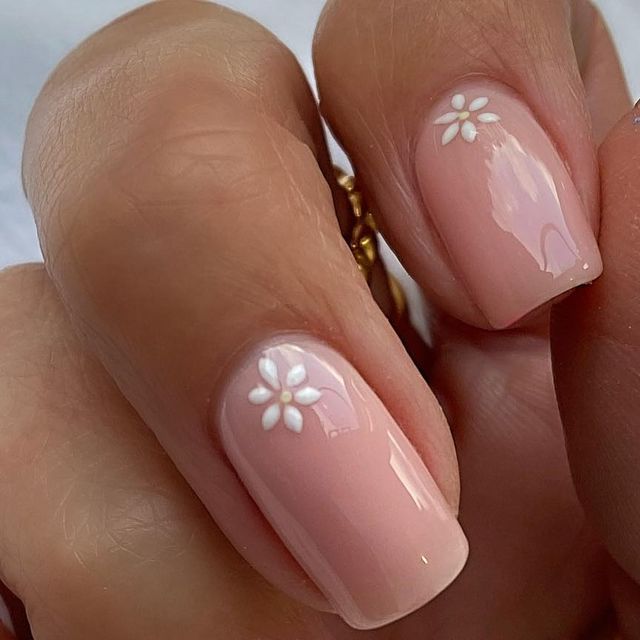
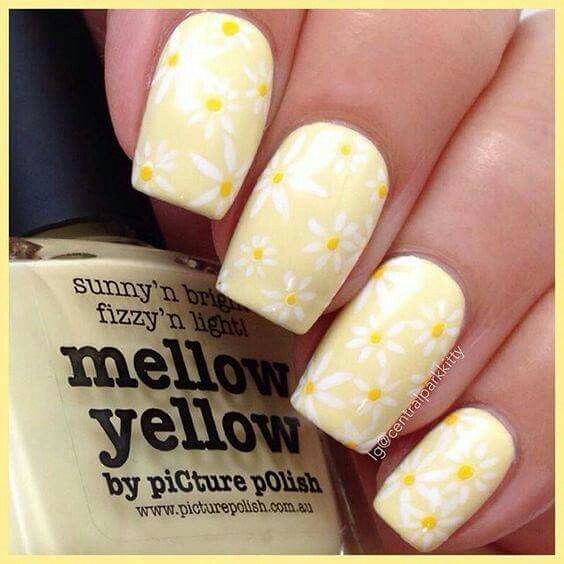
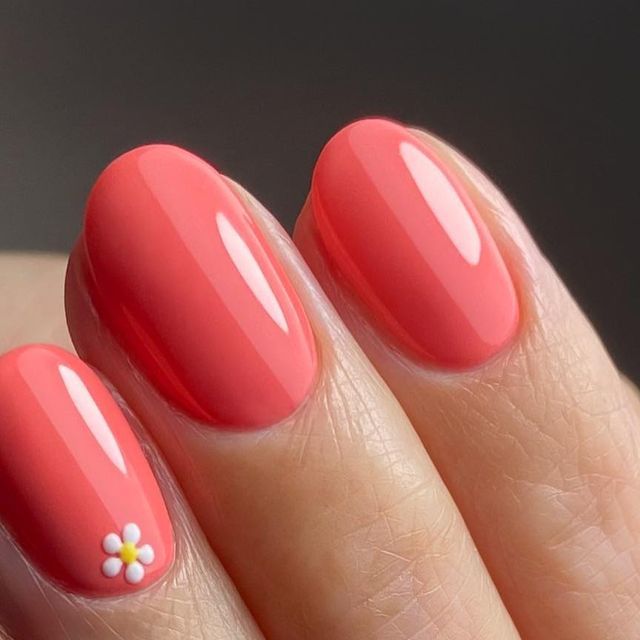
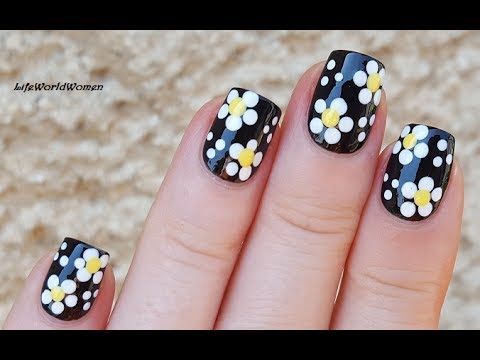
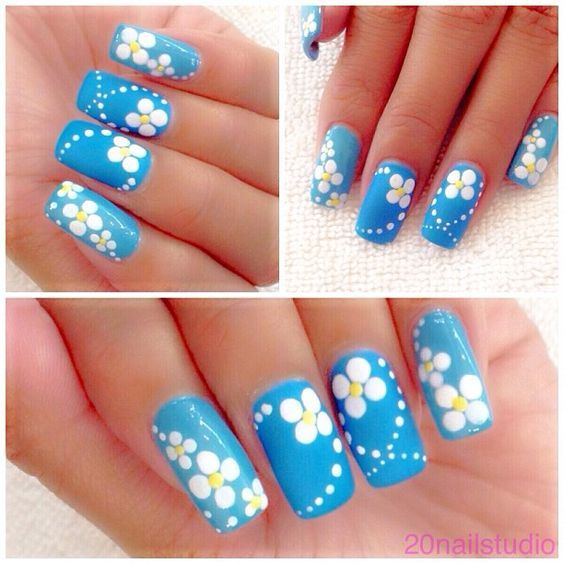
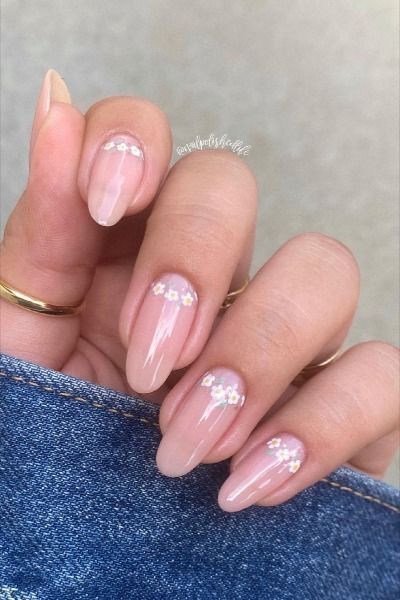
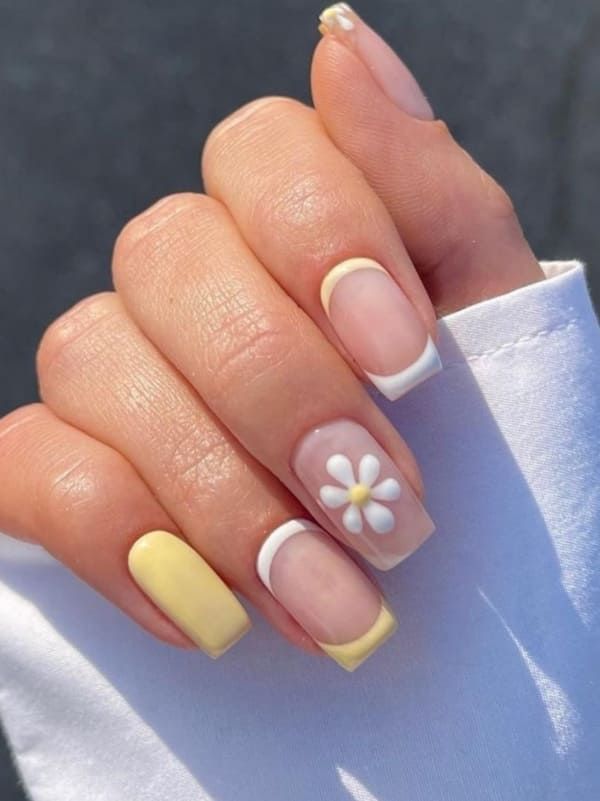
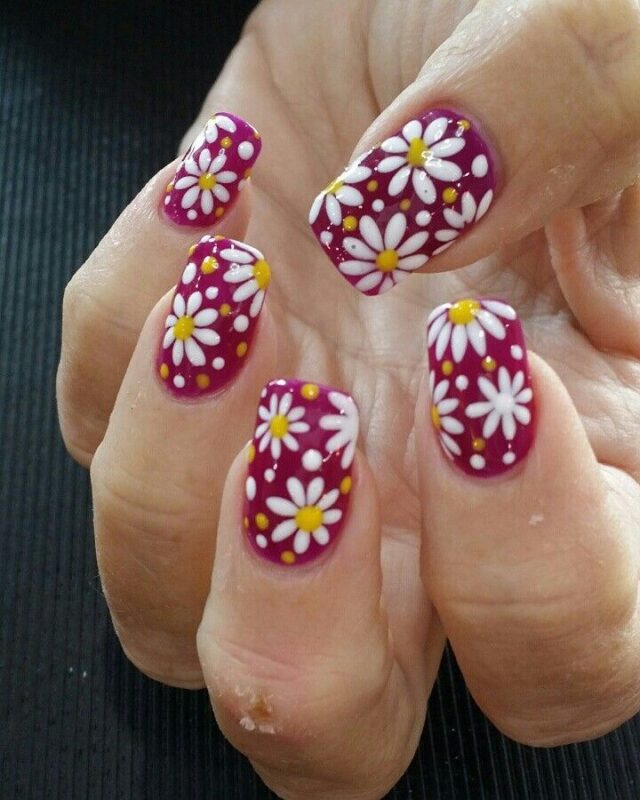
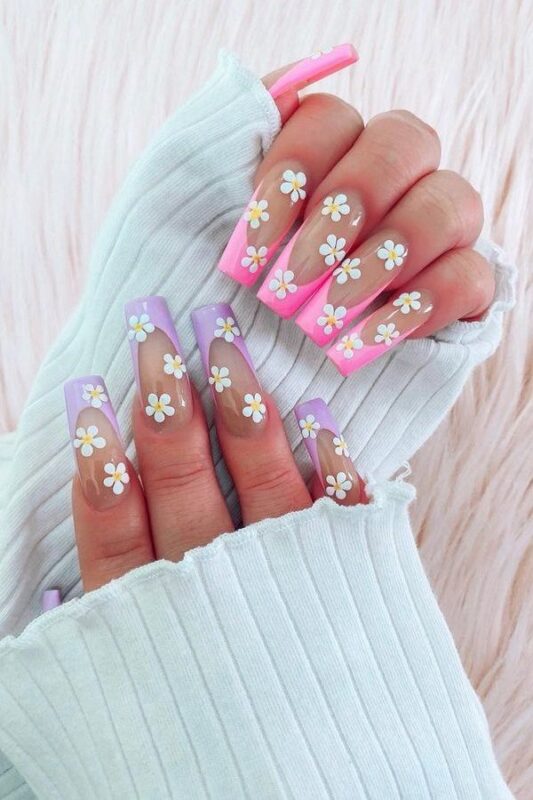
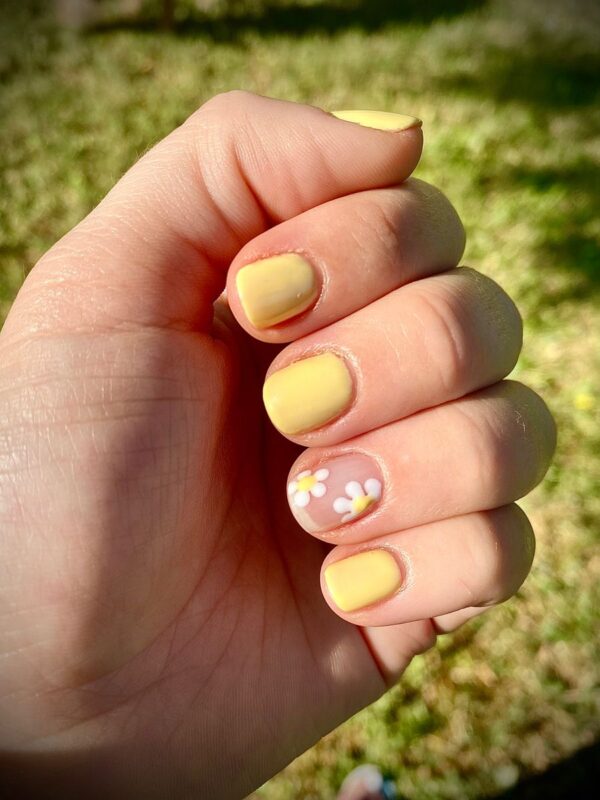
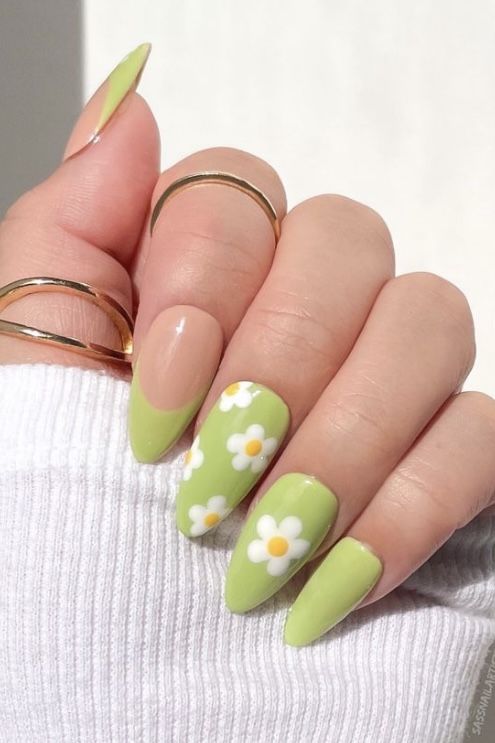
Daisy nail art is timeless and charming, echoing the simplistic beauty of these delightful flowers. The design is adaptable for all skill levels, and even beginners can create this look with ease. The visual allure of daisy nail art lies in its simplicity and its ability to convey a cheerful vibe. Here’s a step-by-step guide to creating your own simple daisy nail art that anyone can replicate.
Creating Simple Daisy Nail Art: A Step-by-Step Guide
What You’ll Need:
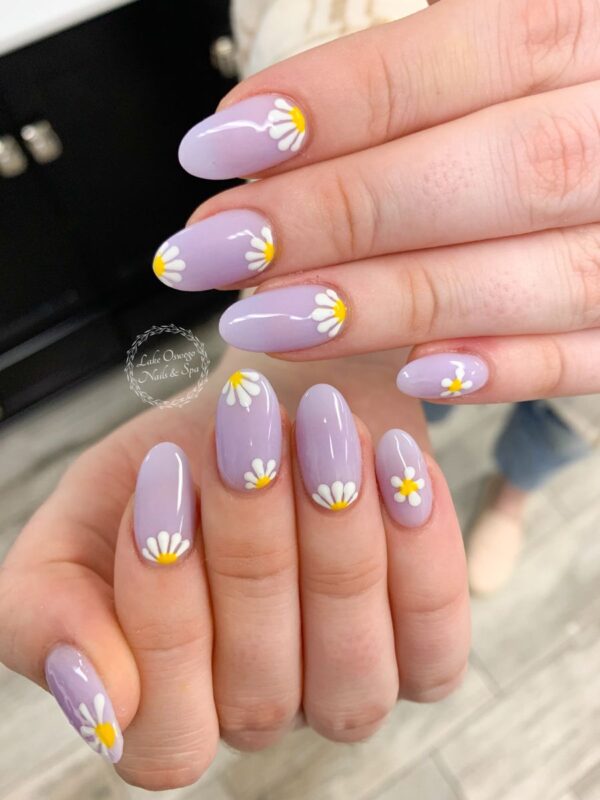
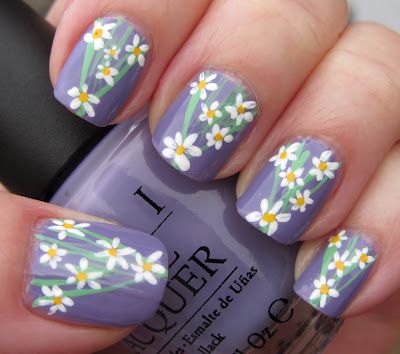
- A base coat polish (preferably in a light color like sky blue, pale pink, or just a sheer nude)
- White nail polish for the petals
- Yellow nail polish for the centers
- A top coat polish for protection and shine
- A thin brush or a toothpick for the details
- A dotting tool or the rounded end of a bobby pin
Instructions:
- Prep Your Nails: Start with clean, shaped nails. Apply a base coat to protect your nails and create a smooth surface for your polish to adhere to.
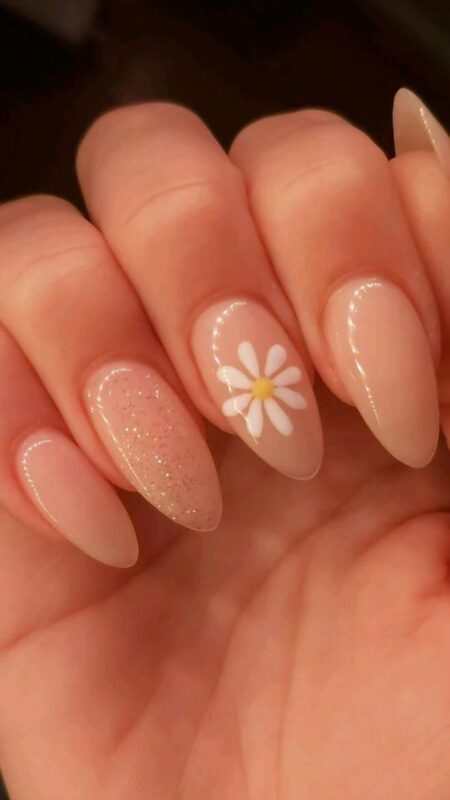
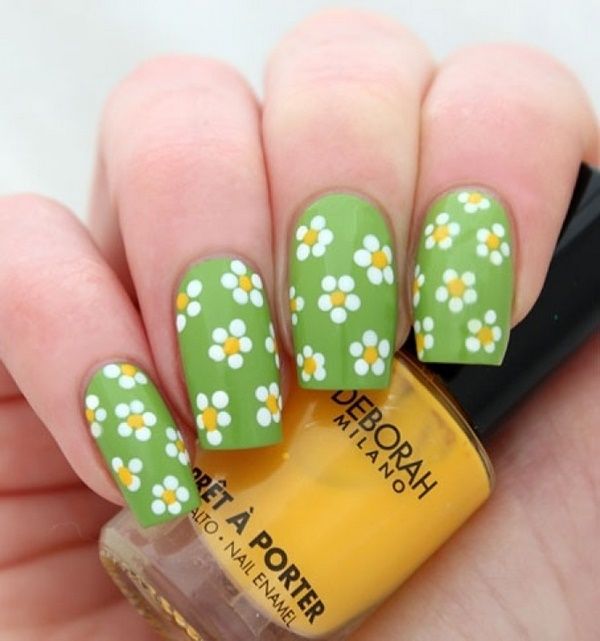
- Apply the Base Color: Choose a light or neutral shade that will make the daisies stand out. Apply two coats, allowing each coat to dry completely.
- Painting the Petals: Dip your thin brush or toothpick into the white nail polish. To create a petal, paint a small, elongated oval. The key is to start from the outside and drag the brush or toothpick toward the center of where you want the daisy’s center to be. You don’t need to put the center dot first; you can estimate the middle point. Repeat this step to create multiple petals around the same center point, usually five or six petals per daisy.
- Adding the Centers: Once the white petals are dry, use your dotting tool or the rounded end of a bobby pin to dot a small amount of yellow polish in the center of the petals. This creates the look of the daisy’s center and brings the flower to life.
- Let It Dry: It’s essential to let your design dry completely to prevent smudging.
- Seal the Design: Apply a top coat to seal in your artwork, adding a protective layer that will give your daisy design longevity and a glossy finish.
Tips for Success:
- Always ensure that each layer is completely dry before applying the next to avoid dragging the polish.
- If you make a mistake, don’t worry. A little nail polish remover on a q-tip can clean up any excess polish around the nail or correct any errors.
- You can add a touch of green with a thin brush to create small leaves or stems for an additional detail.
Conclusion:
Daisy nail art is a delightful way to brighten up your look, and its simplicity makes it accessible for everyone. Whether you’re a nail art novice or a seasoned enthusiast, this design is both enjoyable to create and wear. With each daisy, you paint, you’ll not only improve your technique but also add a burst of floral charm to your nails that’s perfect for any season.
Embrace the joy of creating your own nail art with this daisy design. It’s an engaging activity that not only enhances your creativity but also gives you a sunny slice of nature right at your fingertips. Enjoy the process, and wear your daisies with a smile!