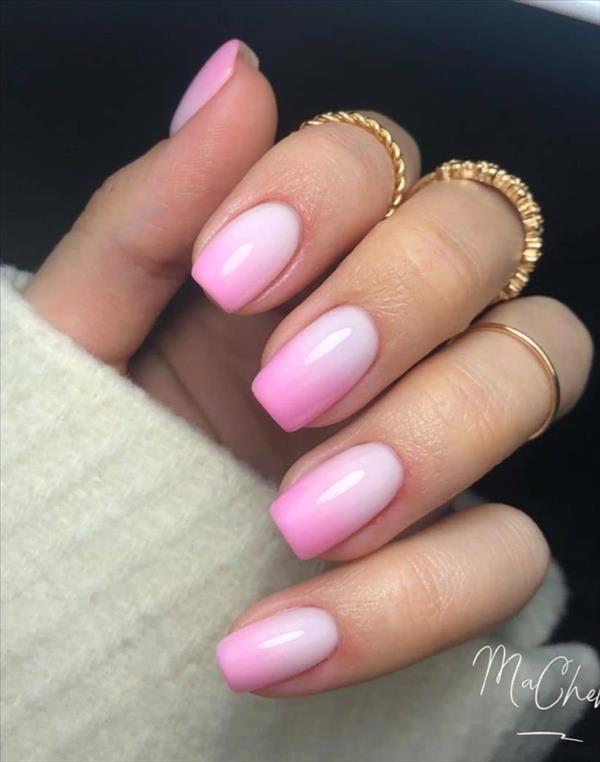
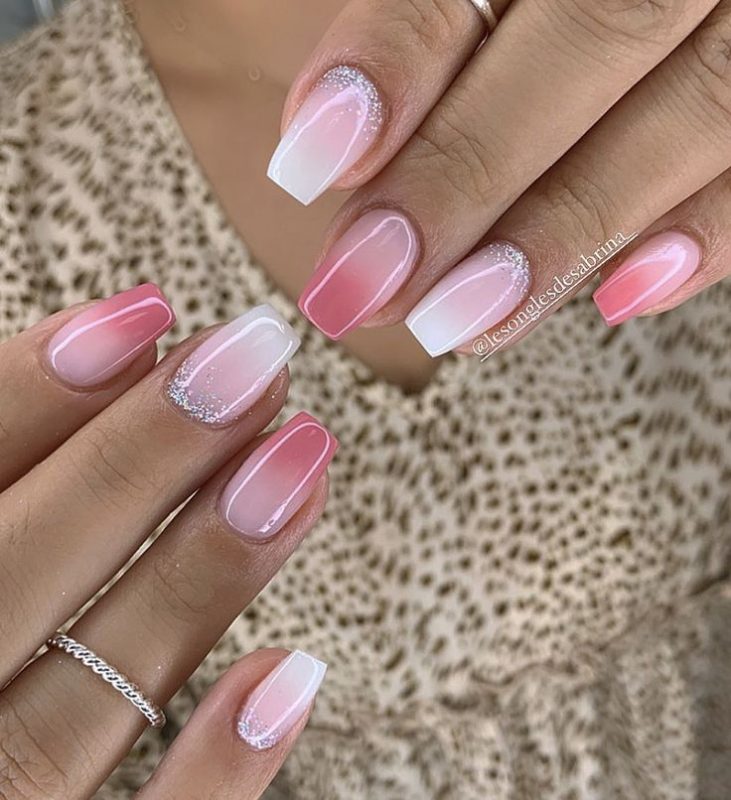
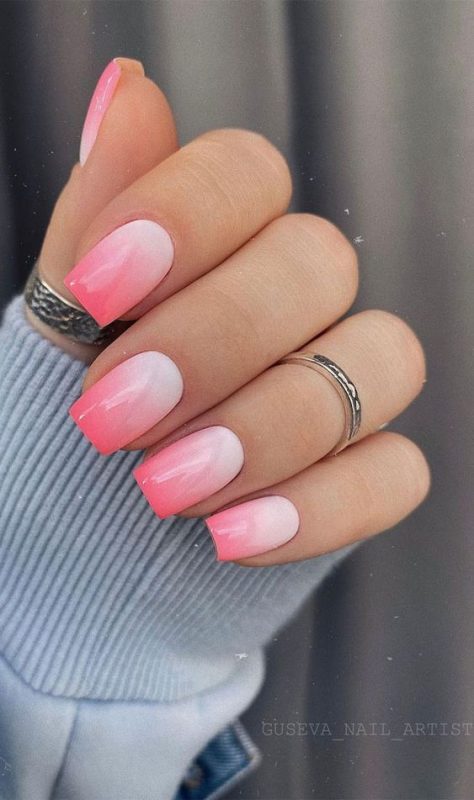
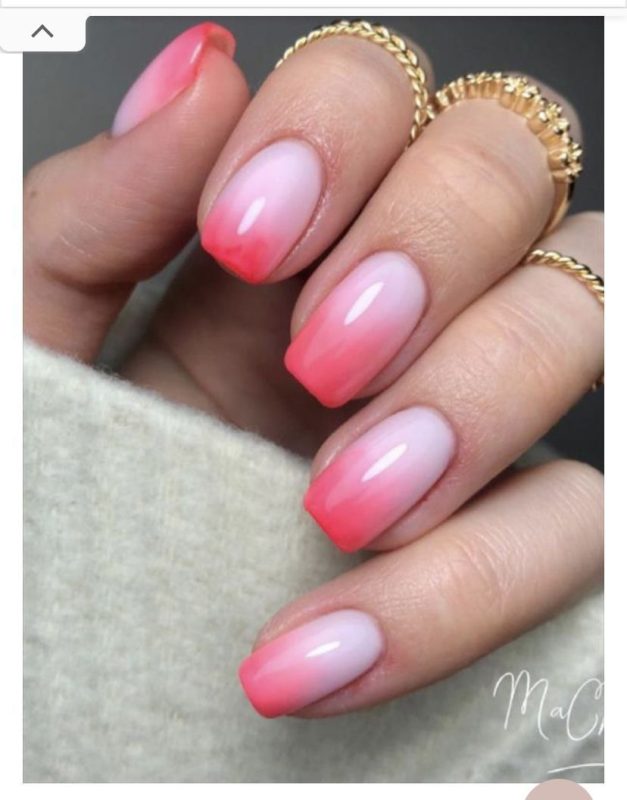
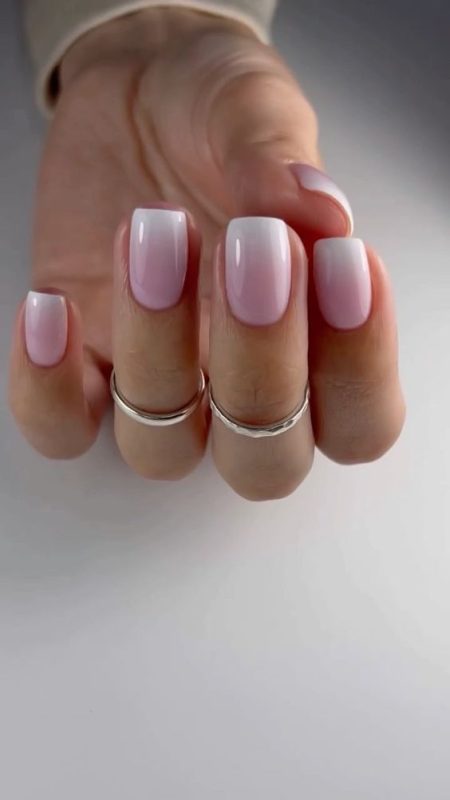
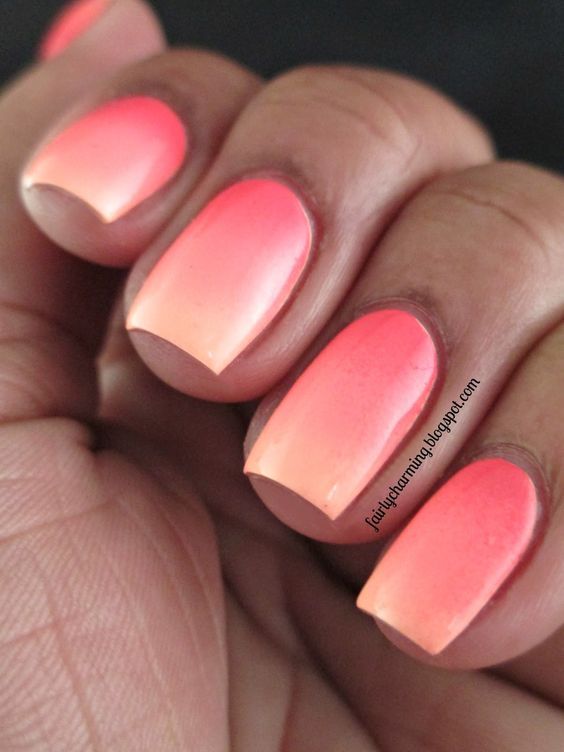
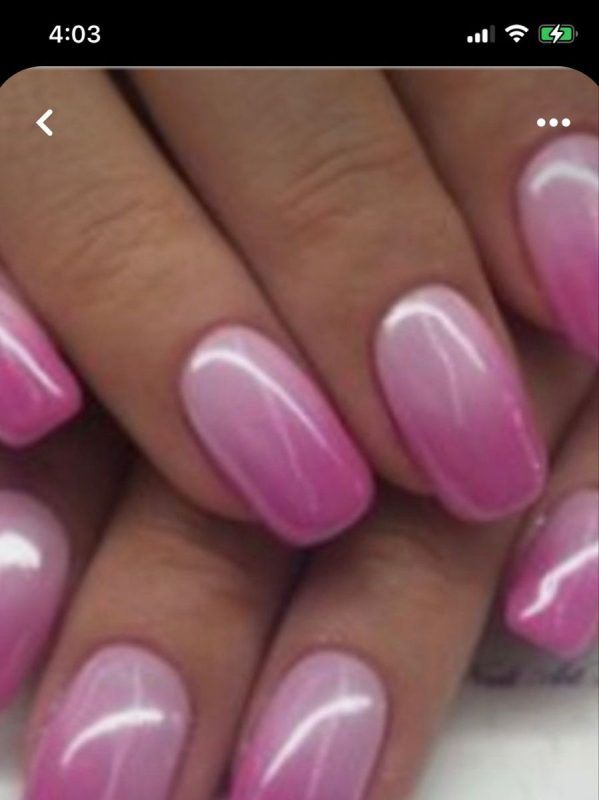
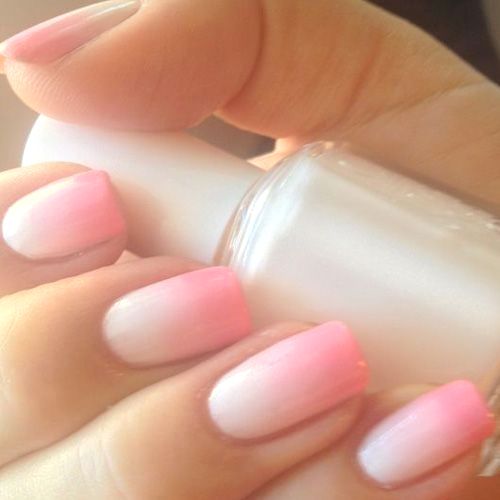
Pink ombre nails are a celebration of femininity and style, blending shades from subtle blush to deep fuchsia in a seamless gradient. This nail art choice is versatile, perfect for everyday elegance or special occasions. Dive into the world of pink ombre nails with designs that are bound to inspire your next trip to the salon or your DIY nail session at home.
The Allure of Pink Ombre Nails
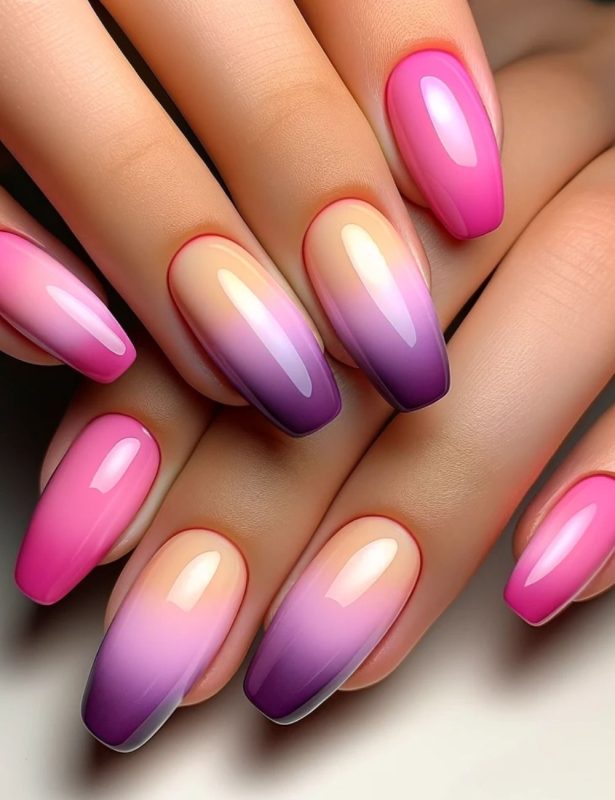
The charm of pink ombre nails lies in their gradient effect, which can be tailored to suit any mood or occasion. From romantic dates to professional meetings, these nails add a touch of sophistication and fun to your look.
Choosing Your Pink Palette
Before diving into designs, selecting the right pink shades is crucial. Consider your skin tone and the occasion:
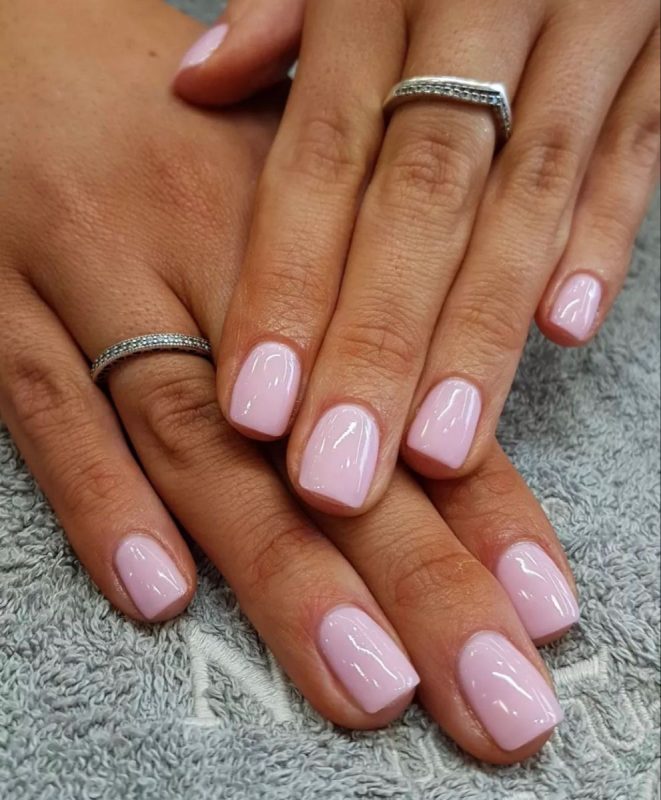
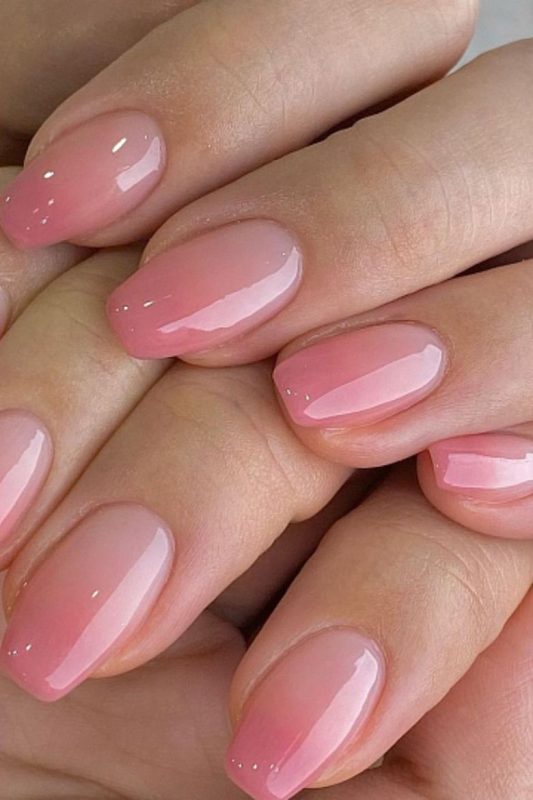
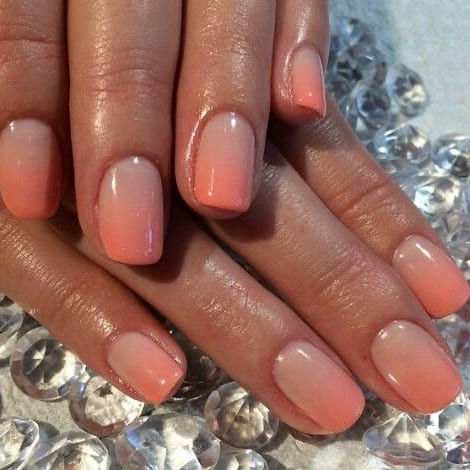
- Light Pink: Best for a soft, subtle look.
- Bright Pink: Great for making a bold statement.
- Deep Pink: Ideal for an edgy, yet elegant appearance.
Top Designs for Pink Ombre Nails
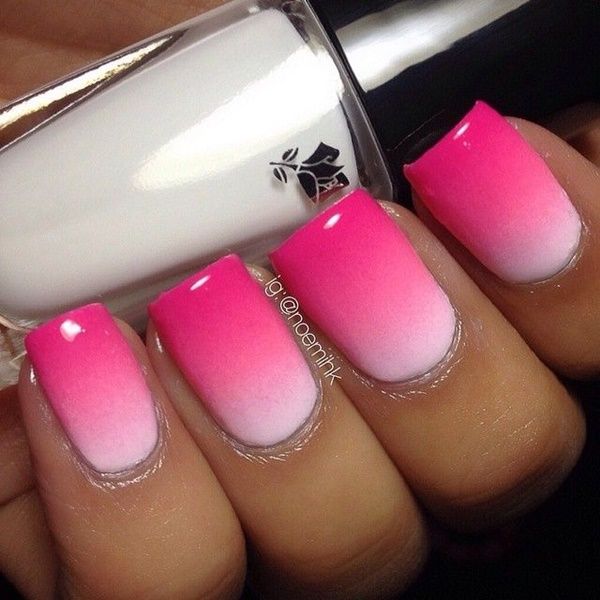
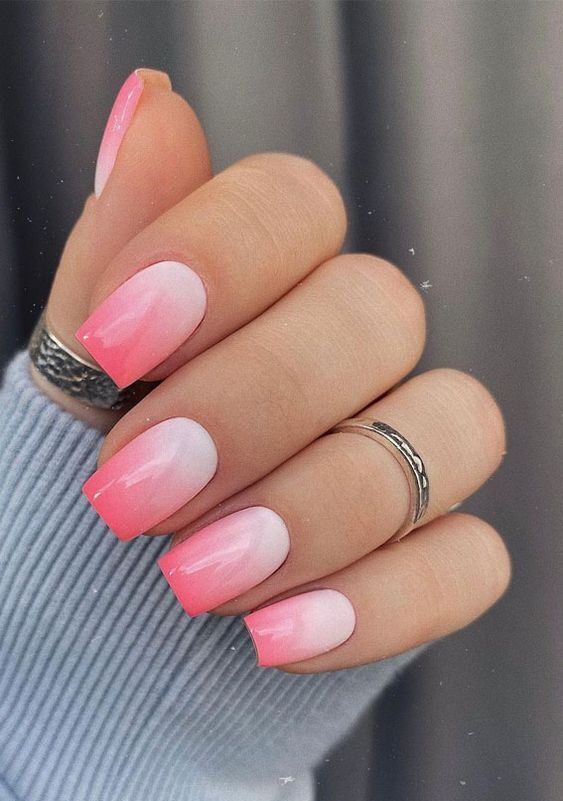
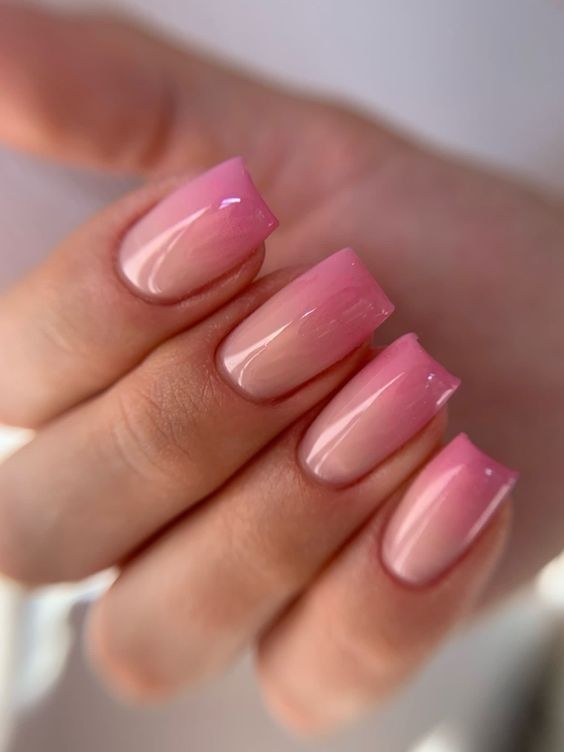
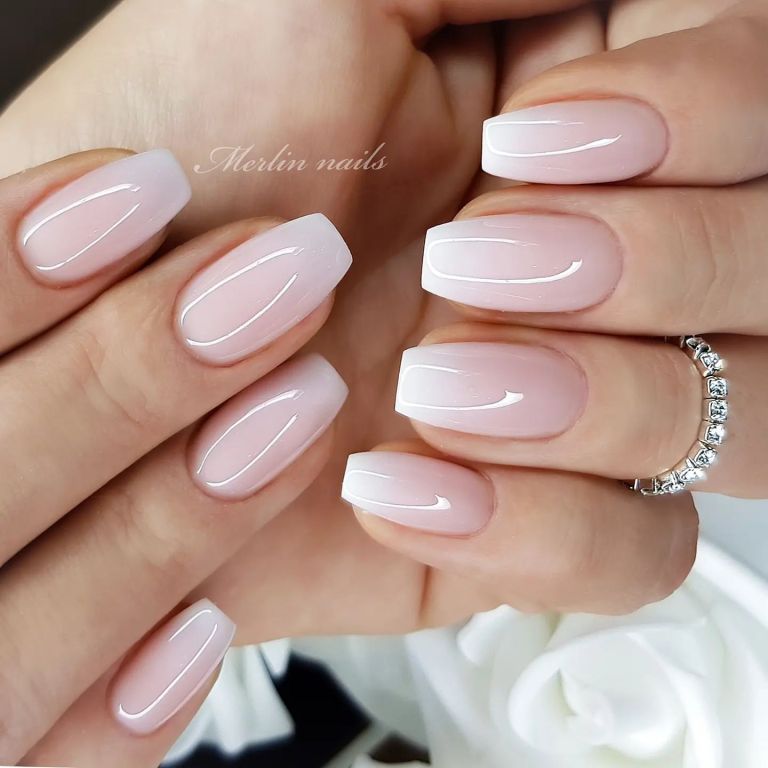
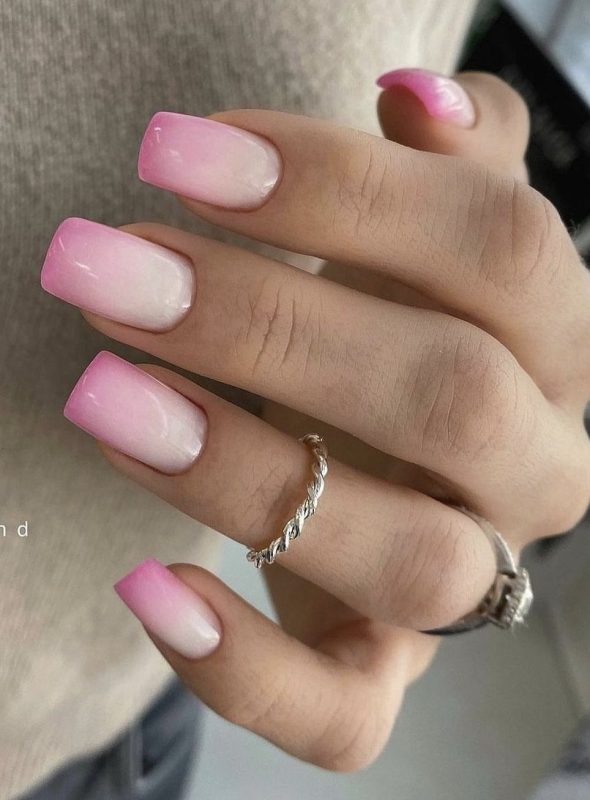
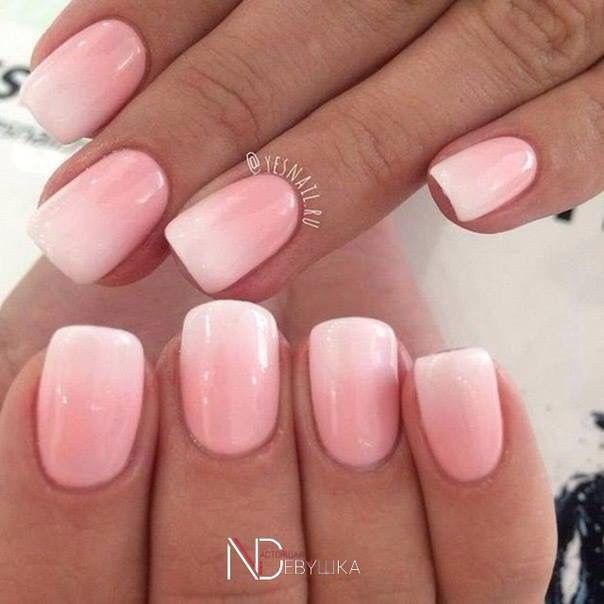
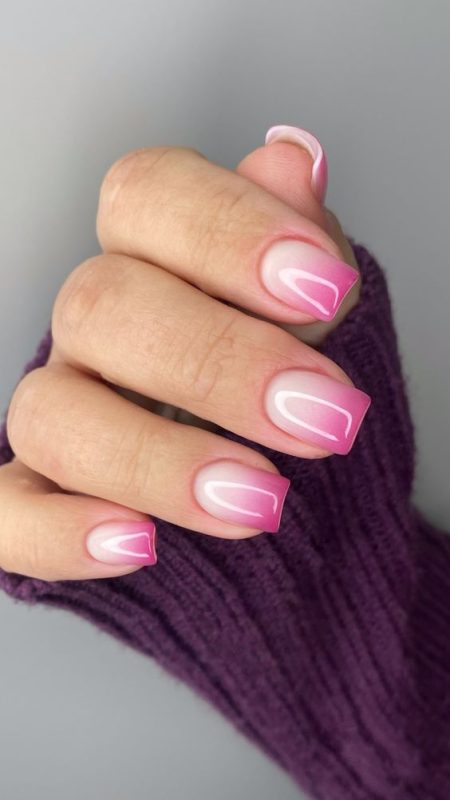
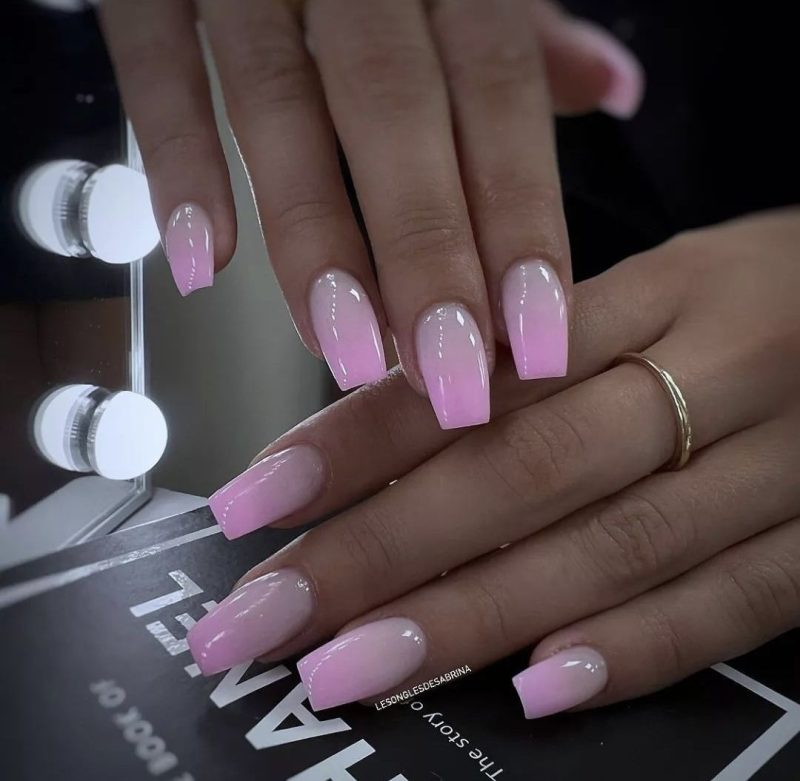
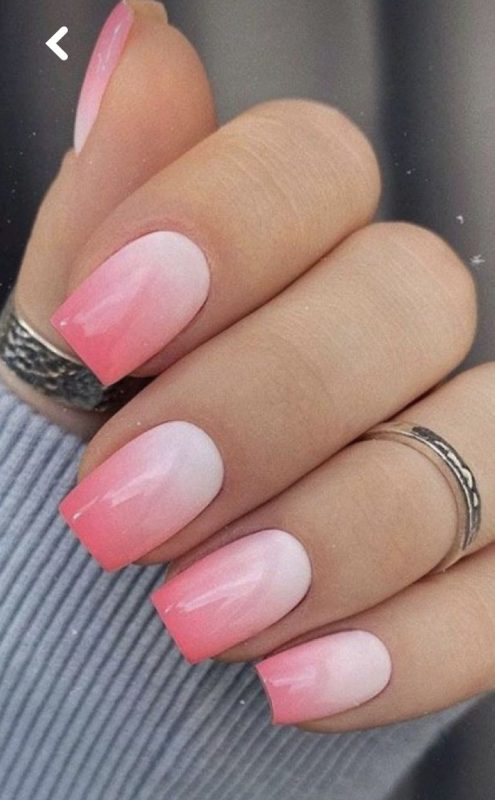
- Classic Pink Gradient: A smooth transition from pale pink at the base to a vibrant pink at the tips.
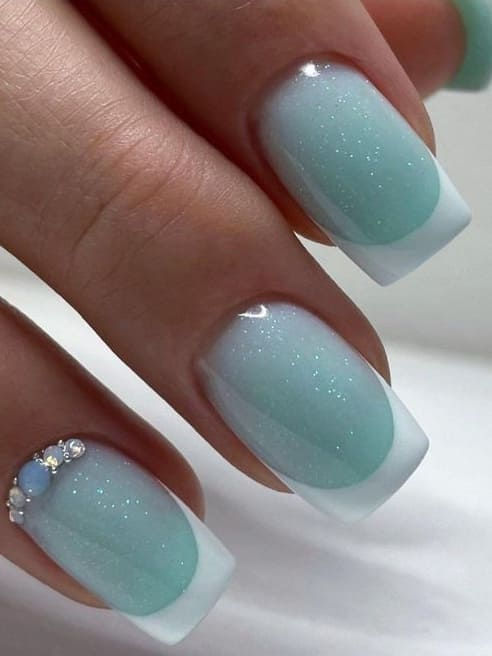
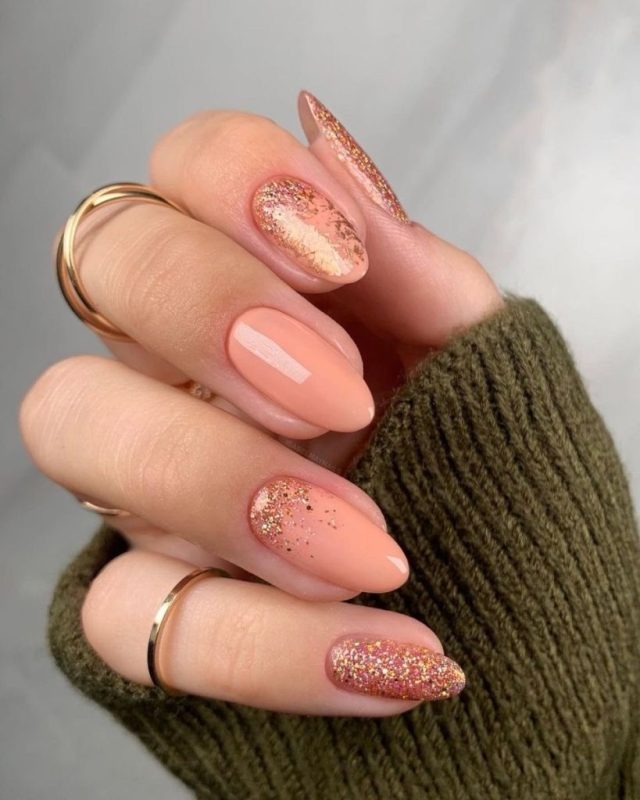
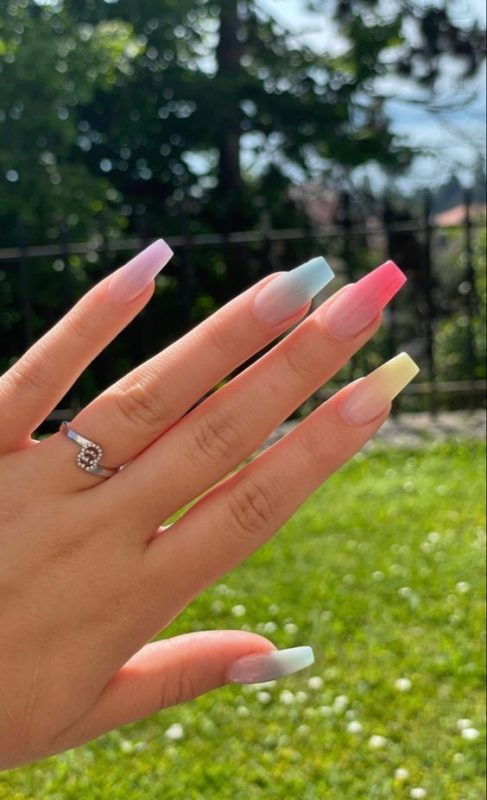
- Glittery Pink Sunset: Add some sparkle with a glitter top coat over a pink gradient, mimicking a shimmering sunset.
- Metallic Accents: Introduce a silver or gold stripe at the tips or near the cuticle for a chic twist.
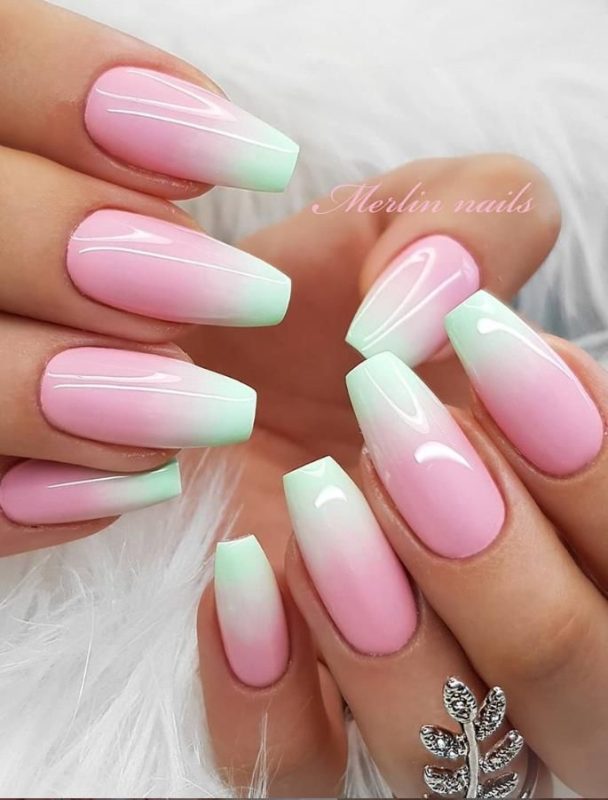
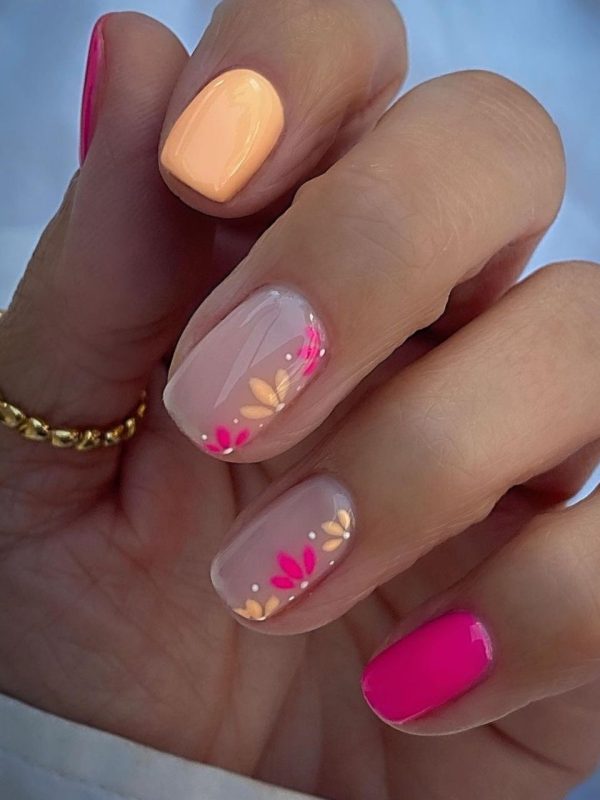
- Floral Touch: Embellish with tiny floral stickers or hand-painted flowers for a spring-inspired vibe.
- Chevron Patterns: Incorporate chevron patterns using tape to guide your polish application for a modern twist.
DIY Tutorial: Creating the Perfect Pink Ombre Effect
To achieve flawless pink ombre nails at home, you’ll need a few basic tools: sponges, your chosen shades of pink, and top coat.
- Step 1: Apply a base coat to protect your nails and ensure an even application.
- Step 2: Paint your nails with the lightest pink shade as the base color.
- Step 3: On a sponge, apply the two pink shades side by side, overlapping them slightly.
- Step 4: Dab the sponge onto your nails, pressing slightly to blend the colors together.
- Step 5: Apply a top coat for a glossy finish and to make your ombre effect last longer.
Maintenance Tips for Long-Lasting Ombre Nails
- Top Coat Refresh: Reapply a top coat every few days to maintain the shine and protect the design.
- Gentle Care: Avoid harsh tasks that can chip your nail polish. Wear gloves if necessary.
- Moisturize: Keep your hands and cuticles well-moisturized to avoid dryness, which can affect the polish.
Conclusion: Embrace Your Style with Pink Ombre Nails
Pink ombre nails offer a stylish way to express your personality and fashion sense. Whether you’re attending a formal event or just brightening your everyday look, these nails ensure you do so with panache and style.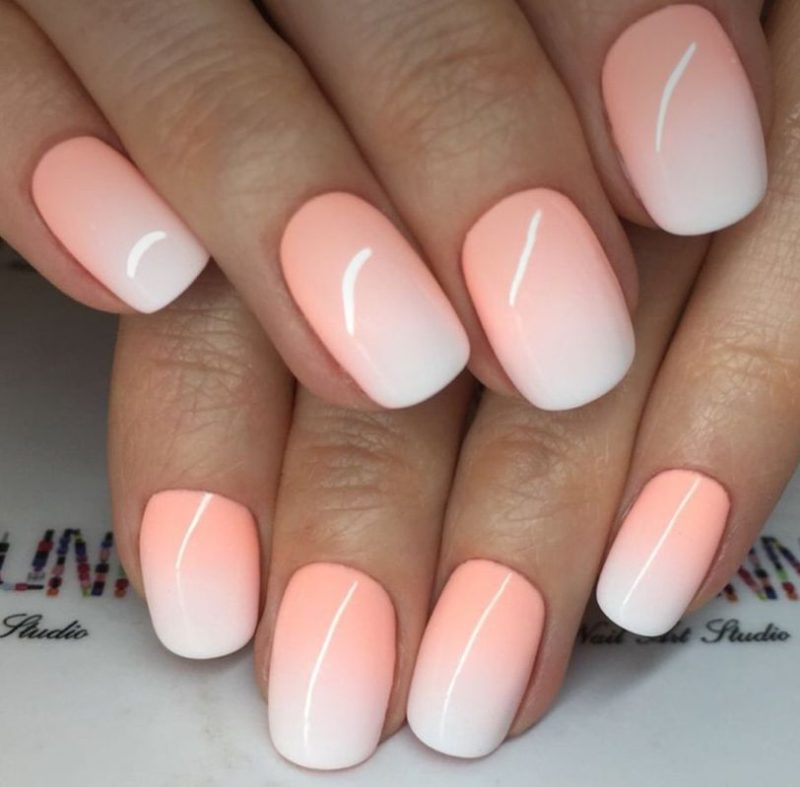
FAQs
How can I prevent my ombre from looking blotchy? Ensure your sponge is dampened slightly and use a light touch when dabbing onto the nails.
What are the best brands for ombre nail polish? Brands like OPI, Essie, and Sally Hansen offer polishes with smooth, blendable formulas that are ideal for ombre effects.
How do I remove ombre nail polish effectively? Use an acetone-based remover and cotton balls. Soak the cotton balls, press them onto your nails, hold for a few seconds, and wipe off the polish.
Can I use regular sponges for applying ombre nail polish? Yes, makeup sponges or any small, dense sponge will work for creating a smooth ombre effect.
What should I do if the ombre effect chips? Patch it up with the same sponge technique, or if it’s minor, just apply a new layer of top coat to blend it in.
Embrace the stunning and versatile look of pink ombre nails and enjoy a touch of glamour in your day-to-day life!