Perfecting a DIY manicure that looks both simple and stunning can transform your nail care routine. Whether you’re a novice or a nail art enthusiast, creating beautiful designs at home not only saves money but also unleashes your creative spirit. Here’s a roundup of DIY nail ideas that are both easy to execute and impressive to behold, ensuring your nails always look salon-fresh.
Top Simple Yet Stunning DIY Nail Ideas
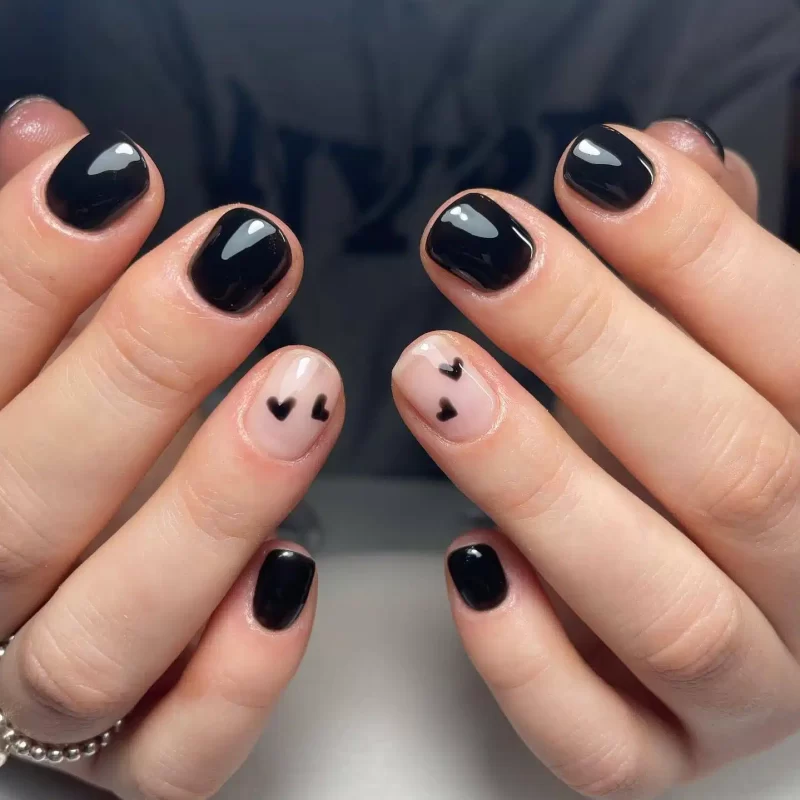
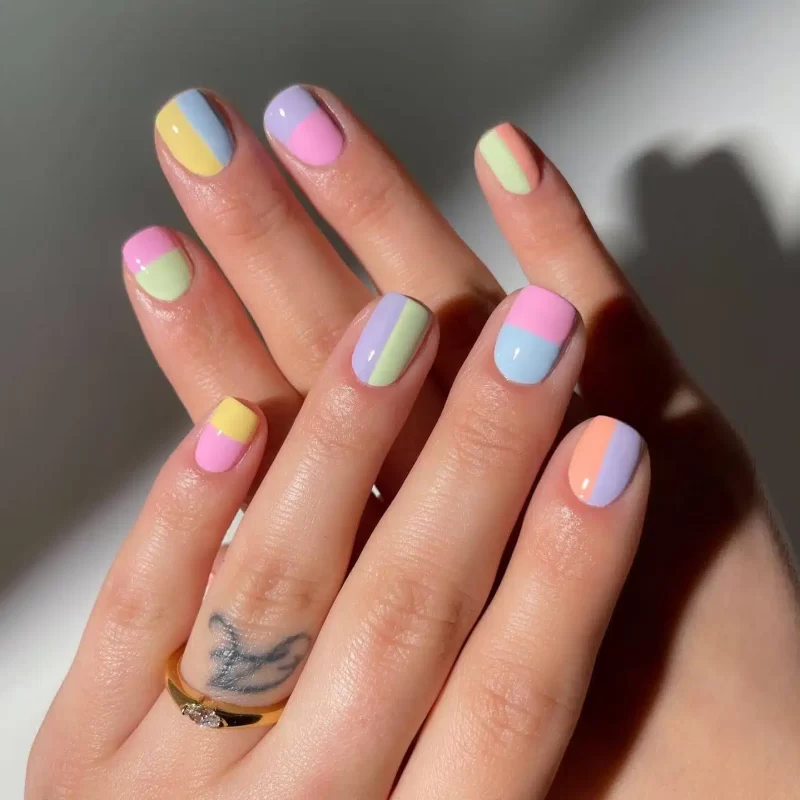
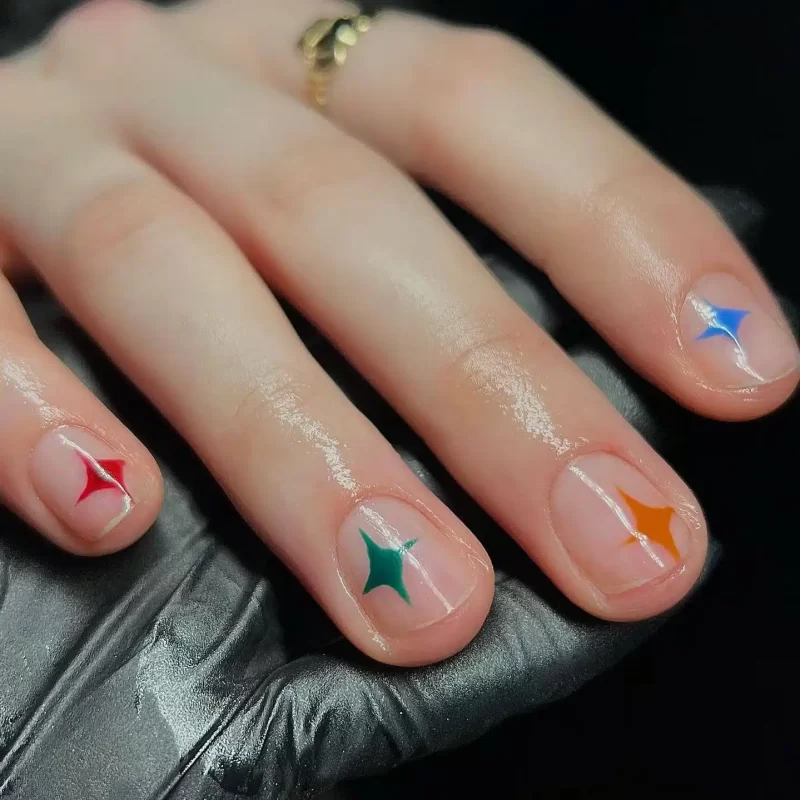
1. Negative Space Art: Embrace the beauty of minimalism with negative space nail art. Use tape to block off sections of your nail, apply your favorite polish, and peel away the tape to reveal a chic, geometric design.
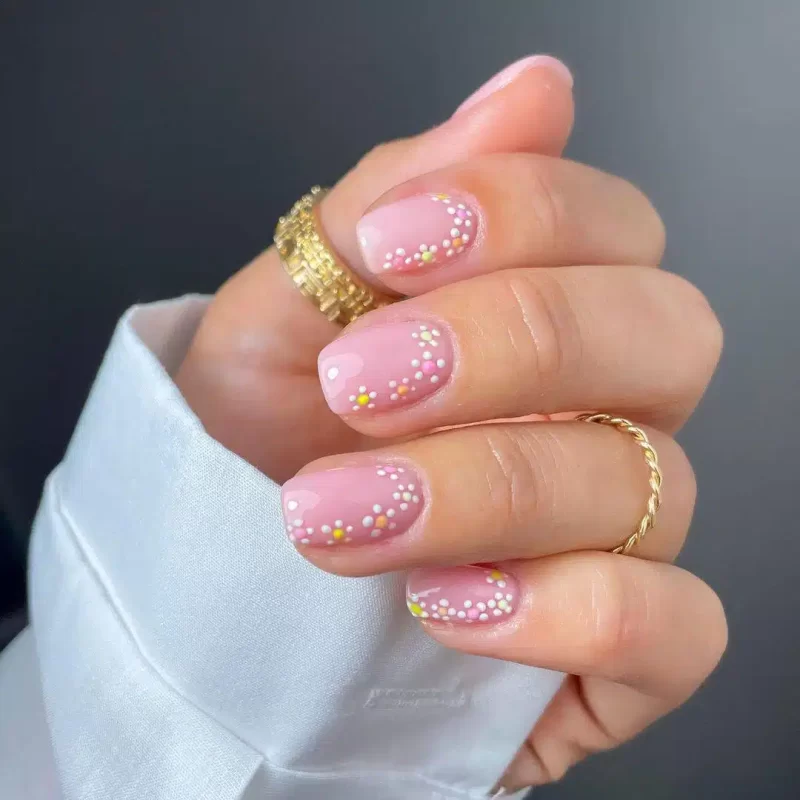
2. Polka Dots: Dotting tools or the rounded end of a pin can be used to create perfect dots. Opt for a neutral base with contrasting colored dots for a playful yet sophisticated look.
3. Striped Elegance: Using nail tape or thin strips of painter’s tape, create lines across the nail for a striped effect. Alternate between colors like black and gold or navy and silver for a striking contrast.
4. Ombre Effect: Achieve a gradient look with a sponge. Apply two colors side by side on the sponge, dab onto the nails, and enjoy a beautiful ombre effect that’s surprisingly simple to create.
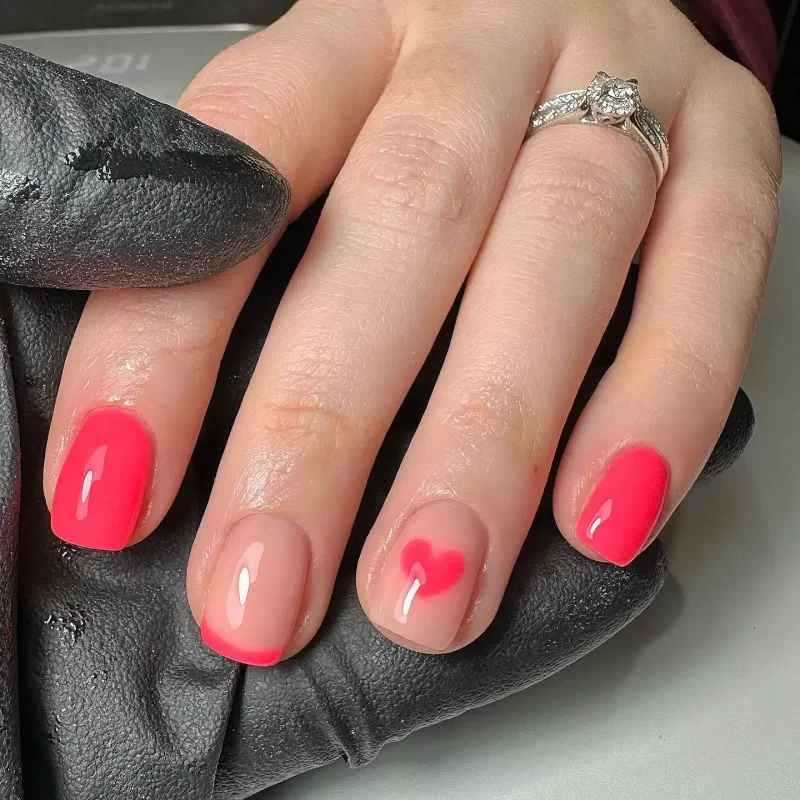
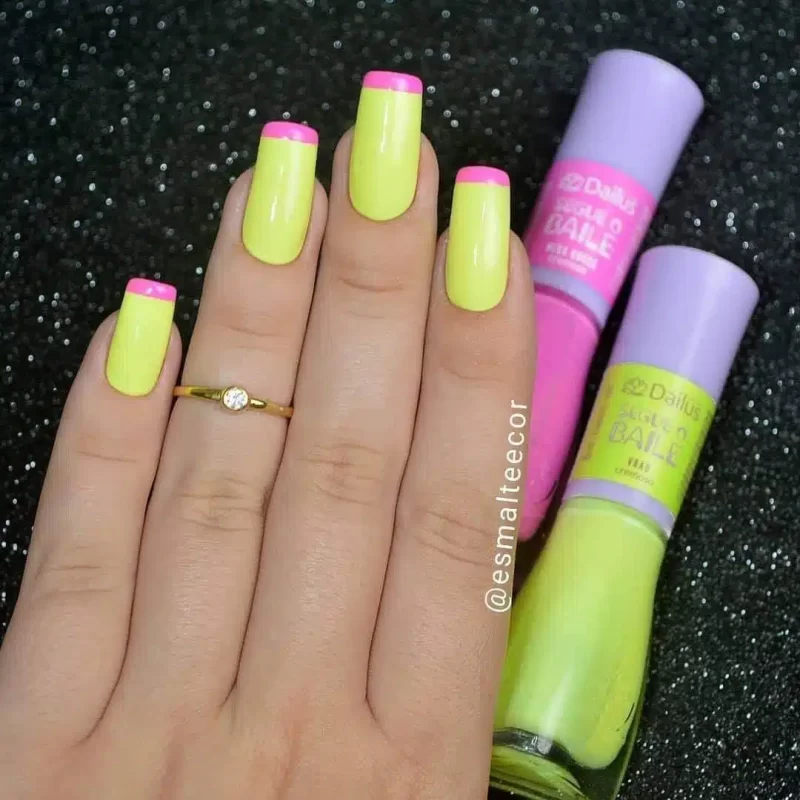
5. French Manicure Twist: Update the classic French tip by using unexpected colors like deep blue or metallic shades. For an even more modern twist, angle your tips in a diagonal line across each nail.
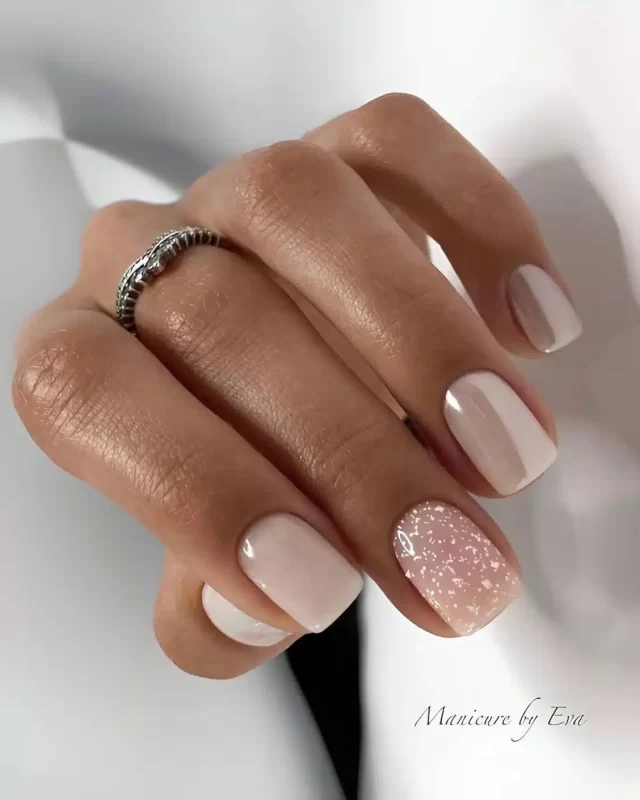
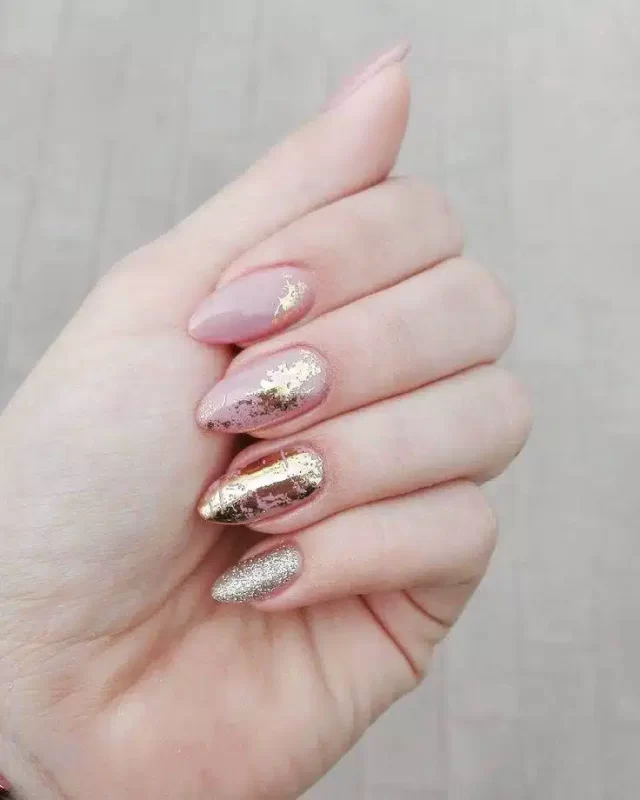
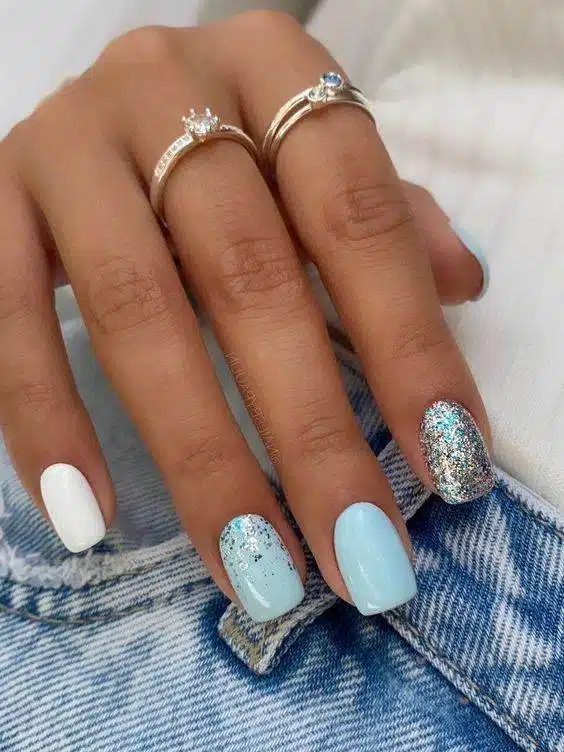
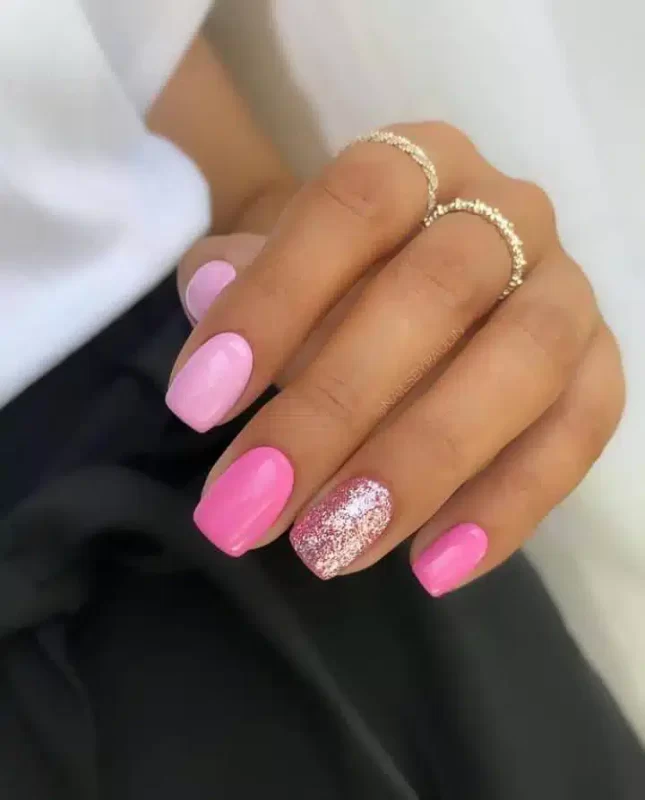
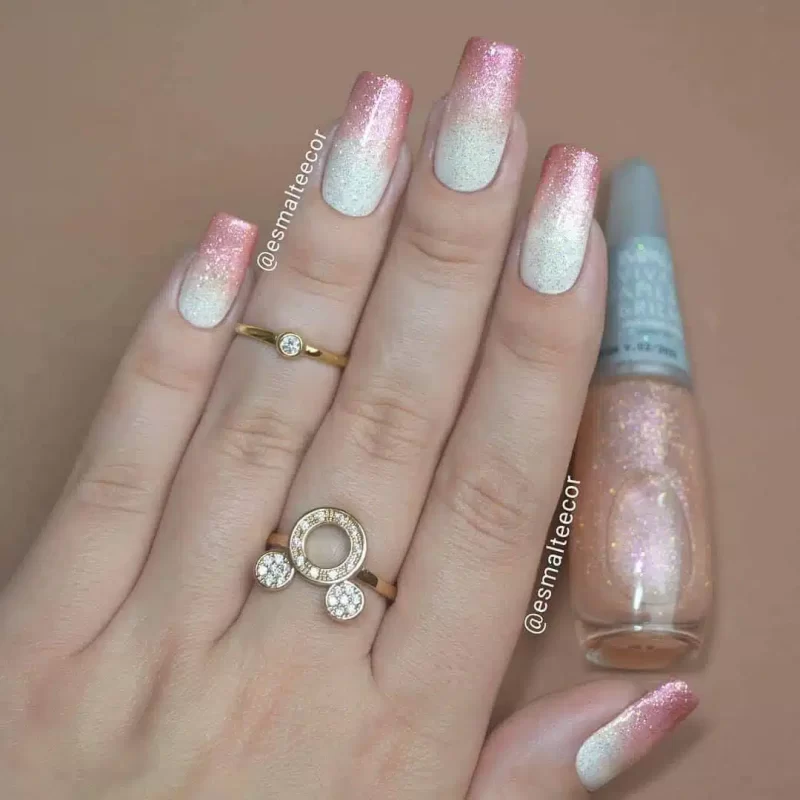
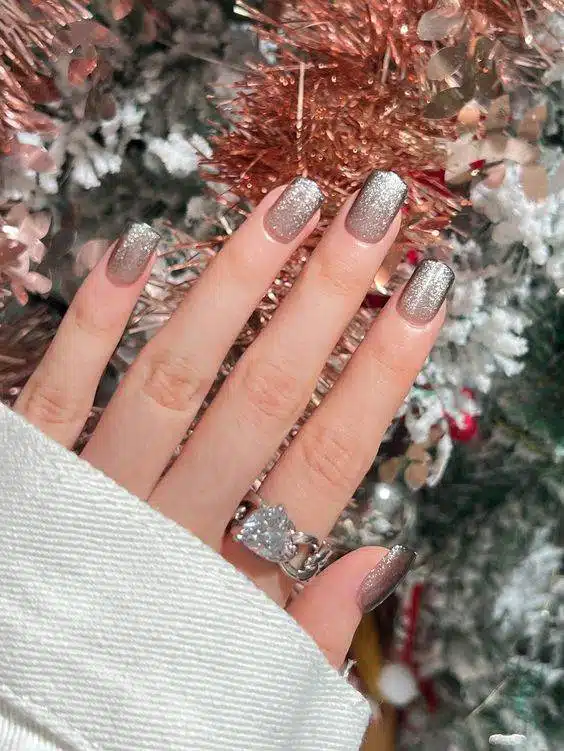
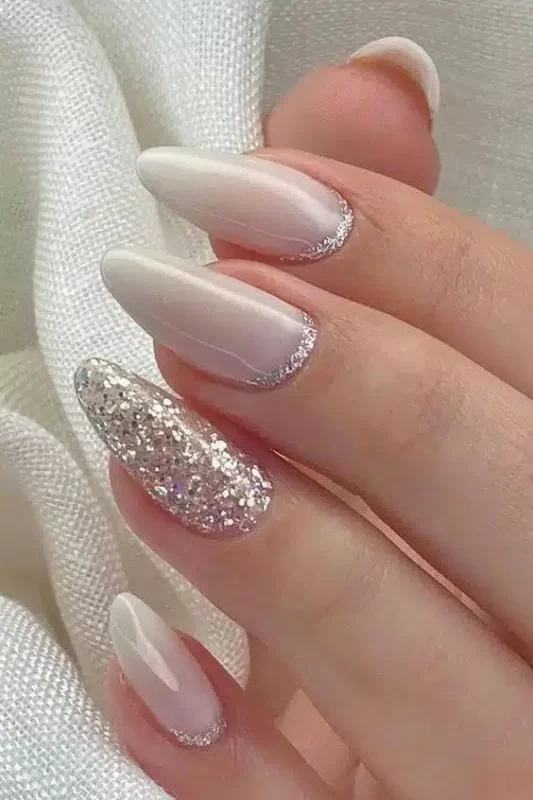
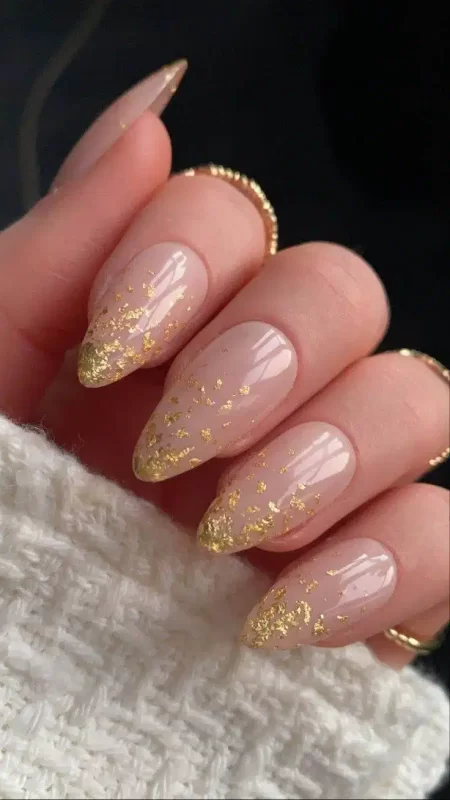
6. Glitter Gradient: Start with a clear or pale polish base and apply glitter polish starting at the tip, using a light touch as you move downward to create a fading glitter gradient. It’s glamorous and fitting for any occasion.
7. Half-Moon Manicure: Use reinforcement stickers (the kind used for hole-punched paper) to easily create a precise half-moon at the base of your nail. Paint over in a bold color, remove the sticker, and you have a retro yet modern look.
8. Water Marble Effect: Fill a cup with water and drop different nail polishes into it to create a marble design. Dip your nails one at a time to transfer the design. This technique might take a bit of practice, but the results are truly unique.
Tips for DIY Nail Success
- Good Prep: Always start with clean, shaped nails and apply a base coat to protect the nails and enhance polish adhesion.
- Quality Tools: Invest in some basic nail art tools like brushes, dotting tools, and tape for clean, precise designs.
- Patience and Practice: Allow enough time for each layer to dry to avoid smudging, and don’t get discouraged if your first attempts aren’t perfect.
- Top Coat is Key: A good top coat not only adds a beautiful shine but also extends the longevity of your DIY manicure.
Conclusion
With these simple yet stunning DIY nail ideas, you can achieve a sophisticated look right at home. Experiment with different colors and designs to match your style and the occasion. DIY nail art is not only a fun, creative activity but also a great way to ensure your nails are always manicure-ready without a trip to the nail salon.