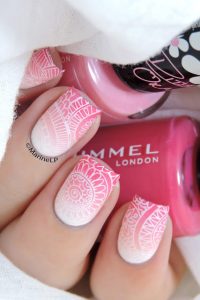
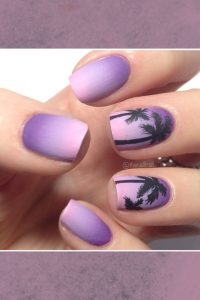
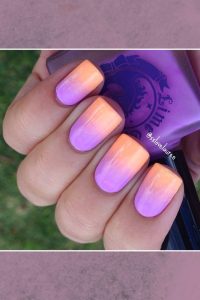
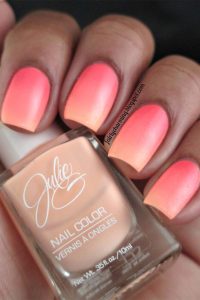
Glamorous ombre nail designs can add a touch of sophistication and style to your nails. This elegant gradient effect transitions from one color to another, creating a stunning and eye-catching look. Here are some glamorous ombre nail design ideas along with a tutorial to help you achieve this stylish manicure:
Glamorous Ombre Nail Design Ideas:
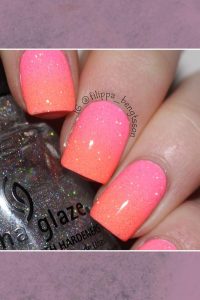
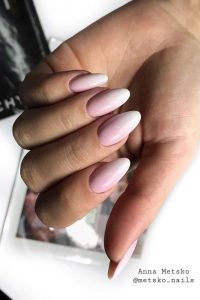
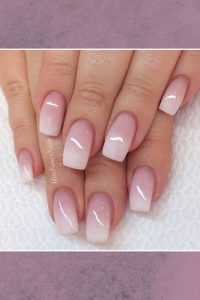
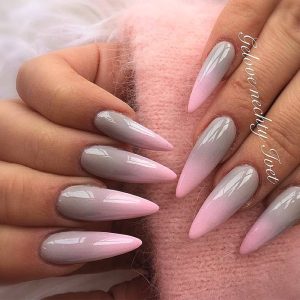
- Classic Pink Ombre:
- Apply a pale pink nail polish as the base color.
- Use a makeup sponge to blend a deeper pink shade onto the tips.
- Finish with a glossy top coat for a timeless pink ombre look.
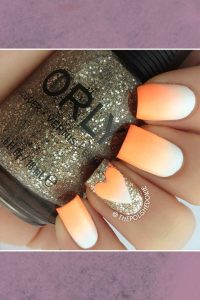
- Elegant Gold to Nude Ombre:
- Start with a nude nail polish as the base color.
- Use a makeup sponge to apply gold glitter polish at the tips.
- Seal it with a top coat for a touch of glamour.
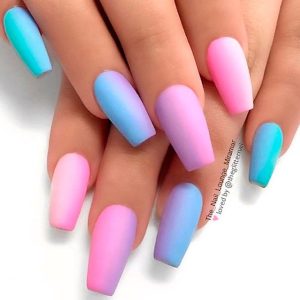
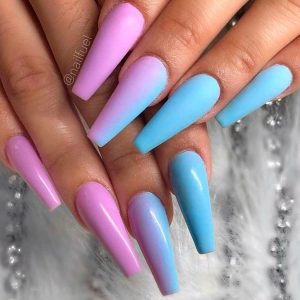
- Sapphire Blue Ombre:
- Apply a light blue nail polish as the base color.
- Gradually deepen the color towards the tips using a navy blue polish.
- Finish with a top coat for a rich sapphire ombre effect.
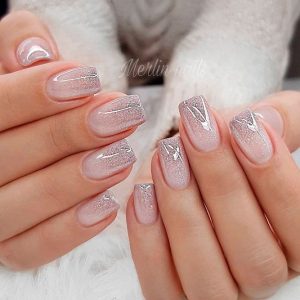
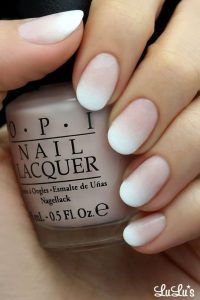
- Champagne and Rose Gold Ombre:
- Begin with a champagne or nude base color.
- Apply rose gold glitter polish over the tips with a makeup sponge.
- Seal with a top coat for a luxurious ombre design.
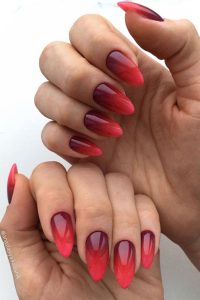
- Burgundy to Black Ombre:
- Start with a burgundy nail polish as the base.
- Gradually darken the color towards the tips using black polish.
- Add a matte top coat for a sultry burgundy-to-black ombre look.
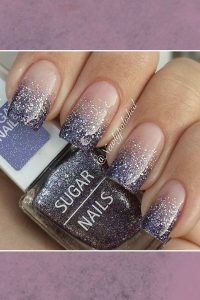
- Holographic Ombre:
- Apply a holographic silver polish as the base.
- Create an ombre effect by adding a holographic top coat over the base.
- Seal with a top coat for a mesmerizing holographic ombre design.
Tutorial: How to Create a Glamorous Ombre Nail Design:
You’ll need:
- Base coat
- Two nail polish colors (for the base and ombre)
- Makeup sponge
- Top coat
Steps:
- Start by applying a base coat to protect your natural nails and help the polish adhere better.
- Apply your chosen base color as the first coat. Let it dry completely.
- For the ombre effect, pour a small amount of both the base color and ombre color side by side on a clean surface.
- Cut a makeup sponge into a small, manageable piece.
- Dip the sponge lightly into the ombre color and gently dab it onto the tips of your nails. You can repeat this step until you achieve the desired gradient effect.
- Allow the ombre polish to dry before applying a glossy or matte top coat to seal the design and add a protective finish.
- Clean up any excess polish around your nails using a brush dipped in nail polish remover.
- Voilà! You’ve created a glamorous ombre nail design that’s sure to turn heads.
Glamorous ombre nails are perfect for special occasions or when you want a touch of elegance and style. Get creative with different color combinations, finishes, and even glitter to personalize your ombre nail design and make it truly glamorous.